Table of Contents
Advertisement
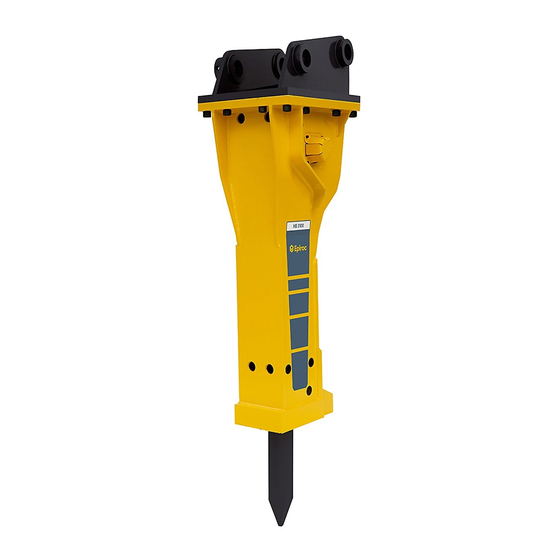
HB
Safety and operating instructions
Hydraulic breakers
Valid from serial number
HB 3100
HB 3100 DP
HB 3600
HB 3600 DP
HB 4100
DEQ110250
HB 4100 DP
DEQ110250
HB 4700
HB 4700 DP
© 2012 Atlas Copco Construction Tools GmbH | No. 3390 5096 01 | 2012-04-26
Original instructions
3100, 3100 DP, 3600, 3600 DP, 4100, 4100 DP, 4700, 4700 DP
50
50
51
51
50
50
Advertisement
Table of Contents


Need help?
Do you have a question about the HB 3100 and is the answer not in the manual?
Questions and answers