Sign In
Upload
Download
Table of Contents
Contents
Add to my manuals
Delete from my manuals
Share
URL of this page:
HTML Link:
Bookmark this page
Add
Manual will be automatically added to "My Manuals"
Print this page
×
Bookmark added
×
Added to my manuals
Manuals
Brands
BK Precision Manuals
Measuring Instruments
8550 Series
User manual
BK Precision 8550 Series User Manual
Programmable вс electronic loads
Hide thumbs
1
2
3
4
5
6
7
8
Table Of Contents
9
10
11
12
13
14
15
16
17
18
19
20
21
22
23
24
25
26
27
28
29
30
31
32
33
34
35
36
37
38
39
40
41
42
43
44
45
46
47
48
49
50
51
52
53
54
55
56
57
58
page
of
58
Go
/
58
Contents
Table of Contents
Bookmarks
Table of Contents
Table of Contents
Introduction
Product Overview
Contents
Features
Dimensions
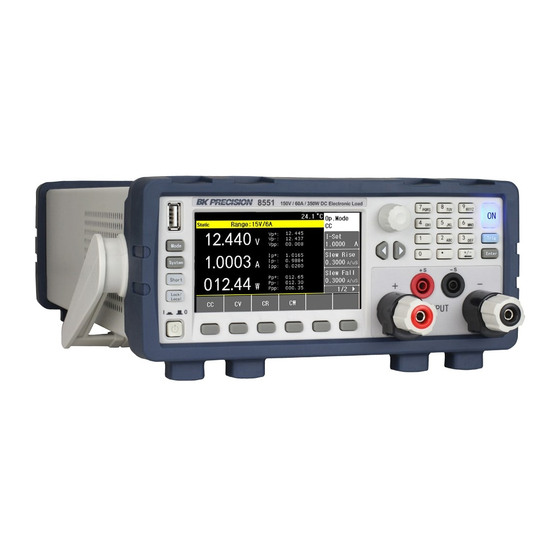
Front Panel
Rear Panel
Getting Started
Preliminary Information Input Power and Fuse Requirements Fuse Replacement
Basic Front Panel Operation
Function Keys
Mode Key
System Key
Short Key
Lock/Local Key & Screenshots
Softkeys
Modes
Static Mode
Constant Current
Constant Voltage
Constant Resistance
Constant Power
Transient Mode
Continuous
Pulse
Toggle
List Mode
Continuous List Operation
Count List Operation
Step List Operation
File Configuration
CR-LED Mode
Battery Test Function
Time Test
Over-Current Protection Test (OCPT)
Over-Voltage Protection Test (OVPT)
Over-Power Protection Test (OPPT)
Load Regulation Mode
Sweep Mode
Automatic Test Mode
System
System Configuration
Language
Beep Sound
Sense
Power-On
Display
Source
External Programming
Von/Voff
Protect
Over-Voltage Protection
Over-Current Protection
Over-Power Protection
Delay
File Store
Communication Setup
Limit
Handler
ON Function
Trig
Vf/Ext-Prog
Pass/Fail
Service Information
Limited Three-Year Warranty
Advertisement
Quick Links
Download this manual
Table of
Contents
Previous
Page
Next
Page
1
2
3
4
5
Advertisement
Table of Contents
Need help?
Do you have a question about the 8550 Series and is the answer not in the manual?
Ask a question
Questions and answers
Related Manuals for BK Precision 8550 Series
Measuring Instruments BK Precision 875B Instruction Manual
Digital lcr meter (37 pages)
Measuring Instruments BK Precision 878B Instruction Manual
Dual display lcr meter (142 pages)
Measuring Instruments BK Precision 879B Instruction Manual
Dual display lcr meter (142 pages)
Measuring Instruments BK Precision 880 Instruction Manual
Dual display lcr (71 pages)
Measuring Instruments BK Precision 830C Instruction Manual
Dual display capacitance meter (113 pages)
Measuring Instruments BK Precision 890C Instruction Manual
Dual display capacitance meter (113 pages)
Measuring Instruments BK Precision 8540 Instruction Manual
60v/30a/150w dc electronic load (23 pages)
Measuring Instruments BK Precision 894 User Manual
500 khz/1 mhz lcr meter (112 pages)
Measuring Instruments BK Precision 895 User Manual
500 khz/1 mhz lcr meter (112 pages)
Measuring Instruments BK Precision 8500B Series User Manual
Programmable dc electronic loads (77 pages)
Measuring Instruments BK Precision 889B Manual
(30 pages)
Measuring Instruments BK Precision 830B Manual
(59 pages)
Measuring Instruments BK Precision 890B Manual
(59 pages)
Measuring Instruments BK Precision 8551 User Manual
Programmable вс electronic loads (58 pages)
Measuring Instruments BK Precision 885 Operating Manual
Lcr meter (91 pages)
Measuring Instruments BK Precision 4063 User Manual
Function/arbitrary waveform generator (78 pages)
This manual is also suitable for:
8550
8551
Table of Contents
Print
Rename the bookmark
Delete bookmark?
Delete from my manuals?
Login
Sign In
OR
Sign in with Facebook
Sign in with Google
Upload manual
Upload from disk
Upload from URL


Need help?
Do you have a question about the 8550 Series and is the answer not in the manual?
Questions and answers