Table of Contents
Advertisement
Quick Links
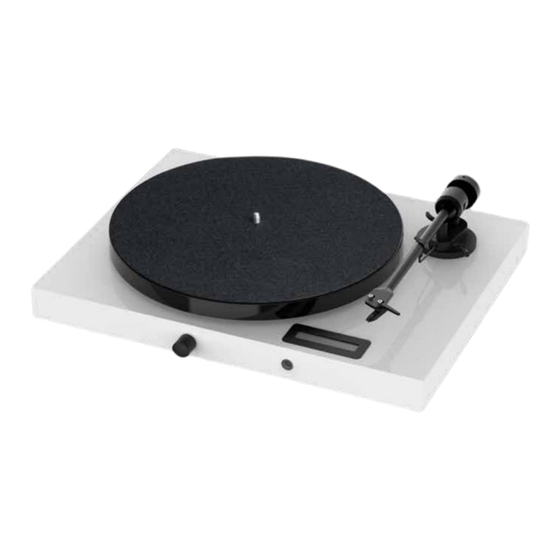
Juke Box E1
Setup Guide
Getting started:
•
Make sure to have enough space to unpack your turntable.
•
Always unpack and set up in a clean environment.
•
Please Do NOT throw away the packaging! If you need service
or want to return your product, please send it in the original
packaging including all inserts. In case of damage due to alter-
native packaging your dealer cannot guarantee a full refund.
•
complete manual:
www.project-audio.com/en/product/juke-box-e1
1
Unpack all items from accessory bag:
a) Stylus pressure gauge
b) Batteries for remote control
c) Drive Belt
d) Fabric gloves
e) Adapter for 7"singles / allen key
f) Bluetooth antenna
g) Power cable
h) Remote control
4
Lift the wrapped turntable
out of the box.
8
Put the platter on and remove tonearm
protection.
12
Turn on the Juke Box with the buttons on the bottom.
A
14
Remove tonearm twist tie.
c)
a)
b)
e)
f)
g)
5
Carefully remove the protection covering.
9
Install the Bluetooth antenna.
Speed Switch
33/STBY/45
B
(Amplifier)
15
Remove the needle protection cover.
2
Remove dust cover carton from the box.
d)
h)
6
Unpack turntable platter.
10
Unpack the dust cover and put it on.
13
Control of the unit using the knob on the front.
Standby
ON / OFF
16
Move the tonearm up/down with the lever.
3
Unpack the power supply.
7
Wrap the drive belt around the pulley and sub
platter.
11
Plug in the power supply and connect the
turntable with your speakers.
Standby
Press the knob for 3 seconds to turn the
unit on.
Input selector
Briefly press the knob to switch between
Bluetooth > Turntable > Line In
Volume
Adjust volume by turning the knob.
17
Put feltmat and a record on and have
fun with music.
Advertisement
Table of Contents

Related Manuals for Pro-Ject Audio Systems Juke Box E1


Summary of Contents for Pro-Ject Audio Systems Juke Box E1
- Page 1 Juke Box E1 Setup Guide Getting started: • Make sure to have enough space to unpack your turntable. • Always unpack and set up in a clean environment. • Please Do NOT throw away the packaging! If you need service or want to return your product, please send it in the original packaging including all inserts.
- Page 2 Find your dealer here: www.project-audio.com/en/find-a-dealer/ A Pro-Ject Audio Systems warranty relates to claims of defects in materials and/or workmanship at the time of purchase. It does not cover: Service Should you encounter a problem which you are not able to alleviate or identify despite the above information, please contact your dealer for further •...
Need help?
Do you have a question about the Juke Box E1 and is the answer not in the manual?
Questions and answers