
Related Manuals for Stelpro SPIDER ASGH4002


Summary of Contents for Stelpro SPIDER ASGH4002
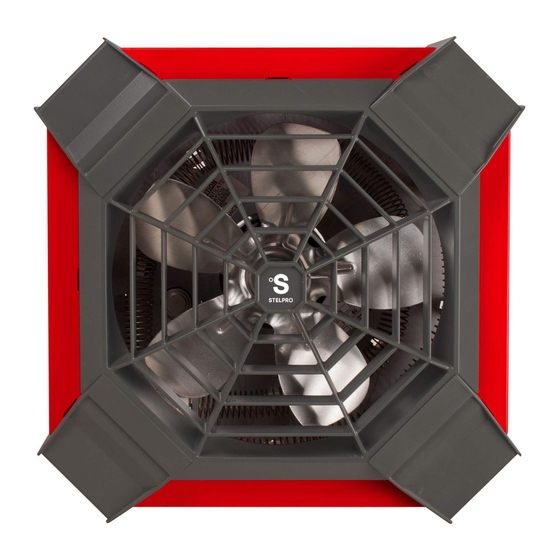
- Page 1 OWNER'S MANUAL SGH4002 CEILING FAN HEATER SGH ASGH ASGH4002 THANK YOU FOR YOUR PURCHASE! NEED ASSISTANCE? CONTACT STELPRO CUSTOMER SERVICE. WWW.STELPRO.COM CONTACT@STELPRO.COM 1-844-STELPRO...
-
Page 2: Important Instructions
Store it in a dry place when not consult the Stelpro website. If the power of the unit is insufficient using it. for the size of the room, it will run continuously, causing it to age 10. - Page 3 INSTALLING THE FAN HEATER TAKE A FEW MINUTES TO READ THE FAN HEATER’S INSTALLATION GUIDE TO ENSURE AN EASY AND SAFE INSTALLATION. WHAT’S IN THE BOX TOOLS AND MATERIAL REQUIRED 6 IN. (15 CM) Phillips or Robertson Stud finder No. 2 screwdriver at least 6 in.
-
Page 4: Turning Off The Power Supply
POSITIONING THE FAN HEATER You must install your heater in an open area at least 8 ft CAUTION: To avoid any risk of overheating and fire, (2.44 m) from the floor and at a maximum height of 10 ft (3 m). leave a minimum of 24 in. (60 cm) of free space under Make sure that objects or furniture near the heater can the unit and 12 in. - Page 5 PREPARING THE FAN HEATER 1. Remove the mounting bracket [A] underneath 2. Loosen the screw slightly and remove the cable clamp plate [B]. Set aside the cable clamp plate the unit and set it aside. and pull the wires out of the junction box. 3.
- Page 6 DETERMINING THE POSITIONING OF POWER CABLE STANDARD CABLE (NMD) Note: If you are using a commercial power 13-3/4 IN. cable (BX), refer to section below. (34.9 CM) 1. Using the stud detector, locate the studs [A] and other structures that may be in the ceiling. 6-1/2 IN.
-
Page 7: Attaching The Mounting Bracket
ATTACHING THE MOUNTING BRACKET 1. Attach the bracket [A] to the ceiling structure using two (2) screws (round head no. 8; not included). ATTACHING THE UNIT TO THE MOUNTING BRACKET 1. Locate the anchor point [A] below 2. Attach the fan heater to the bracket by inserting the hook on the unit. - Page 8 CONNECTING THE ELECTRICAL WIRES 1. If necessary, strip the power cable wires [A] using a cable stripper. 2. Connect the wires of the power cable to those of the unit [B] according to the instructions in the diagram on the right. 3.
-
Page 9: Attaching The Cover
ATTACHING THE COVER 1. Make sure the screw [A] at the end of the bracket is half- 3. Press the unit firmly against the ceiling. screwed. 4. Again using both hands, push the unit to 2. Grasp the unit firmly with both hands, as shown, and pivot the hook side of the installation bracket. - Page 10 • Make sure the unit is powerful enough for the size of the room. The fan heater operates continuously. • If the fan heater never stops, the thermostat may be defective. Contact Stelpro Customer Service. • Make sure the thermostat's setpoint is correct. The ambient temperature is too high.
-
Page 11: On-Site Inspection
MAINTAINING THE FAN HEATER THE FAN HEATER’S AIR INLET AND OUTLET MUST BE CLEANED REGULARLY FOR THE WARRANTY TO BE VALID. During maintenance, never use the following: WARNING: Turn off the power to the fan heater • Metal brush or scouring pad directly from the electrical panel before cleaning. -
Page 12: Claim Procedure
SGH and ASGH. abnormal use, lack of maintenance, improper maintenance (other than that prescribed by Stelpro) or a use other than that for which Please read this limited warranty carefully. Subject to the terms of the unit was designed; 3) a natural disaster or an event out of this warranty, Stelpro warrants its products and their components Stelpro’s control, including, but not limited to, hurricanes, torna-...
Need help?
Do you have a question about the SPIDER ASGH4002 and is the answer not in the manual?
Questions and answers