Table of Contents
Advertisement
Quick Links
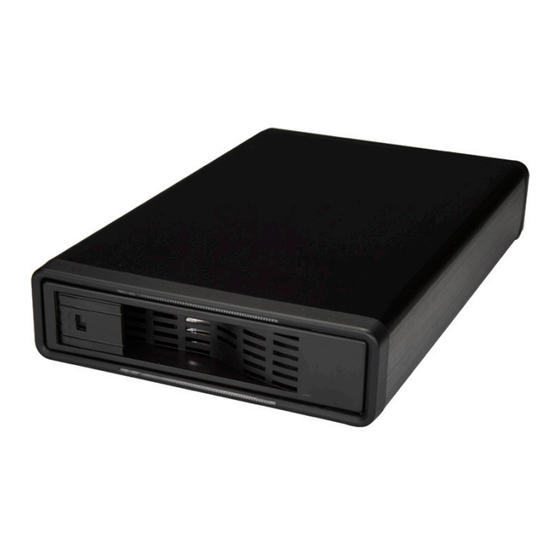
Hard Drive Enclosure for 3.5" SATA
HDDs - USB 3.0/eSATA - Trayless
S351BMU33ET
FR: Guide de l'utilisateur - fr.startech.com
DE: Bedienungsanleitung - de.startech.com
ES: Guía del usuario - es.startech.com
NL: Gebruiksaanwijzing - nl.startech.com
PT: Guia do usuário - pt.startech.com
IT: Guida per l'uso - it.startech.com
For the latest information, technical specifications, and support for
this product, please visit www.StarTech.com/S351BMU33ET.
Manual Revision: 07/07/2017
*actual product may vary from photos
Advertisement
Table of Contents

Subscribe to Our Youtube Channel
Related Manuals for StarTech.com S351BMU33ET


Summary of Contents for StarTech.com S351BMU33ET
- Page 1 Hard Drive Enclosure for 3.5” SATA HDDs - USB 3.0/eSATA - Trayless S351BMU33ET *actual product may vary from photos FR: Guide de l’utilisateur - fr.startech.com DE: Bedienungsanleitung - de.startech.com ES: Guía del usuario - es.startech.com NL: Gebruiksaanwijzing - nl.startech.com PT: Guia do usuário - pt.startech.com IT: Guida per l’uso - it.startech.com...
- Page 2 StarTech.com. Where they occur these references are for illustrative purposes only and do not represent an endorsement of a product or service by StarTech.com, or an endorsement of the product(s) to which this manual applies by the third-party company in question. Regardless of any direct acknowledgement elsewhere in the body of this document, StarTech.com hereby...
-
Page 3: Table Of Contents
Table of Contents Product diagram ..................1 Front view ..............................1 Back view..............................1 Package contents ...................2 Requirements ..................2 About the LED indicators ..............2 About USB 3.0 and USB 3.1 Gen 1 ............3 Connect the drive enclosure ..............3 Install a hard drive .................3 Prepare a hard drive for use ..............4 Windows OS .............................. -
Page 4: Product Diagram
Product diagram Front view Power/activity LED Door lock Door Power/activity LED Back view Power adapter port eSATA port Power switch USB 3.0 port Instruction manual... -
Page 5: Package Contents
• Computer system with a USB or an eSATA port • 3.5” SATA hard drive Requirements are subject to change. For the latest requirements, please visit www.StarTech.com/S351BMU33ET. About the LED indicators There is a Power/activity LED located above and below the Door on the drive enclosure. -
Page 6: About Usb 3.0 And Usb 3.1 Gen 1
USB 3.0 is also known as USB 3.1 Gen 1. This connectivity standard offers speeds up to 5Gbps. Any mention of USB 3.0 in this manual or on the StarTech.com website for S351BMU33ET refers to the 5Gbps USB 3.1 Gen 1 standard. -
Page 7: Prepare A Hard Drive For Use
5. Close the Door on the drive enclosure and make sure that it clicks shut. Warning! Do not forcibly close the Door on the drive enclosure. If you encounter resistance when you try to close the Door, the hard drive could be inserted incorrectly. Remove the hard drive and make sure it’s inserted correctly. -
Page 8: Macos
2. On the Computer Management screen, click Disk Management. 3. A dialog window appears and asks you to initialize the hard drive. Depending on the version of Windows OS that you’re running, you have the option to create either an MBR or a GPT disk. -
Page 9: Remove A Hard Drive
Remove a hard drive Caution! If the Power/activity LEDs are blinking, do not remove the hard drive from the drive enclosure. Windows OS 1. Click the Safely remove Hardware and Eject Media icon in the task bar. 2. Select the hard drive from the list of storage devices. 3. -
Page 10: Technical Support
Limitation of Liability In no event shall the liability of StarTech.com Ltd. and StarTech.com USA LLP (or their officers, directors, employees or agents) for any damages (whether direct or indirect, special, punitive, incidental, consequential, or otherwise), loss of profits, loss of business, or any pecuniary loss, arising out of or related to the use of the product exceed the actual price paid for the product. - Page 11 StarTech.com is an ISO 9001 Registered manufacturer of connectivity and technology parts. StarTech.com was founded in 1985 and has operations in the United States, Canada, the United Kingdom and Taiwan servicing a worldwide market.
Need help?
Do you have a question about the S351BMU33ET and is the answer not in the manual?
Questions and answers