ZOSI ZR08JP - Network Video Recorder (NVR) Manual
- Quick start manual (13 pages)
Advertisement
Gallery & Specs
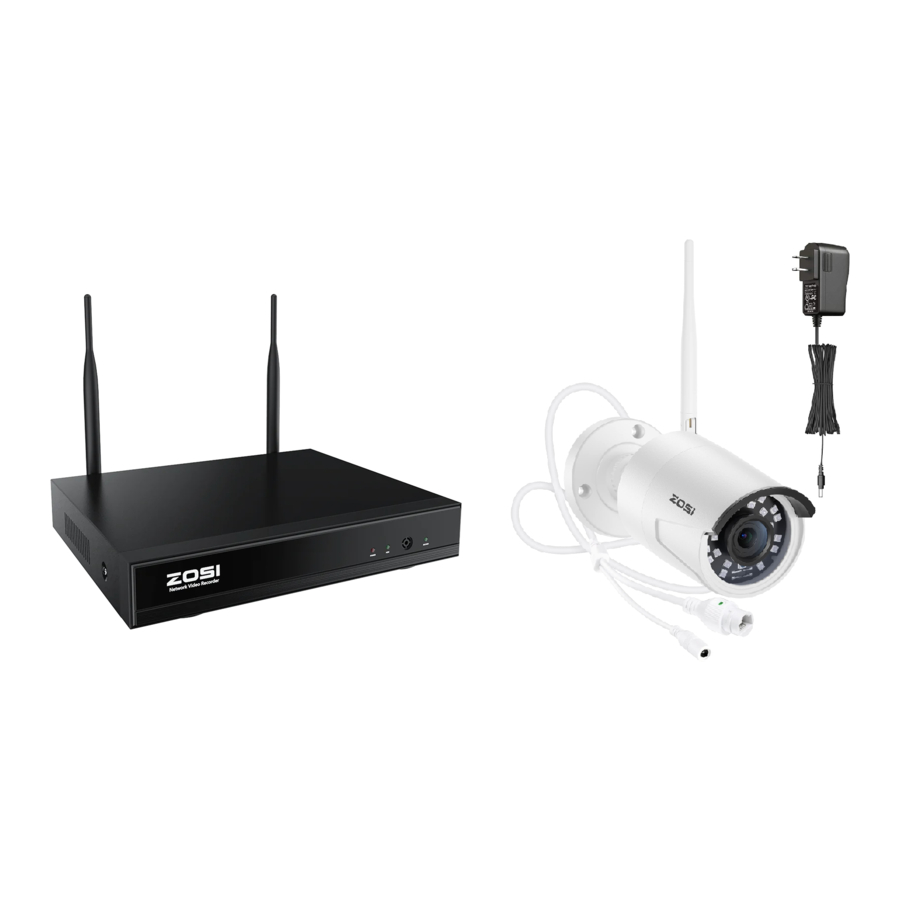
Grabador NVR

Camera

System Connection
Connect NVR to the Internet
- Connect NVR to router using a network cable.
- Connect monitor to NVR via HDMI or VGA port.
- Connect the included USB mouse to the top USB port of NVR.
- Connect NVR to 12V power supply.
- After the system starts, pair and connect IPC and camera to the system (maximum support 8 channels).
- The monitor will show the real-time monitoring picture of the camera.

- Camera Installation Diagram
- Drill 3 holes on the wall according to the mounting hole template, install the wall plug.
![]()
- Align hole site of the camera to wall plug, twist and lock the screws.
![]()
- After adjustment, twist and lock the adjusting screw.
![]()
- Drill 3 holes on the wall according to the mounting hole template, install the wall plug.
- How to test the network status of NVR?
- Right click Mouse > Go to Main Menu > Setting > Network
- Tick 'Obtain IP address automatically'
Click 'Test', if 'OK' is displayed, tick 'DHCP' and apply, the device will automatically assign the corresponding network segment and IP address. After clicking Test, if the page is displayed successfully, it is successfully connected to network.


 NOTE: Please make sure that the DHCP of the connected router is enabled at the same time.

- WiFi Setup
Right-click the main interface - Main Menu - Setup - Network - Wireless Network, default setting and apply.

Download ZOSI Smart App
Zosi Smart

App (IOS/Android)

App video operation link

AVSS PC Client
Install AVSS on PC
Get the AVSS software from www. zositech.com or from your agent. Double-click the icon AVSS to open, select the language and click Login.

Note: You can log in with the default username and password, or register a new account.
The user name is the account an password registered on the App in 2.3.
Device Management
Click the Add Device button in the device list to add/edit/configure/search for the device.

Live View
Select channel to watch live streaming.

Video Playback
Select 'Playback', select device, channel, date, time, click the play button to start replaying recorded video

Add Device
Add IPC to wireless camera system
- Connect IPC and NVR in the same wireless network.
- Right-click the mouse on the live channel page and get the main menu.
- Click IPC Channel Config to enter the configuration page.
- Click the search button to search for IP cameras.

- Tick the IPC channel, click WiFi add.

- The IPC device is successfully added and it can be displayed in live view channel and operated.

Hard Drive/ Micro SD Card
Some camera kits may not contain hard drives, depending on the camera kit you purchase. This kit support most 3.5" HDD.
NOTE: Please skip this step if your recorder has a pre-installed hard drive.
- Remove the top cover
![]()
- Hard disk wiring
![]()
- Fix Hard drive
![]()
- Assemble the cover
![]()


- Power off the NVR, unscrew and remove the top cover of recorder.
- Connect the power cable and data cable of the hard drive to the correspondingports in the recorder.
- Put the hard disk into the recorder. All wires should cross up over the hard drive.
- Hold the hard disk and the NVR, gently turn it over and line up the holes on thehard disk with the holes on the NVR. Use a Phillips screwdriver, screw the included screws into the holes. Assemble the cover.
You need to format the hard drive before recording. Right click mouse> Main Menu> Hard Disk Management> select Hard Disk> Format> Apply.
Video Record
Right click the mouse > Go to Main Menu > Setup > Record
You shall see the record settings for all channels. Modify the record setting based on your needs and apply the changes.
Motion Detection

Set motion Detection, NVR will only record when motion or movement is detected. Right click the mouse > Main Menu > Setup > Alarm > Motion detection.
The system starts recording when motion is detected by the camera, and the captured picture will show at the bottom left corner.
Select camera: tick the channel you want to record on motion detection.
Video Playback
Go to Main Menu > Search, system presents as following:

Search the video you want by time or event to play.

Previous Record: move to last recorded event
Next Record: move to next recorded event
Fast Forward: video can be played at different speed, from 1/4 times to 16 times.
Rewind: Video play can be rewinded at 1 time, 8 times, 16 times and 32 times.
Screen Display Mode: both single-screen and multi-screen are available.
You can choose how many channels you want to playback at the same time. Channel without records presents blank screen.
Video Backup
Insert USB flash drive> right-click the mouse> enter the Main Menu> Hard Disk Management> USB flash drive detected> return> Backup> select Channel and Time period> Search> select the video file you want to back up> click Backup> backup complete.

Live Video Display
You can see picture display on the monitor normally, as the 4-channel picture shown in the figure.

FAQs
Q:Why can't I search for devices when adding cameras?
A:Make sure that the device and the mobile device are on the same LAN, otherwise please enter the device ID manually.
Q: Why can't my device connect to the network?
A: Please check:
- Is the device connected to the Internet?
- Is the router working properly?
- Is the router's DHCP server open?
Q: Why can't I find the video files?
A: Please check:
- Is the hard drive broken?
- Is the search period valid?
- Whether the system time is correct.
Q: Why the monitor screen cannot display for some channels?
A: Please check whether the camera has been added to NVR.
Q: Why can't I watch the recording by entering the device password?
A: Please confirm whether the correct device password is entered. It is recommended to keep the password.
For more information of your new system, please refer to www.zositech.com
 |
Documents / Resources
References
Download manual
Here you can download full pdf version of manual, it may contain additional safety instructions, warranty information, FCC rules, etc.
Advertisement


Need help?
Do you have a question about the ZR08JP and is the answer not in the manual?
Questions and answers