
Related Manuals for ZOSI C190


Summary of Contents for ZOSI C190
- Page 1 Quick Start Guide ZOSI iOS/Android This Quick Start Guide will help you with installation to get you going. For more instructions and details, please contact us.
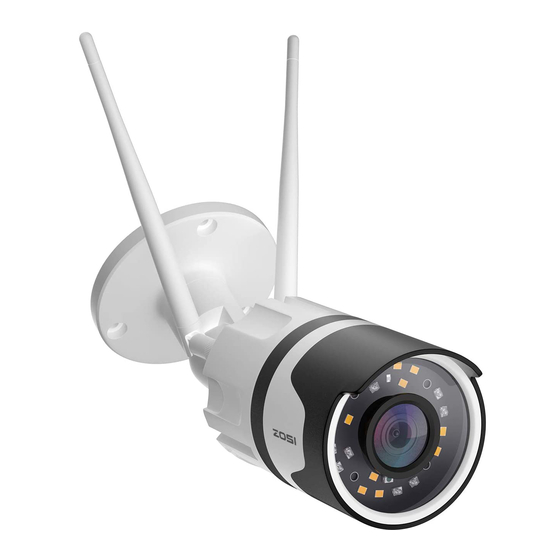
- Page 2 1. Structure Antenna Infrared LEDs Warm White LEDs HD Lens Reset Button Power Supply RJ45 Port...
- Page 3 The following is instructions for the Android version, the interface of the ios version will be slightly different. ▪ Scan the QR code on the device and download the free ZOSI Smart App on smartphone. ▪ Click “Register” to register an account.
- Page 4 (1) Power on the camera, wait about 20 seconds start-up time, it gives out a "device is waiting for connection" tone. After smartphone is connected to WiFi, log in ZOSI Smart App and go to the "My Device" page, click the "+" in the upper right corner to add a device.
- Page 5 (3) Click the "Scan QR Code" and scan the QR code on device or click "Manually enter the device UID", enter device UID and click "OK".
- Page 6 (4) On the device information page, enter the device name and click "Add an unconnected router device".
- Page 7 (5) Configure WiFi setting for the device on the "Connect to WiFi" page. Click "Next" and then click the "Hear the tone" button on the "Power On" page.
- Page 8 (6) Click the "Scan QR Code" button and align the QR code generated on the smartphone with the camera lens for scanning.
- Page 9 (7) Camera make a click sound, and you will hear "Wireless configuration successful" "WiFi is connecting, please wait" and after hearing "Wireless connection succeeds" tone, click "Next" and click "OK" button in the pop-up box. Click "Done" on the "Device Added successfully" page.
- Page 10 (8) Operate on the device page. Note: If the device is not added successfully, please reset the device by pressing the device reset button for 5 seconds, and then add the device again according to the above steps.
- Page 11 4. AP Hotspot (To trigger the hotspot of device, the device shall be unconnected with network or after the device is reset) Power on the camera, you hear a tone "The device is waiting for connection". On the device page, click "+" in the upper right corner, and select "Add device via AP"...
- Page 12 For Android devices: On the "Set up Device" page, search for device hotspot nearby and it will connect automatically, and then jump to the "WiFi device live preview" page.
- Page 13 For ios devices: Follow the instructions on "WiFi Guide" page.
- Page 14 Pairing camera AP (default password is ipc12345678)
- Page 15 Click "Add" in the pop-up box on the "Connect devices" page, and then jump to the "WiFi device live preview" page.
- Page 16 A: If you need to configure WiFi for the device, select WiFi and enter WiFi password to connect. Select WiFi nearby, the device does not support 5GHz WIFI for now, WIFI with Chinese or special characters is also not supported. Device is connecting on the "To Add Device"...
- Page 17 B: Operate in AP mode only. Click the return sign in the upper left corner, click “OK” on the pop-up box. Click "AP Tools" on "My" page, select and operate the device. Functions are relatively reduced and you can operate on the setting page.
- Page 20 5. Camera Alarm System Speaker SD Card ( remove this plastic cover with a screwdriver) Microphone...
- Page 21 5.1 After the manual alarm function is triggered, the device will set off a “beep” alarm sound, and the warm light will continue to emit strong flashing light to deter the intruder. At the same time, a one-minute manual alarm countdown will appear on the device page.
- Page 22 5.2 After the "Camera Alarm" page is set, the related human detection alert will be pushed (the human shape will be marked by a red box). On the "Message" page, you can click "Intelligent Detection" or "Motion Detection" to view the related list of alarm contents. 5.3 Click one of the alarm recordings to enter the "Message Details"...
- Page 23 5.4 Click "Playback" in the upper right corner into the video playback page for replaying recorded footage.
- Page 24 5.5 On "Settings" page, click the "Camera Alarm" button to set up relevant alarms. The "Camera Alarm" function can be turned on and off; Click "Alarm Mode" to set different alarm modes. Click "Detection Alarm Type" to choose detection type; you can set the "Night mode light"...
- Page 25 Note: In order to achieve better results in human detection, please refer to the following installation requirements: The height of the installed camera is 1.5 ~ 3 meters, and the effective detection distance is 1-20 meters from the device; The installation angle is mainly head-up view and overhead view, which to ensure average illumination in the monitoring area.
- Page 26 Installation Diagram: Wall Head-up Angle Wall Overhead Angle...
- Page 27 6. Remote Access on PC AVSS PC client can be applied to remote access and control of DVR / NVR / XVR / IPC, with live view, device management, remote video playback and other functions. 6.1 Login Download and install AVSS PC client, double-click the icon AVSS to open, select the language and click Login.
- Page 28 6.2 Device Management 6.2.1 Click "Device Management" to add monitoring zone and device information. 6.2.2 Add area: Right-click to add an area in the blank area and enter the name of the area. The name of the area is used to name the monitored area.
- Page 29 6.2.3 Add device: Select the area and right-click to add a device, change the device type to IPC, enter the device name, device ID, user name, device password, and channel number, and then click "OK" to save the setting. Note: The user name is "admin" by default, and the number of channels of IPC shall be "1"...
- Page 30 6.4 Remote Video Playback Click "Remote Playback", select the device, channel and date, click "Search Now" to find the video you want to replay. Select the time on the timeline, and click the "Start" button to start playing pre-recorded video from certain timing.
- Page 31 7. FAQs 1.Q: Why can't I add a device by using local search? A: Please make sure the device and mobile phone are in the same LAN. If you can't make both of them in the same LAN, please manually enter the UID of the device to add a device. 2.Q: Why is the device disconnected? A: Please check ▪...
Need help?
Do you have a question about the C190 and is the answer not in the manual?
Questions and answers