Advertisement
Quick Links
Advertisement

Related Manuals for Amcrest IP4M-1062EW-AI


Summary of Contents for Amcrest IP4M-1062EW-AI
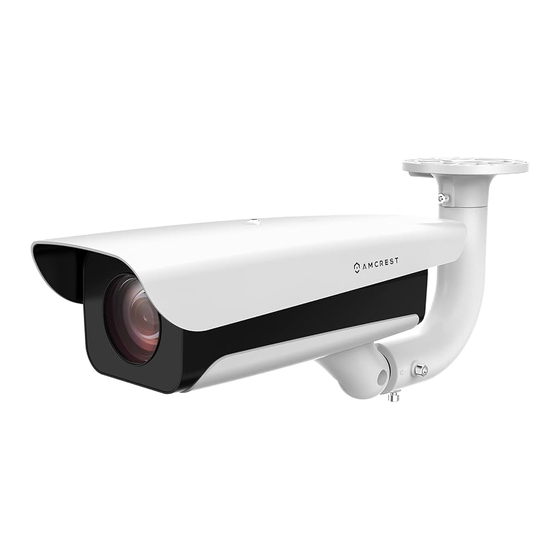
- Page 1 IP4M-1062EW-AI Quick Start Guide Version 1.0.0 November 25 , 2022...
-
Page 2: Table Of Contents
Contents Overview ..........................3 Installation ..........................3 Initialization ..........................5 Query ............................. 6 Email Alerts ........................... 8 How To Upgrade System Firmware ..................9 FCC Statement ........................13 References & Contact Information ..................13... -
Page 3: Overview
Welcome Thank you for purchasing an Amcrest LPR camera! This document provides a quick setup and overview of your device and its features. For access to a full user manual or further information regarding your device please visit: http://amcrest.com/support Important Safeguards and Warnings ●... - Page 4 Camera Installation Included with your camera is an installation bracket that can be used to mount your camera to an installation surface such as a wall or pole. As stated, please make sure the installation surface can support at least 3 times the weight of the bracket and camera. For more information, please refer to the installation guide included with this device.
-
Page 5: Initialization
Amcrest IP config tool, before locating the IP address, please make sure the camera and the computer are on the same network. To download the Amcrest IP config tool, please visit amcrest.com/downloads and download the IP config software. -
Page 6: Query
The information available in the query menu will be based on how the event type is stored. The snapshots can be retained using a microSD card or using an SFTP/FTP protocol. For more information on how to setup SFTP/FTP, please visit amcrest.com/support. - Page 7 Image Search This option allows the user to search and download plate information for events that have been stored locally on a microSD card. The PC Picture tab also provides a method to browse a directory on the computer to access images stored on the PC. To view an event, select a beginning and end time (date &...
-
Page 8: Email Alerts
To export these files, select a date & time range and click Search, a list of all events for that date & time range will appear. To export a report of these events, click the Export All button, select a directory and download the file to your computer. -
Page 9: How To Upgrade System Firmware
For security purposes, it is highly recommended to upgrade the firmware on your device every time a new firmware is available. To locate the most up to date firmware for your device please visit https://amcrest.com/firmware 1. Download the .bin file for your camera from https://amcrest.com/firmware 2. - Page 10 5. Click on the DDNS menu located in the Network tab. In the DDNS menu, click on the Type checkbox to enable DDNS. Make sure the AMCREST DDNS type is selected and a host name for the camera (one you create) is entered in the HostName field. As an example, the hostname will be in the following format: mynewcamera.amcrestddns.com...
- Page 11 Amcrest View Pro App Setup The LPR camera can be added to the Amcrest View Pro app if needed, however, is only applicable to live view as the camera does not support video playback, motion detection, or push notifications. It is for live view purposes only.
- Page 12 Live View” to access the tag along with the scannable password. The default username barcode. and password will be admin. Tap device in the app. “Start Live View”. For more information regarding the Amcrest View Pro app, please visit: https://amcrest.com/support...
-
Page 13: Fcc Statement
RF exposure compliance. References & Contact Information To view setup videos for many of the steps outlined in this guide, go to http://amcrest.com/videos For more supplemental information, a full user manual, or to view articles related to your device visit http://amcrest.com/support...
Need help?
Do you have a question about the IP4M-1062EW-AI and is the answer not in the manual?
Questions and answers