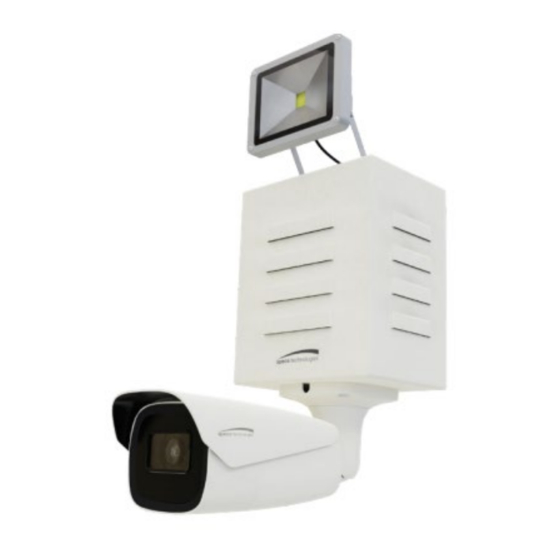
Summary of Contents for Speco DD2
- Page 1 INSTALLATION & QUICK START GUIDE Please read this manual carefully before operating the unit and keep it for further reference. All specifications and design are subject to change without notice.
-
Page 2: Electrical Safety
• This guide is for reference only. • Product, manuals, and specifications may be modified without prior notice. Speco Technologies reserves the right to modify these without notice and without incurring any obligation. • Speco Technologies is not liable for any loss caused by improper operation. - Page 3 1 Phillips head screwdriver (not included) 4 mounting screws and anchors Installation steps 1. Begin by unscrewing two screws located on the bottom base of the camera/top of the DD2 box. (Refer to Figure 1) (Figure 1) 2. Pull the bottom of the cover outwards, and then slide the entire back cover off the two pegs towards the top.
- Page 4 With the base securely fastened against the mounting surface, replace the cover, again accounting for the 2 pegs at the top. Refasten the two screws on the bottom to secure the backplate to the enclosure. (Please refer to the DD2 Diagram on the next page when mounting)
- Page 5 DD2 Diagram 7. Using the supplied Allen key, adjust the camera to the desired viewing angle. (Refer to Figure 6) Figure 6...
-
Page 6: Operation
Operation 1) Once the camera is connected to a PoE source, you are now able to log into the camera through a web browser. 2) If you are having an issue connecting to the camera make sure the PC and the IP-camera are connected on the same local network. - Page 7 Motion Detection (This will not be enabled by default) -Go to Event Setup Motion Detection to set motion detection alarm. 1) Check “Enable” check box to activate motion-based alarms. If unchecked, the camera will not send out any signals to trigger motion-based recording to the NVR or CMS, even if there is motion in the video.
- Page 8 Set motion detection area and sensitivity. Click the “Area and Sensitivity” tab to go to the interface as shown below. Move the “Sensitivity” scroll bar to set the sensitivity. Higher sensitivity value means that motion will be triggered more easily. Select “Add” and click “Draw”. Drag the mouse to draw the motion detection area;...
- Page 9 5. Set the schedule of the object removal detection. The setup steps of the schedule are the same as the schedule recording. Speco Technologies is constantly developing and improving products. We reserve the right to modify product design and specifications without notice and without incurring any obligation.


Need help?
Do you have a question about the DD2 and is the answer not in the manual?
Questions and answers