Table of Contents
Advertisement
Quick Links
Getting Started
In the Getting Started section, you can find all the information you need to configure your
board, use the Arduino Software (IDE), and start to tinker with coding and electronics.
Power
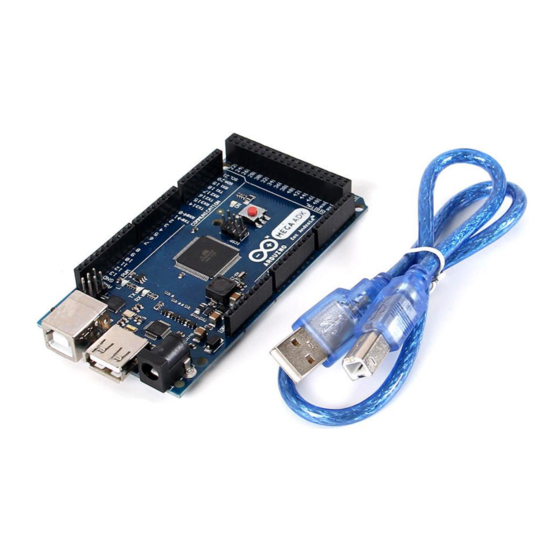
The Arduino MEGA ADK can be powered via the USB connection or with an external power
supply. The power source is selected automatically.
External (non-USB) power can come either from an AC-to-DC adapter (wall-wart) or battery.
The adapter can be connected by plugging a 2.1mm center-positive plug into the board's
power jack. Leads from a battery can be inserted in the Gnd and Vin pin headers of the
POWER connector.
NB: Because the MEGA ADK is a USB Host, the phone will attempt to draw power from it
when it needs to charge. When the ADK is powered over USB, 500mA total is available for
the phone and board. The external power regulator can supply up to 1500mA. 750mA is
available for the phone and MEGA ADK board. An additional 750mA is allocated for any
actuators and sensors attached to the board. A power supply must be capable of providing
1.5A to use this much current.
The board can operate on an external supply of 5.5 to 16 volts. If supplied with less than 7V,
however, the 5V pin may supply less than five volts and the board may be unstable. If using
more than 12V, the voltage regulator may overheat and damage the board. The recommended
range is 7 to 12 volts.
Arduino Mega ADK
User Manual
w w w . e k t
. c o m
2
Electronics
Katrangi
Trading
Advertisement
Table of Contents

Subscribe to Our Youtube Channel
Related Manuals for Arduino Mega ADK


Summary of Contents for Arduino Mega ADK
- Page 1 Leads from a battery can be inserted in the Gnd and Vin pin headers of the POWER connector. NB: Because the MEGA ADK is a USB Host, the phone will attempt to draw power from it when it needs to charge. When the ADK is powered over USB, 500mA total is available for the phone and board.
- Page 2 5V or 3.3V. Memory The MEGA ADK has 256 KB of flash memory for storing code (of which 8 KB is used for the bootloader), 8 KB of SRAM and 4 KB of EEPROM (which can be read and written with the EEPROM library).
- Page 3 TWI pins on the Duemilanove or Diecimila. The MEGA ADK has 16 analog inputs, each of which provide 10 bits of resolution (i.e. 1024 different values). By default they measure from ground to 5 volts, though is it possible to change the upper end of their range using the AREF pin and analog Reference () function.
- Page 4 Rather then requiring a physical press of the reset button before an upload, the Arduino MEGA ADK is designed in a way that allows it to be reset by software running on a connected computer. One of the hardware flow control lines (DTR) of the ATmega8U2 is connected to the reset line of the ATmega2560 via a 100 nanofarad capacitor.
- Page 5 Physical Characteristics and Shield Compatibility The maximum length and width of the MEGA ADK PCB are 4 and 2.1 inches respectively, with the USB connector and power jack extending beyond the former dimension. Three screw holes allow the board to be attached to a surface or case. Note that the distance between digital pins 7 and 8 is 160 mil (0.16"), not an even multiple of the 100 mil spacing of the other pins.
Need help?
Do you have a question about the Mega ADK and is the answer not in the manual?
Questions and answers