Advertisement
Switch activation
- Press switch once – Full power for both main LED and downcast LEDs
- Press switch twice within 2 seconds – Half power for main LED but full power for downcast LEDs
- Press switch 3 times within 2 seconds – Downcast LEDs only
- Press switch 4 times or any time after 2 seconds – Light off
- Press and hold the switch for more than 2 seconds – Signaling mode
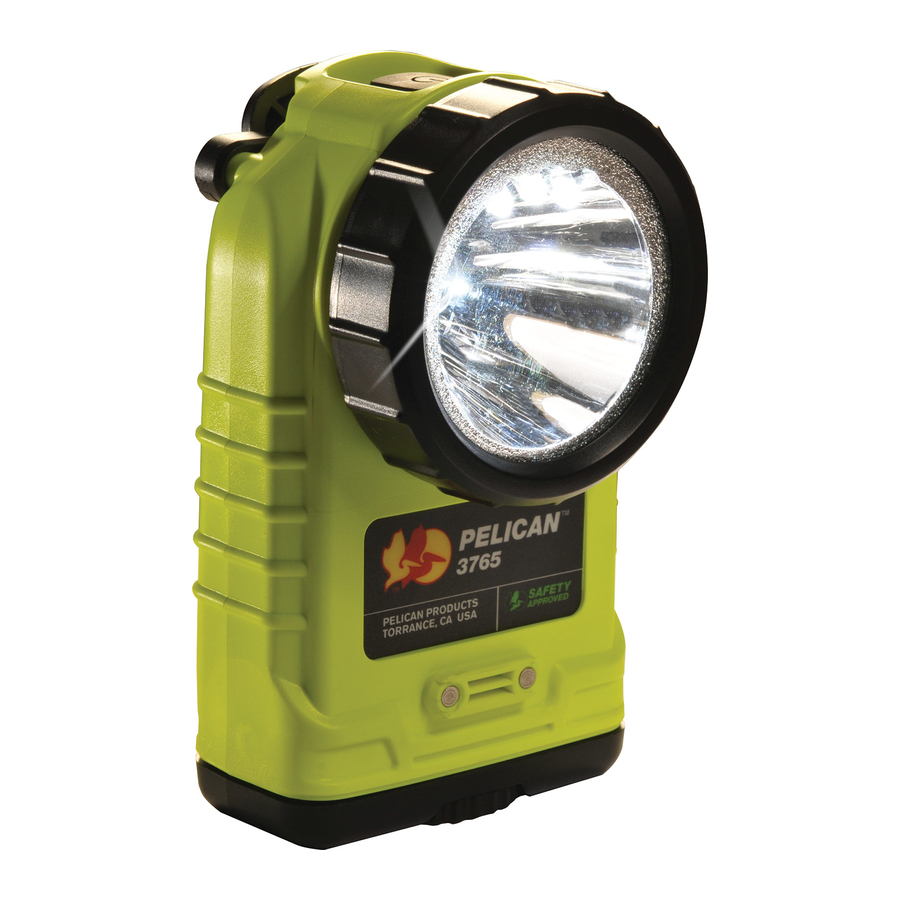
Battery Levels
At the top of the 3765 is the battery level indicator

• • • 75%-100%
• • 50%-75%
• 25%-50%
Blinking Less than 25%

STATIC HAZARD --- Clean only with a damp cloth.
Explosion Hazard - Substitution of components may impair suitability for use in hazardous locations
Risk of ignition - DO NOT OPEN IN HAZARDOUS AREA
DO NOT MODIFY THIS PRODUCT
BATTERY INSTALLATION, BATTERY REPLACEMENT
- Turn the knob counter clockwise to remove the battery cover
![]()
- Insert the batteries with correct polarity as shown on the inside of the battery cover
![]()
Battery Compartment - Replace the battery cover (it will only fit one way)
- Turn the knob clockwise to tighten the battery cover


To ensure long term performance charge battery for 24 hours or more before first use.
CHARGE TIME 3 TO 4 HRS.
- Push the AC/DC Power Transformer plug into the Charger Socket (the transformer socket is located in a pocket in the base). Plug transformer into electrical receptacle.
The LED should be SOLID RED.
- Insert the flashlight into charger base until locked in position. The LED on the charger base will\pulse RED. Additionally, the three blue charge status indicators on the light will blink as the light is charging.
- When the LED on the charger base changes to SOLID GREEN and the status indicators on the light turn off, the light is fully charged and ready to use.
Battery Safety Information
HANDLE AND STORE BATTERIES PROPERLY TO AVOID INJURY OR DAMAGE BATTERIES CAN BE DANGEROUS!
Most battery issues arise from improper handling of batteries, and particularly from the use of damaged or counterfeit batteries. Please review the information below to avoid serious injury and/or damage to your property.
Rechargeable Batteries
- Hazardous location safety approvals for explosive environments are only valid for the Pelican battery pack that is supplied with the light.
- For replacement battery packs only use the approved Pelican battery pack for the model of the light that you are using. The use of other battery packs will invalidate the safety approval.
- Lights should only be charged in a non-hazardous location.
- Lights should only be charged using the Pelican charger base that is supplied with the light.
- Do not charge with alkaline batteries installed in the light. Attempting this can cause internal gas or heat generation resulting in venting, explosion or possibly fire.
- Deep discharge of the rechargeable battery may cause batteries to vent potentially dangerous gasses and electrolytes.
Always dispose of all batteries properly at an approved battery recycling center.

If light is not to be used for some time, remove batteries to prevent possible leakage and corrosion.
PRODUCT SPECIFICATIONS
Lamp Type: LED
Battery Type: 3769 NiMH Battery Pack
ACCESSORIES
| 2467F | 110V TRANSFORMER FOR CHARGER |
| 6061F | DIRECT WIRING RIG FOR CHARGER |
| 3770F | DESK/DASH SMART CHARGER BASE UNIT |
| 8056F | 12V PLUG-IN CHARGER CORD FOR CHARGER |
| 3769 | REPLACEMENT NiMH BATTERY PACK |
| 3713PL | PHOTOLUMINESCENT SHROUD |

Documents / ResourcesDownload manual
Here you can download full pdf version of manual, it may contain additional safety instructions, warranty information, FCC rules, etc.
Download Pelican 3765 LED - Right Angle LED Flashlight Manual
Advertisement


Need help?
Do you have a question about the 3765 LED and is the answer not in the manual?
Questions and answers