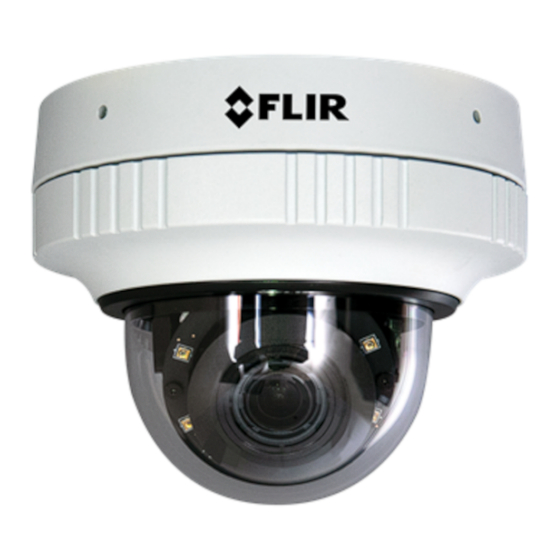
Advertisement
Quick Links
1 Check Contents
Make sure all of the items above are included in the camera kit.
2 Select a Location
Warnings
·
Placing a camera in an environment subject to extremely high temperature
can result in an explosion or the leakage of flammable liquid or gas.
·
Subjecting the camera to extremely low air pressure can result in an explosion
or the leakage of flammable liquid or gas.
·
The camera must be installed by qualified personnel and the installation
should conform to all local codes.
Verify that the operating temperature falls within the following ranges, with 10-90%
non-condensing humidity:
·
Without heater: -30° C to 60° C (-22° F to 140° F)
·
With heater: -55° C to 60° C (-67° F to 140° F)
·
Cold start with heater: -40° C to 60° C (-40° F to 140° F)Make sure you have the
required accessories and tools.
Make sure that the location provides a suitable method for routing cables to and
from the camera.
CM-640x-11-I Quick Install Guide Revision 150
This document does not contain any export-controlled information.
Quasar™ Premium
Mini-Dome Cameras
Quick Install Guide
December 2022
Advertisement

Subscribe to Our Youtube Channel
Summary of Contents for Teledyne Quasar Premium
- Page 1 Quasar™ Premium Mini-Dome Cameras Quick Install Guide 1 Check Contents Make sure all of the items above are included in the camera kit. 2 Select a Location Warnings · Placing a camera in an environment subject to extremely high temperature can result in an explosion or the leakage of flammable liquid or gas.
- Page 2 CM-6405-11-I 12.5 W CM-6408-11-I 11.5 W For assistance with purchasing a power supply, contact Teledyne FLIR. 3 Remove Cover and Separate Base When unpacking the camera, do not remove the plastic sheet protecting the dome. To remove the dome cover: a.
-
Page 3: Connect The Camera
Separate Base from Bracket 4 Connect the Camera To install the camera, Teledyne FLIR recommends connecting the camera on a bench or in a lab and configuring it for networking before mounting and aiming it. However, circumstances can dictate adjusting the sequence of the steps. For example, you can mount the camera before configuring it for networking, or connect the camera before mounting it. - Page 4 5 Configure for Networking To discover the camera on the network, Teledyne FLIR recommends using the FLIR Discovery Network Assistant (DNA) tool, which does not require a license to use, and is a free download from the product's web page on the Teledyne FLIR website.
- Page 5 DNA tool Camera's web page Discover camera IP address • Configure IP address, mask, and gateway • • Configure DNS settings, MTU, and Ethernet speed • Change user credentials • • Change video format • • Configure more than one camera at the same time •...
- Page 6 2. In the DNA - Login window, type a user name for a user assigned Admin privileges and the password. If you do not know this information, contact the person who configured the camera's users and passwords. 3. Click Login, wait for Ok status to appear, and then click Close.
- Page 7 Using the hardware included in the camera kit, you can mount the camera onto a standard electrical box or onto a suitable surface. For information about other mounting options, including the list of Teledyne FLIR mounting accessories that support the camera, see the camera's installation and user guide.
- Page 8 11 Route Cables and Connect the Camera Cables can enter the camera from the side or from the rear. To route cables through the side of the camera, use the Torx wrench to loosen the screw securing the side conduit hole cover and remove the hole cover. Then, route cables through the hole.
- Page 9 Google Chrome® and other popular web browsers. To access the camera's web page: a. Do one of the following: o In the Teledyne FLIR Discovery Network Assistant (DNA) tool, double-click the camera in the Discover List.
- Page 10 When logging in to the camera for the first time or for the first time after resetting the camera to its factory defaults: 1. Log in with user name admin and the default password, admin. 2. Specify a new password for user name admin: o must be 8-64 characters o can include the following special characters: @#~!$&<>+_-.,*? o cannot include four-digit sequences (for example, 1234)
-
Page 11: Camera Dimensions
Many of these configuration steps can be performed before or after mounting the camera. However, some of them can or should only be performed after mounting the camera. For more information about configuring the camera, see the camera's installation and user guide. 14 Attach the Camera to a Supported VMS After mounting the camera and discovering or defining its IP address, use VMS Discovery/Attach procedures to attach the camera to a supported VMS.


Need help?
Do you have a question about the Quasar Premium and is the answer not in the manual?
Questions and answers