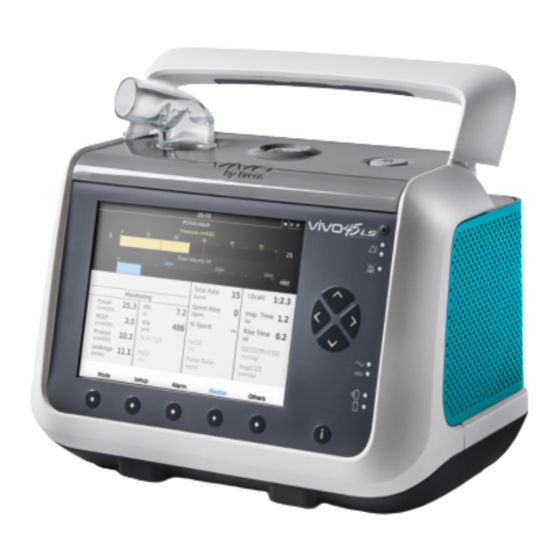
Breas vivo 45 LS Quick Reference Manual
Hide thumbs
Also See for vivo 45 LS:
- Quick reference manual (2 pages) ,
- Service manual (96 pages) ,
- User manual (194 pages)
Table of Contents
Advertisement
Quick Links
Vivo 45 LS
Quick Reference Guide for Healthcare Professionals
This is not a complete guide for the Vivo 45 LS. See your manual for complete instructions.
Setting Up and Powering on the Ventilator
• All users must be trained in the use of the Vivo 45 LS prior to operating
the device.
• Before operating the ventilator, inspect the ventilator, power supply,
power cord and accessories for any signs of damage. Do not use the
device or accessories if damage is suspected.
• Do not use the ventilator while positioned in a warm place, such as in
direct sunlight or close to a radiator as this may lead to a temperature
outside of specifications.
Placing the Ventilator Before Use
Place the Vivo 45 LS on a solid flat surface. It should be placed lower than
the patient. Make sure that nothing can block the patient air inlet. Make
sure that nothing can block the cooling air inlet or outlet.
Connecting the Vivo 45 LS to Mains (AC Power Outlet)
1. Plug the power supply into the power
inlet.
2. Make sure a clicking sound is heard to
ensure the power supply is completely
inserted.
3. Connect the power supply's power cord to
the mains supply.
Connecting Accessories
Connecting and Disconnecting the
Accessory Cables
1. Insert the cable in the appropriate port.
(See Rear View)
2. Make sure to insert the connector with
the marking pointing upwards.
3. Pull the connector sleeve, not the cable itself or the cable strain relief to
release the connector.
EtCO
sensor
2
SpO2 finger clip sensor
SpO
Connection
2
interface
Customer Support Line: 855-436-8724
Monday through Friday 8am to 5pm EST
Rear View
Equipment Designation
Exhalation valve port
Connection for low
pressure/bleed-in
oxygen
Item/ Symbol
Click-in Battery
The click-in battery is intended as a power source during transportation, or
if the primary AC power source fails.
Installing the Click-in Battery
1. Lift Handle and press button 1 to release
2. Open and remove the side panel.
PtcCO
sensor
2
3. Insert the click-in battery. Make sure
4. Close the side panel. Make sure there is a
Click-in battery
1
Description
CO
interface port
2
SpO
interface port
2
Remote start/stop and audio pause
port
Remote alarm, nurse call interface port
Mains/ External DC inlet
the side cover.
the latch at the bottom of the click-in
compartment is engaged.
clicking sound to secure the side panel.
When removing the battery, press down
the latch at the bottom of the battery
compartment and tilt the ventilator
sideways.
Color
1
009018
Revision D-1
Advertisement
Table of Contents

Summary of Contents for Breas vivo 45 LS
- Page 1 Vivo 45 LS Quick Reference Guide for Healthcare Professionals This is not a complete guide for the Vivo 45 LS. See your manual for complete instructions. Setting Up and Powering on the Ventilator Rear View Equipment Designation • All users must be trained in the use of the Vivo 45 LS prior to operating the device.
- Page 2 Connecting the Patient Circuit 4. The next step is the circuit compliance test. Block the end of the patient circuit with 1. Inspect the circuit for damage. your hand and press “OK” 2. Connect the patient circuit to the patient 5.
- Page 3 The hospital’s nurse call system will remain active as long as any alarm • Use the down button to select “Alarm Sound Level” remains active on the Vivo 45 LS. • Use left and right arrows to change alarm sound level to desired setting...
- Page 4 *Vivo by Breas, Breas and the Breas logo are trademarks of Breas Medical AB. © 2020 Breas Medical – All rights reserved.


Need help?
Do you have a question about the vivo 45 LS and is the answer not in the manual?
Questions and answers