Pfeiffer Vacuum ASM 306S Condensed Manual
Hide thumbs
Also See for ASM 306S:
- Operating instructions manual (68 pages) ,
- Additional installation, operation and maintenance instructions (30 pages) ,
- Operating instructions manual (48 pages)
Table of Contents
Advertisement
Quick Links
Calibration
It is advisable to perform a calibration:
● at least once a day,
● to optimize the accuracy of the measure,
● if it is uncertain whether the leak detector is working
properly,
● for intense operation: start calibration at the beginning of
each work session (e.g. work in shifts, every 8 hours).
It is advisable to use a calibrated leak within the range of
10
-5
mbar · l/s (10
-6
Pa · m
3
/s), containing the set tracer gas.
1.
Place the sniffer probe in the calibrated leak (calibrated
leak in its storage area or manually handed).
2.
Press the CAL button.
3.
Follow the instructions given by the leak detector.
Start/Stop a test according to sniffer method by localization
The leak detector is designed to be used only with the
manufacturer's sniffer probe (accessory at the expense of the
user).
1.
Install the sniffer probe before turning on the detector.
2.
Set the switch/circuit breaker to I.
3.
Wait for the detector to enter 'Measure' mode.
4.
Test pieces according to graphic opposite.
For the use of another method, see the leak detector
operating instructions.
─ Sweep slowly and from bottom to top, with the sniffer
probe the areas of the piece to be tested that may leak.
─ The test result is displayed on the control panel.
5.
Stop the test pressing START/STOP button: screen display
6.
Restart a test pressing START/STOP button: screen display
Mode 'Measure'
Good piece →
Measuring
Bad piece →
Measured leak rate < Reject point
Measured leak rate > Reject point
1
2
3
1. Tracer gas
2. Test piece
Stand-by
.
Measuring
.
Mode 'Stand-by'
Rejected
Accessories
A
B
Description
A Sniffer probe
B Calibrated leak
≈ 5 · 10
mbar · l/s
-5
(≈ 5 · 10
Pa · m
/s)
-6
3
C Transport cart
Detector interface
4
3. Sniffer probe
4. Leak detector
6
5
1. Storage box with partitions
2. Sniffer probe sheath fastening point
3. Connector for USB stick
4. Not used
5. Provisional cover for the calibrated leak storage area
C
Choice
Part number
with 2 m cable
PRB2H02HA
with 5 m cable
PRB2H05HA
with 10 m cable
PRB2H10HA
100 %
He
127388
4
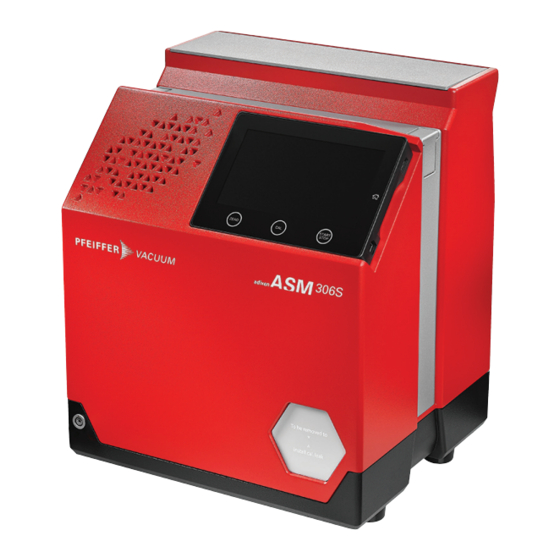
ASM 306S
-
114820
For further information, consult the operating manual
delivered with the leak detector.
1
2
3
4
6. Sniffer probe connector
7. Switch/Circuit breaker
8. Mains power supply
9. Communication interface according to configuration upon
order (example)
Condensed manual
9
8
7
Advertisement
Table of Contents

Related Manuals for Pfeiffer Vacuum ASM 306S


Summary of Contents for Pfeiffer Vacuum ASM 306S
- Page 1 PRB2H02HA with 5 m cable PRB2H05HA with 10 m cable PRB2H10HA B Calibrated leak 100 % 127388 ASM 306S ≈ 5 · 10 mbar · l/s Condensed manual (≈ 5 · 10 Pa · m C Transport cart 114820 For further information, consult the operating manual delivered with the leak detector.
- Page 2 Navigation Operator interface 17 16 14 13 15 12 13 12 10 9 1. Touch screen 2. Main screen access button 3. Start/stop a leak test Graph screen Main screen Settings menu 4. Start a calibration 5. Start a zero Item Function Item Function Menu...
Need help?
Do you have a question about the ASM 306S and is the answer not in the manual?
Questions and answers