Table of Contents
Advertisement
Quick Links
1455 Kleppe Lane Sparks, NV 89431-6467 (888) 909-4297
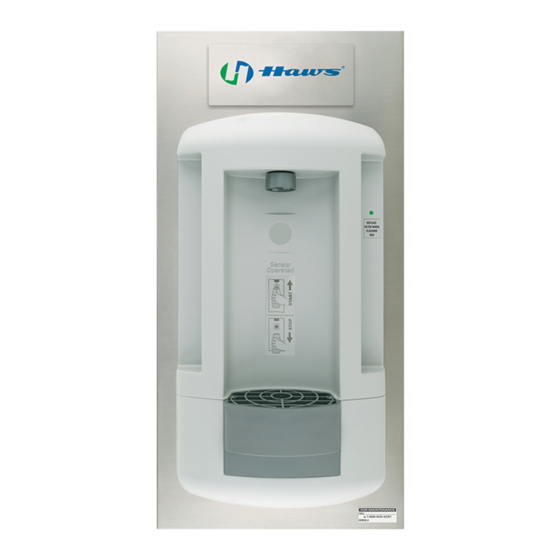
Bottle Filler with Lifecycle Control
NOTE: A Class A ground-fault circuit interrupter
(GFCI) shall be installed in the branch-circuit
supplying power to this unit.
SHOULD YOU EXPERIENCE DIFFICULTY WITH THE INSTALLATION OF THIS
MODEL, OR REQUIRE REPLACEMENT PARTS, PLEASE CALL:
HOURS OF OPERATION: MON-THURS 7:00a.m. - 4:30p.m PT, FRI 7:00a.m.- 11:00a.m. PT
PARTS LIST: 1 bottle filler, 1 filter cartridge, 1 plastic drain basin, 1 brass waste bend, 1 waste
nut, 1 rubber waste washer, 1 hex key, 2 drain basin screws, 2 drain basin screw washers, 1 logo
plate and cardboard installation template.
RECOMMENDED TOOLS: Phillips screwdrivers, level, slip joint pliers.
REQUIRED PARTS (NOT SUPPLIED): Qty. 6 – 10 #6 sheet metal or wood screws (depending on
construction of wall studs), 1/2" screwdriver stop, 3/8" tubing (to be used for water supply inlet), 1-
1/4" trap, qty. 3 wire connectors.
PRODUCT INSTALLATION: When installing this product, local, state or federal codes should be
adhered to. This unit is certified for indoor use only.
SUPPLY LINE: Minimum recommended line size is 1/2" IPS with 30-90 PSI (2-6 ATM) flowing
pressure; supply water is to be cold water supply. Intended for municipal water only.
PLUMBING CONNECTIONS: Inlet is 3/8" O.D. push-in type fitting. Waste bend is 1-1/4" O.D.
pipe; an acceptable trap must be used after waste bend.
ELECTRICAL CONNECTIONS: 115VAC, 60HZ, approx. 0.14A. Unit wired directly to incoming
line (stripped leads provided).
RATED SERVICE FLOW: 0.5 GPM (2725L/day)
OPERATING TEMPERATURE: 35–100
OPERATING PRESSURE: 30-90 PSI
FILTER CAPACITY: 2500 gallons (9460L) or 1 year
REPLACEMENT FILTER CARTRIDGE: Electronic Lifecycle Control Filter Model 6423
®
© 2018 Haws
Corporation – All Rights Reserved
®
HAWS
and other trademarks used in these materials are the exclusive property of Haws Corporation.
08/18
website:
www.Hawsco.com
Model 2000S
TECHNICAL SUPPORT:
1-800-766-5612
QUICK START REFERENCE
°
F (1.7–37.8
Model 2000S
INSTALLATION GUIDE
CAUTION! Prior to making any electrical
connections, verify with a voltmeter that power
from the service panel is off.
°
C)
No. 0510000663 (3)
Page 1 of 7
Advertisement
Table of Contents

Related Manuals for Haws 2000S


Summary of Contents for Haws 2000S
- Page 1 REPLACEMENT FILTER CARTRIDGE: Electronic Lifecycle Control Filter Model 6423 ® © 2018 Haws Corporation – All Rights Reserved ® HAWS and other trademarks used in these materials are the exclusive property of Haws Corporation. 08/18 Model 2000S Page 1 of 7...
- Page 2 This will disengage the internal spring latch. Simultaneously pull open the hinged panel (see Step 1 Diagram). Take care not to damage the stainless steel panel or the spring latch in this process. Step 1 Diagram 08/18 Model 2000S Page 2 of 7...
- Page 3 Step 4: Firmly screw filter cartridge into filter head (see Step 4 Diagram). NOTE: Bottle filler will work only if a filter cartridge is installed and its wiring is plugged in (see Step 9). 08/18 Model 2000S Page 3 of 7...
- Page 4 (it may be helpful to use a wall-mounted access panel). NOTE: When installing this unit, all pertinent local, state, or federal codes should be adhered Bottle filler (rear cover removed) viewed from behind wall Step 5 Diagram 08/18 Model 2000S Page 4 of 7...
- Page 5 Connect supply power to lead (black), neutral (white), and ground (green) wires inside the box (stripped leads provided) (see Step 8 Diagram). Replace cover. Step 8 Diagram 08/18 Model 2000S Page 5 of 7...
- Page 6 (both of these are normal occurrences after a filter change). Check the system for leaks. Place hex key in a secure location. 08/18 Model 2000S Page 6 of 7...
- Page 7 Diagram). Remove the adhesive backing from the logo plate and carefully place into the window of the alignment template. Press firmly to secure the logo plate. Remove and discard the cardboard template. Step 13 Diagram 08/18 Model 2000S Page 7 of 7...
Need help?
Do you have a question about the 2000S and is the answer not in the manual?
Questions and answers