
Related Manuals for Mitsubishi Electric PEA-RP140 WJA


Summary of Contents for Mitsubishi Electric PEA-RP140 WJA
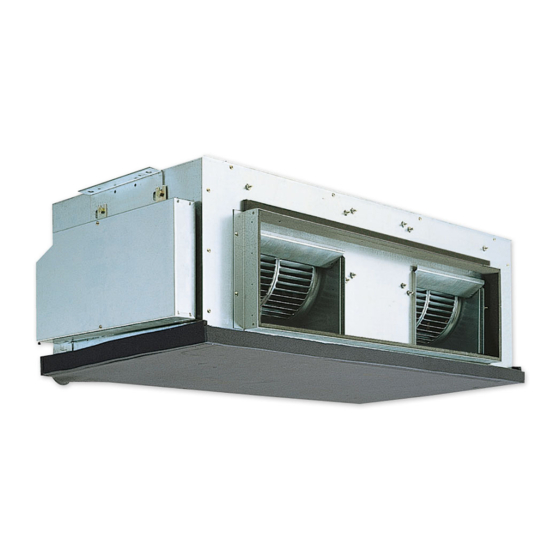
- Page 1 Air-Conditioners INDOOR UNIT PEA-RP140,170,200 WJA OPERATION MANUAL For safe and correct use, please read this operation manual thoroughly before operating the air-conditioner unit.
- Page 2 Remote controller-Button 5 6 8 a [Set Temperature] Button A Current time/Timer time b [Timer Menu] Button c [Mode] Button B Centralized control indicator [Monitor/Set] Button [Back] Button C Timer OFF indicator d [Timer On/Off] Button e [Louver] Button D Timer mode indicator [Set Day] Button [Operation] Button E Operation mode display:...
- Page 3 • The unit must be properly grounded. Never connect the grounding wire to a • Use only accessories authorized by Mitsubishi Electric and ask your dealer gas pipe, water pipe, lightning conductor or telephone grounding wire. If the or an authorized company to install them.
- Page 4 • Do not place a gas heater or any other open-flame appliance where it will be • If the remote controller displays an error indication, the air conditioner does exposed to the air discharged from the unit. Incomplete combustion may not run, or there is any abnormality, stop operation and contact your dealer.
- Page 5 In the electronics dry operation, the indoor fan automatically turns to low-speed oper- Caution: ation. Switching of fan speed is impossible. (Only the display on the remote controller • When the air-conditioner is used together with burners, thoroughly ventilate changes.) the area.
- Page 6 5. Troubleshooting Before you ask for repair service, check the following points: State of Machine Remote Controller Cause Troubleshooting Power failure Press the [ON/OFF] button after power restoration. “ ” display is not lit up. The power supply is turned OFF. Turn the power supply ON.
- Page 7 6. Installation, transferring works, and checking Regarding place for installation • Never connect the grounding wire to a gas pipe, water pipe, arrester, or tel- Consult with your dealer for details on installation and transferring the installation. ephone grounding wire. For details, consult with your dealer. •...
- Page 8 This product is designed and intended for use in the residential, commercial and light-industrial environment. The product at hand is • Low Voltage Directive 2006/95/EC based on the following • Electromagnetic Compatibility Directive EU regulations: 2004/108/EC Please be sure to put the contact address/telephone number on this manual before handing it to the customer.
Need help?
Do you have a question about the PEA-RP140 WJA and is the answer not in the manual?
Questions and answers