Advertisement

Quick Links

INSTALLATION
AND OPERATING
INSTRUCTIONS
Model:
RT52G1000
RT9G1000
As part of Parmco Appliances commitment to improving and updating product ranges,
we reserve the right to alter, change and update technical specifications and appearance
attributes of all Parmco Appliances products. E&OE.
E & O.E 15032023

Advertisement

Table of Contents
loading
Need help?

Need help?

Do you have a question about the RT52G1000 and is the answer not in the manual?

Questions and answers

Summary of Contents for Parmco RT52G1000

  • Page 1 INSTRUCTIONS Model: RT52G1000 RT9G1000 As part of Parmco Appliances commitment to improving and updating product ranges, we reserve the right to alter, change and update technical specifications and appearance attributes of all Parmco Appliances products. E&OE. E & O.E 15032023...
  • Page 2 Dear Valued Customer, Thank you and congratulations on purchasing your new Parmco appliance. All Parmco products are made to the highest quality and design standards. We are sure you will enjoy your new appliance. As a note, please read through these instructions carefully. These will assist you in gaining a complete understanding of the functions and features offered by your appliance.
  • Page 3 • If proof of date of purchase is not supplied, except at the sole Service Agent. discretion of Parmco Sales. Proof of purchase can be for the • This warranty is offered as an extra benefit, and does product itself, or if installed with a kitchen or house then proof of...
  • Page 4: Functions And Features

    Thank you for purchasing this rangehood. Please read the instructions manual carefully before you use the rangehood and retain the manual in a safe place for future reference. Any installation work must be carried out by a qualified electrician. Before you use the rangehood, make sure that the voltage (V) and the frequency (Hz) indicated on the rangehood are exactly the same as the voltage (V) and the frequency (Hz) in your home.
  • Page 5: Installation

    1. The rangehood should be placed at a distance of 65cm above an electric cooktop or 75cm above a gas cooktop. 2. Cut a hole in the cupboard, with hole wide 500*275(mm) for model RT52G1000 and hole wide 880*275(mm) for model RT9G1000. Make sure the hole edge to the cupboard edge at least 35mm distance.
  • Page 6 Fixing the RT9G1000 4. Fix the expansion pipe on the outlet with a cable tie. (Note: the expansion pipe is not included in the product).
  • Page 7 Changing the Light bulb 1. Unscrew 4 screws of the outer glass assembly, dismantle the the light connecting wire and switch wire.Take away the outer glass. 2. Unscrew the screws of lamp bracket ,then take out off the lamp bracket and replace the light.
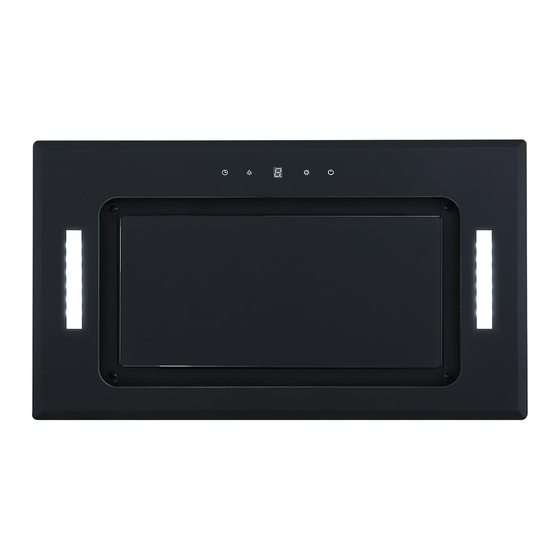
  • Page 8 How to use the Control Panel Press the “Power” button, the button control the “on” & “off ” of the hood.  Press the button “Speed” time after time, the motor works as 4 speeds,and the  LED display will indicate as 1-2-3-4 circularly. Press “Lamp”...
  • Page 9: Maintenance

    Maintenance 1. The rangehood and its filter mesh should be cleaned regularly in order to keepit in good working condition. As the grease filters are made of metal, do not clean the filters with detergents that will corrode metal products. 2.
  • Page 10: Technical Reference

    Do not dry your rangehood using fire.  If there are any faults with your rangehood, please call the Parmco service  department at 09 573 5678. Do not exhaust the air from the rangehood through the same flue as the cooktop ...
  • Page 11: Troubleshooting Tips

    Troubleshooting Tips If any problem occurs, please remove the plug from the socket and contact Parmco service department at 09 573 5678. Fault Possible Cause Solution Fan switch turned off Select a fan switch position. Light on, but motor Fan switch failed Contact service center.

This manual is also suitable for:

Rt9g1000

Table of Contents