Advertisement
Quick Links
Advertisement

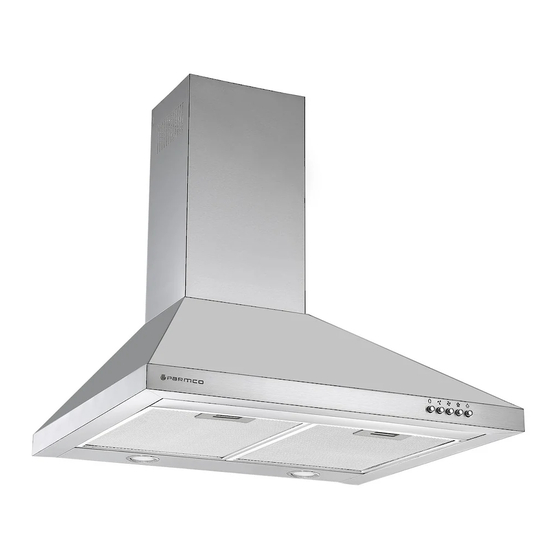
Summary of Contents for Parmco RCAN-6W-500L
- Page 1 Installation and Operating Instructions Model: RCAN-6S-500L RCAN-6W-500L RCAN-9S-500L RCAN-6S-1000L RCAN-9S-1000L RCAN-6W-1000L RCAN-9W-1000L RBOX-6S-1000L RBOX-9S-1000L RLCD-6G-1000L RLCD-9G-1000L RLOW-9S-1000L RPER-9G-1000 T4-11GLA-6L T4-11GLA-9L T4-12LOW-6L T4-12LOW-9L 727623112020...
- Page 2 Liability under this warranty will not be accepted for: Subject to updates without prior notice, please visit www.parmco.co.nz for E & O.E. 727626062017 the latest version.
- Page 3 Dear Valued Customer, Thank you and congratulations on purchasing your new Parmco appliance. All Parmco products are made to the highest quality and design standards. We are sure you will enjoy your new appliance. As a note, please read through these instructions carefully. These will assist you appliance.
-
Page 4: Table Of Contents
Content Page IMPORTANT SAFETY INFORMATION SAFETY INFORMATION FEATURES USE AND CARE INSTALLATION MAINTENANCE TROUBLESHOOTING TIPS... -
Page 5: Important Safety Information
Please check that the brackets and screws are not discarded with the packaging. This canopy must be installed by a qualified professional. Parmco is not liable for any damages or injuries caused as a result of not following the installation instructions in this manual. -
Page 6: Safety Information
SAFETY INFORMATION This appliance is designed for non-commercial, household use only and must not be altered in any way. This appliance can only be used safely when it is correctly connected to an efficient earthing system in compliance with New Zealand Electrical Standards requirements. ... -
Page 7: Use And Care
USE AND CARE For models with 4 Electronic Buttons Switch Push button “low”, the back light comes on, the buzzer will sound once and the motor runs at low speed. Push it again and the motor will stop. Push button “mid”, the back light comes on, the buzzer will sound once and the motor runs at medium speed. - Page 8 Indicator light of lamp button and power button will be off. And recycle like this. Press the (High) button once, motor runs on high speed, the indicator light of high button and power button will beam. Press high button again and the motor will stop.
- Page 9 Press “light” once to turn on the light. The “light” icon will display on the LCD screen. Press the “light” button again to turn off the lights. Press “add” to turn on and increase the speed of the motor. There are three speeds, low, medium, and high.
- Page 10 downwards, and stop working. If you stop the hood, without stopping the motor, when you open the hood again, the hood will work at the speed it works last time. Press the power button , when the hood is coming upwards or going downwards, the hood will stop moving, with motor keeping running.
- Page 11 Use the timer function again when keep power on, touch the timer button but without time setting, the hood will keep the time which setted on last time. It will decrease by second after 5s.It will work as new time after new setting. Touch the speed button or control the light intensity when timer is working, the timer function will cancel automatically.
-
Page 12: Installation
INSTALLATION Models without Glass: The canopy should be placed at a minimum distance of 65 cm above the cooking surface when placed above an electric hob and a minimum of 75 cm above the cooking surface when placed above a gas cooktop. (Refer Pic 1). To install, drill 3 holes of Ø... - Page 13 Models with Glass: The canopy should be placed at a minimum distance of 65cm above the cooking surface when placed above an electric hob and a minimum of 75cm above the cooking surface when placed above a gas cooktop. (Refer Pic 1). To install, drill 3 holes of Ø...
- Page 14 Before installation, please ensure the area is clean to avoid remaining bits of broken wood and dust being sucked into the unit. Installation of kitchen ventilation over electrical and gas cooktops must be undertaken in full accordance and reference to the relevant NZ building standards. ...
-
Page 15: Maintenance
MAINTENANCE Cleaning of the Mesh Grease Filter The filter mesh is made of high-density aluminium and stainless steel. Please do not use corrosive detergents on it. If using a dishwasher to clean filters, please ensure that a non- caustic detergent is used. Keeping this filter clean will keep the appliance running correctly. - Page 16 Replacing the LED Lights (SWITCH THE UNIT OFF AND PULL OUT THE PLUG FIRST) 1.5W/2W LED light Remove the grease filter. Use a tool or the hand to press the spring splinter of both sides of LED light to the inside, until the light is pressed out, see pic 1.Then slightly pull the light connecting wire out, and dismantle the terminal of the light connecting wire.
- Page 17 Lighting power ≤ 7W Motor power 380W Duct diameter 150mm Air flow 1000 m³/h 500m /h models Model RCAN-6S-500L, RCAN-6W-500L, RCAN-9S-500L Rated voltage 220-240V/50Hz Lighting power ≤ 2W + 2W Motor power 125W Duct diameter 150mm Air flow 500 m³/h...
-
Page 18: Troubleshooting Tips
TROUBLESHOOTING TIPS If any problem occurs, please remove the plug from the socket and contact Parmco service department at 09 573 5678. Problem Solution Change the bulb Lights don't work, but motor works Call Parmco service department Restart the motor...


Need help?
Do you have a question about the RCAN-6W-500L and is the answer not in the manual?
Questions and answers