Table of Contents
Advertisement
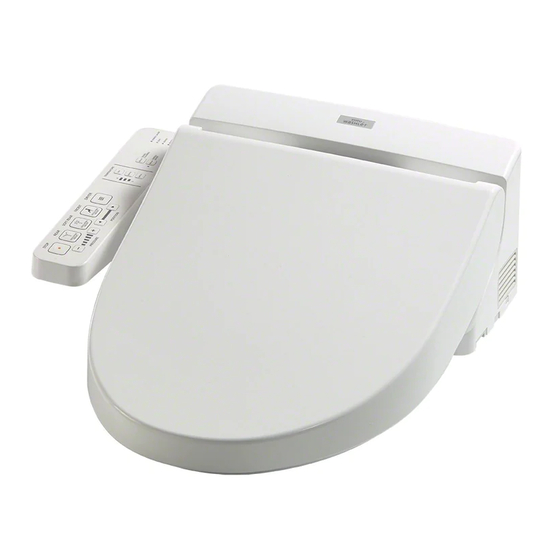
WASHLET
C100
SW2034
(TCF6631U)
SW2033
(TCF6630U)
A100
SW2014
(TCF6601U)
■ Thank you for your recent purchase of the product. Please read the enclosed
information to ensure the safe use of your product.
■ Be sure to read this Instruction Manual before using your product and keep it in a
safe place for future reference.
Instruction Manual
Advertisement
Table of Contents


Need help?
Do you have a question about the washlet C100 SW2034 and is the answer not in the manual?
Questions and answers
the water for the spray is weak and do not rotate on totobidet