Advertisement
Quick Links
Required Crew: 2 Required
Concrete: 7-8, 80 lb. bags
Required Tools:
● Wheelbarrow
● Step Ladder (6' or taller)
● Shovel
● Tape Measure
● Digging Bar or Pick
● Level
● Allen Wrench (Provided)
● Open end or Box Wrenches: 9/16", ¾"
● Hammer or Mallet
● Ratchet Handle & Sockets: 9/16", ¾"
● Marker Pen
● Drill: Cordless or electric, or impact driver
Component Playgrounds is concerned about the safety of your vision. It
is important that you choose to protect your vision by wearing proper
safety glasses during each and every phase of this construction
process.
PLEASE READ AND UNDERSTAND ALL INSTRUCTIONS BEFORE BEGINNING
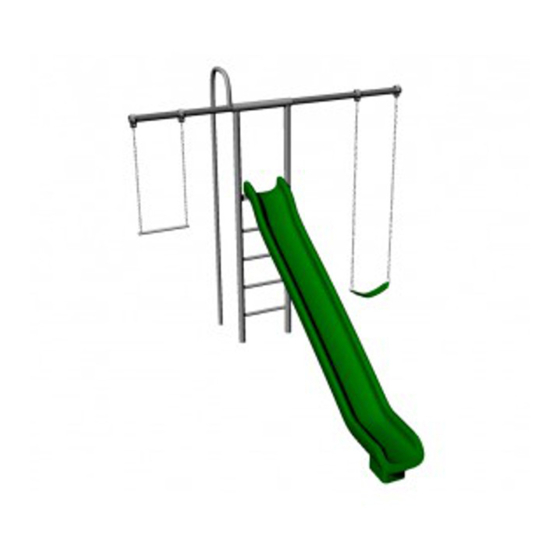
The ST30 can be installed as a one day project. The normal time required
to install the ST30 is about 2-3 hours for a two man crew. This time
requirement will vary dependent upon the composition of the soil and the
speed of the installers. Mix and pour the concrete as the last step. * Before
digging, please obey local laws by notifying your local underground
utilities marking organization*
Installation
Instructions ST30
Advertisement

Related Manuals for Component Playgrounds ST30


Summary of Contents for Component Playgrounds ST30
- Page 1 The ST30 can be installed as a one day project. The normal time required to install the ST30 is about 2-3 hours for a two man crew. This time requirement will vary dependent upon the composition of the soil and the speed of the installers.
-
Page 3: Installation Instructions
Installation Instructions 1. First find the area you would like to place the set. Make sure you have enough room. Dig the ladder hole centered at 6.5’ from each end side to side, and 10’ centered front to back (As shown below). Then lay the ladder on the ground with the legs at the center of the hole. - Page 4 2. Lift the ladder into the hole. Have one person hold the ladder to help get it in a level position before marking the next hole. 3. While one person holds the ladder, have the other check the level of the structure as shown below.
- Page 5 4. Once the set is held level, you can mark your hole for the fire pole. This is best done by placing the fire pole where you intend it to be and marking the hole around it (as shown below). Once the hole is dug to the right specs, assemble the fire pole by following the directions on the fire pole and turning bar instruction sheet.
- Page 6 5. Now that the structure is all assembled take time to make any adjustments necessary to level out the structure.
- Page 7 Component Playgrounds BRASS BUSHING SWING HANGER 1. Loosen and remove the two nyloc jam nuts. 2. Reassemble on to swing top rail. Tighten securely so that the hanger is firmly attached in place and cannot slide or swivel along top rail.
- Page 8 When you are satisfied that the structure is level, mix and pour the concrete according to the package directions. You will use approximately one and a half to two 80 lb. bags in each leg hole. Concrete will cure faster in warm conditions and slower in cold conditions.
- Page 9 Rocket Slide Mounting Instructions 1. Attach the slide bracket to the upright ladder by placing the carriage bolt through the ladder and through the holes in the bracket. Then secure with the flat washer, loc washer, and hex nut. AS SHOWN BELOW.
- Page 10 Do not attempt to use equipment for something other than the use for which it was designed and intended, or in a manner other than that for which it was designed and intended. While every attempt is made by Component Playgrounds to ensure the highest degree of safety in all of our equipment, we cannot guarantee freedom from injury. The user assumes all risk of injury due to use.
- Page 11 We hope that you and your family will enjoy many hours of great family fun while using your Component Playgrounds Products. We appreciate your business. Our goal is to provide safe, durable and fun products using the best materials available. Your product should be mostly maintenance free.
- Page 12 This damage to the galvanizing is restricted to the actual weld. When your equipment is built, Component Playgrounds will repair this damage using a cold galvanizing compound spray along with a top coat of silver aluminum.
- Page 13 To Help Prevent Injuries from Falls & Other Hazards 1. Never attach, or allow children to attach the following items to your swing set: Ropes, jump ropes, clotheslines, pet leashes or any similar type of item to your swing set. Any item such as these may present a strangulation hazard.
- Page 15 Limited Lifetime Warranty Component Playgrounds works to build heavy duty products that will stand up to the heavy use of active children. You can trust Component Playgrounds because of the way we design and build our products. We make products that are simple to own, and easy to maintain.
-
Page 16: Warranty Registration Sheet
Return this form via e-mail to: State: Zip: Sales@componentplaygrounds.com Phone: Or via U.S. mail to: Purchase Date: Completion Date: Component Playgrounds 1630 North Beck Street Sales Representative/Dealer Information Salt Lake City, UT 84116 (If different from manufacturer) Organization: Todays Date: City:...
Need help?
Do you have a question about the ST30 and is the answer not in the manual?
Questions and answers