Table of Contents
Advertisement
Quick Links
IMPORTANT NOTE :
Place all wooden parts on a clean , soft surface to prevent the parts from being scratched.
Check to be sure that you have all parts and hardware.
Remove all wrapping materials, including staples & packing straps before you start to assemble.
Do not tighten all screws/bolts until all completely assembled.
Keep all hardware parts out of reach of children.
REV 1
Last Updated: 3/2023
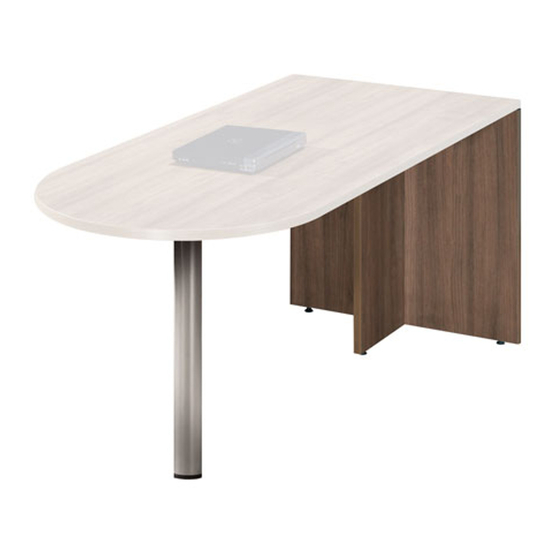
ASSEMBLY INSTRUCTION FOR BULLET TOP
These instructions apply to all models shown below.
D
F
ASSEMBLY INSTRUCTIONS
A
B
C
A
B
E
MODEL NO. PLT131T
PAGE 1 OF 4
PLT131T_AI
OFFICESOURCE.COM
Advertisement
Table of Contents

Summary of Contents for OfficeSource PLT131T
- Page 1 ASSEMBLY INSTRUCTION FOR BULLET TOP ASSEMBLY INSTRUCTIONS These instructions apply to all models shown below. MODEL NO. PLT131T OPTION 1 OPTION 2 IMPORTANT NOTE : Place all wooden parts on a clean , soft surface to prevent the parts from being scratched.
- Page 2 ASSEMBLY INSTRUCTION FOR BULLET TOP ASSEMBLY INSTRUCTIONS MODEL NO. PLT131T COMPONENTS : SMALL MODESTY TOP PANEL END PANEL METAL LEG PL142-A1 PLT131T PLTEP30 MS725 TOP PANEL END PANEL FULL MODESTY METAL LEG PLT131T PLTEP30 PL31FMP MS725E HARDWARE: M4 x 65...
- Page 3 ASSEMBLY INSTRUCTION FOR BULLET TOP ASSEMBLY INSTRUCTIONS MODEL NO. PLT131T OPTION 1 Attach the Small Modesty Panel (C) and Side Panel (B) to Top Panel(A) by using Cam Lock (B1/C1) and Klix Cam (B2/C2). Attach the L-Brackets (B6) to Top Panel (A), Side Panel (B) and Side Center Panel (C) as shown.
- Page 4 ASSEMBLY INSTRUCTIONS ASSEMBLY INSTRUCTION FOR BULLET TOP MODEL NO. PLT131T Secure Metal Leg (F) with Screws (F1). Attach the Metal Leg (F) to Full Modestry Panel (E) by using System 5 KD Fitting (F3) and Klix Cam (F4). Attach the L-Brackets (B6) to Top...


Need help?
Do you have a question about the PLT131T and is the answer not in the manual?
Questions and answers