Advertisement
Quick Links
1.800.561.8187
1 Check Contents
Make sure all of the items above are included in the camera kit.
2 Prepare to Install the Camera
2.1 Install FLIR Discovery Network Assistant
Download the Teledyne FLIR Discovery Network Assistant (DNA) tool to a
computer on the same VLAN to which you will connect the camera, and then unzip
the file. The DNA tool does not require a license to use and is a free download
from .
2.2 Perform a Bench Test (Optional)
You can test the camera or configure it for networking before mounting it. Remove
the camera cover (see
3.2 Remove Camera
Route Cables and Connect the
attach Camera
Cover). Then, you can perform a bench test or discover the
camera and configure it for networking
continuing with
2.3 Select a
2.3 Select a Location
Select a suitable location to mount the camera.
For advice on positioning and orienting the camera, see the camera's installation
and user guide.
CM-3202-11-I QIG Rev 110
This document does not contain any export-controlled information.
www.
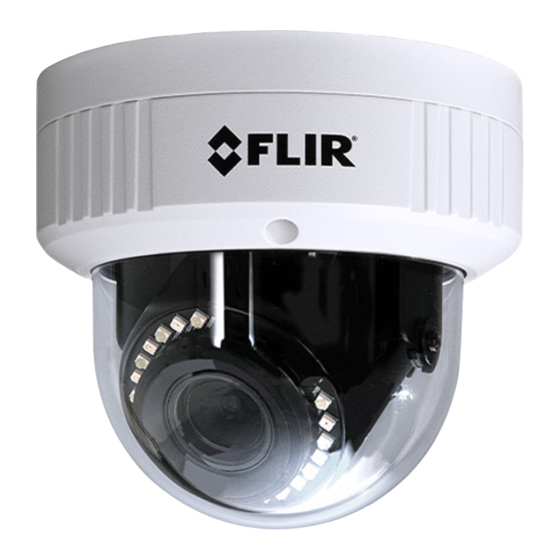
Ariel™ Mini-Dome
Quick Install Guide
Cover), connect the camera
Camera), and attach the camera cover
(4.1 Configure for
Location.
.com
CM-3202-11-I
(4.3
(4.3 Re-
Networking) before
August 2021
information@itm.com
Advertisement

Summary of Contents for Teledyne FLIR Ariel CM-3202-11-I
- Page 1 2 Prepare to Install the Camera 2.1 Install FLIR Discovery Network Assistant Download the Teledyne FLIR Discovery Network Assistant (DNA) tool to a computer on the same VLAN to which you will connect the camera, and then unzip the file. The DNA tool does not require a license to use and is a free download from .
- Page 2 Verify that the operating temperature range is between -30°C ~ 60°C (-22° ~ 140° F), 10-90% relative humidity (non-condensing). For the list of mounting accessories available for the camera, see the Teledyne FLIR Security Cameras - Accessory Guide. 3 Install the Camera 3.1 Fit Mounting Hardware...
- Page 3 1.800.561.8187 information@itm.com www. .com...
- Page 4 1.800.561.8187 information@itm.com www. .com...
- Page 5 1.800.561.8187 information@itm.com www. .com...
- Page 6 1.800.561.8187 information@itm.com www. .com...
- Page 7 When logging in to the camera's web page for the first time or for the first time after resetting the camera to its factory defaults, type admin for the user name and for the password. Then, specify a new password for the admin user. Use a strong password consisting of at least eight characters and at least one uppercase letter, one lowercase letter, and one number.
- Page 8 1.800.561.8187 information@itm.com www. .com...


Need help?
Do you have a question about the FLIR Ariel CM-3202-11-I and is the answer not in the manual?
Questions and answers