Advertisement
Quick Links
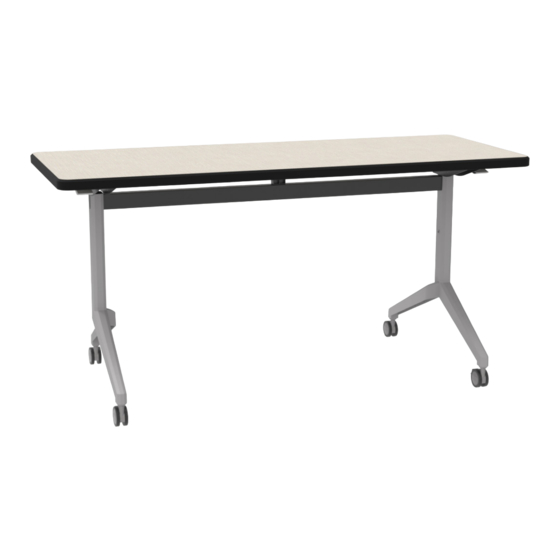
FLIP TOP RECTANGLE TABLE
NOTE: Before you begin, please make sure
all parts and proper quantities are included.
Any parts damaged during shipment must be
reported within 24 hours of receipt. To report
information regarding damages or if you have
any questions, please call 800.242.2303.
NOTE: These instructions work for all Flip Top Rectangle Tables. Product images are for illustrative
purposes only and may differ from actual product.
TOOLS NEEDED
Drill
4mm Allen
Wrench
③
④
①
⑤
#
DESCRIPTION x QTY
1
Leg with Casters x 1
2
Leg with Casters x 1
3
Laminate Top x 1
4
Flip Mechanism Rod x 1
5
Stretcher Bar x 1
The assembly of this table requires the
assistance of another person.
wibenchmfg.com
800-242-2303
wibenchmfg.com
6mm Allen
4mm Hex
Wrench
Bit
PARTS x QTY
Specifications are subject to change. Product
images are for illustrative purposes only and may
differ from the actual product.
Assistance
PARTS
Hardware A | M8x25 x 4
04069004
②
Hardware B | 1/4" - 20x19mm JCB x 8
04069027
Hardware D | Leg Cover x 1
04069006 (Set)
Hardware E | Leg Cover x 1
04069006 (Set)
Casters (Attached) x 4
04069007
NOTE: Hardware packs are included in packaging. You
may receive more hardware than needed. Discard any
extra hardware after assembly.
507 E. Grant St. Thorp, WI 54771 • P - 800.242.2303
HARDWARE x QTY
Hardware F | Stretcher Support x 1
(Only required for tables 60" or longer)
04069008
Hardware G | Leg Screw Cap x 1
04069009
Hardware C | 6mm Allen Wrench x 1
04069005
Hardware H | 4mm Allen Wrench x 1
0447162
Item #0600012
V021423 Version subject to change
1
Advertisement

Related Manuals for WB Manufacturing FLIP TOP RECTANGLE TABLE


Summary of Contents for WB Manufacturing FLIP TOP RECTANGLE TABLE
- Page 1 800-242-2303 wibenchmfg.com FLIP TOP RECTANGLE TABLE NOTE: Before you begin, please make sure all parts and proper quantities are included. Any parts damaged during shipment must be reported within 24 hours of receipt. To report information regarding damages or if you have any questions, please call 800.242.2303.
- Page 2 ASSEMBLY 1. Place the top ③ face down on a protected flat 6. Using a 4mm Allen wrench (H) or 4mm hex surface so threaded inserts are facing up. bit, fasten legs to top with 1/4”-20x19mm joint connector bolts. 2. Place the legs (parts ① & ②) on top of the threaded 7.
Need help?
Do you have a question about the FLIP TOP RECTANGLE TABLE and is the answer not in the manual?
Questions and answers