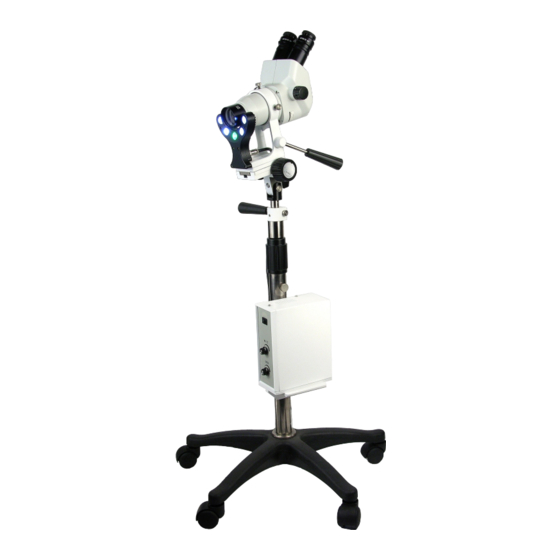
Summary of Contents for Henry Schein COLPOSCOPE II
- Page 1 HENRY SCHEIN COLPOSCOPE II USER’S MANUAL (570-0148 and 570-0149) Distributed by (in US only) HENRY SCHEIN INC. 135 DURYEA ROAD MELVILLE, NY 11747 USA MC-55-248-002 REV 4/2016 yyyy-mm-dd...
-
Page 2: Table Of Contents
COLPOSCOPE TABLE OF CONTENTS Contents: Pages Safety and General Information …………………………………………… Intended Use ………………………………………………………………. Base and Center-Post Stand Assembly ………………………………………… Zoom Head Installation and Mounting ………………………………… …… 6 Zoom Head Adjustment……………………………………………………… Magnification and Power Setting ……………………………………………. Operation……………………………………………………………………… Procedures of Focusing and Focusing Tension Adjustments ………… To increase Focusing Tension …………………………………………... -
Page 4: Safety And General Information
Please read this manual carefully before you operate your Colposcope We thank you for choosing the Henry Schein Colposcope II. This precisely built, durable instrument should give you years of service to even the busiest office practice. Our technical and customer support departments stand ready to assist you with any questions or comments you may have. -
Page 5: Intended Use
The protection is likely to be impaired if, for example, the apparatus Shows visible damage Fails to perform the intended measurements Has been subjected to prolonged storage under unfavorable conditions Has been subjected to severe transport. Never touch the lamp/bulb and/or the inside of the light source and bulb Bulb may be very hot. -
Page 6: Zoom Head Installation And Mounting
4. Insert the bottom end of the upper post into the top hole of the lower post. There is a supporting suspension spring installed in the hole of the lower post. Push the upper post to set the proper height tighten the black knob. Loose this knob to adjust the height of the post as needed. -
Page 7: Magnification And Power Setting
Fig. 11 Fig. 10 MAGNIFICATION AND POWER (MAGNIFICATION) SETTING Zoom Setting Eyepiece: WF15X Eyepiece: WF20X Objective lens: 0.3X Objective lens: 0.3X Working distance: 298mm Working distance: 298mm Mag. power Field of view Mag. power Field of view 0.67X 73.5 3.9X 58.5 4.5X 38.3... -
Page 8: Operation
Fig. 12 With 20X eyepiece and 0.3X objective lens: At the lowest setting of the magnification power knob ( ), the total magnification is 20×0.67×0.27=3.9X 0.67 At the highest setting of the magnification power knob (4.5), the total magnification is 20×4.5×0.3= 27X OPERATION ... -
Page 9: To Increase Focusing Tension
Fig. 19 (Articulating arm illustrated) The tension of the focusing knobs has been pre-set by factory technicians. However you may want to readjust the tension of the focusing knobs to your desired level. Follow the procedures below. Increase Focusing Tension: To increase the focusing tension, hold the left knob with your left hand;... - Page 10 Fig. 20 Focusing: The Colposcope allows the observer to see the object’s being viewed in 3-D, three dimensions. This means the viewer is able to perceive height and depth of field. To do this, the images coming from the binocular eyepieces must be form a single image for the observer.
-
Page 11: Specifications Of The Colposcope
Fig. 23 Look through the right eyepiece; rotate the eyetube (Fig. 24) until the image is precisely in focus (the diopter is now properly set). Do the same for the left eyepiece to set the diopter. Fig. 24 Bring the zoom to the highest power (4.5X) again. If the image is not in sharp focus, use the focusing knob on the focusing mount to bring the specimen in focus. -
Page 12: Maintenance And Care
MAINTENANCE AND CARE: General: During both operation and storage, avoid airborne contaminants and moisture. Protect the instrument with a dust cover when it is not in use. DISCONNECT the power cord before replacing the bulb. Allow the bulb to cool before replacing with a new bulb.


Need help?
Do you have a question about the COLPOSCOPE II and is the answer not in the manual?
Questions and answers