SOMFY SMOOVE UNO io - Controller Installation Guide
- Interactive operating instructions (11 pages) ,
- Manual (7 pages)
Advertisement
- 1 Safety and liability
- 2 Product description
- 3 Description of the control buttons
- 4 Setting the application
- 5 Connection
- 6 Installation
- 7 Saving the linear travel
- 8 Saving the angular travel for an external venetian blind
- 9 Saving and deleting a transmitter
- 10 Restoring the original configuration
- 11 Saving and removing the favourite position MY
- 12 Technical data
- 13 Documents / Resources
Safety and liability
Liability
Before installing and using this product, please read these instructions carefully. This Somfy product must be installed by a home drive and automation professional. Moreover, the installer must comply with standards and legislation in the country in which the product is being installed, and inform his customers of the operating and maintenance conditions for the product. He must give them these instructions. Any use outside the sphere of application defined by Somfy is prohibited. This invalidates the warranty and discharges Somfy of all liability, as does any failure to comply with the instructions given herein. Never begin installing without first checking the compatibility of this product with the associated equipment and accessories.
Safety instructions
- Keep out of reach of children.
- Never drop, knock, drill or submerge.
- Do not use abrasive products or solvents to clean it.
Product description
Smoove Uno io is a wired control unit featuring an io-compatible radio receiver, ideal for modernising your roller shutters, awnings, external venetian blinds and windows. It acts like a switch to control each product individually. Associated to an io homecontrol control unit or PLC (for example: Situo io, Nina io, Tahoma io)
Smoove Uno io enables a control zone and/or general radio control of the installation to be established.
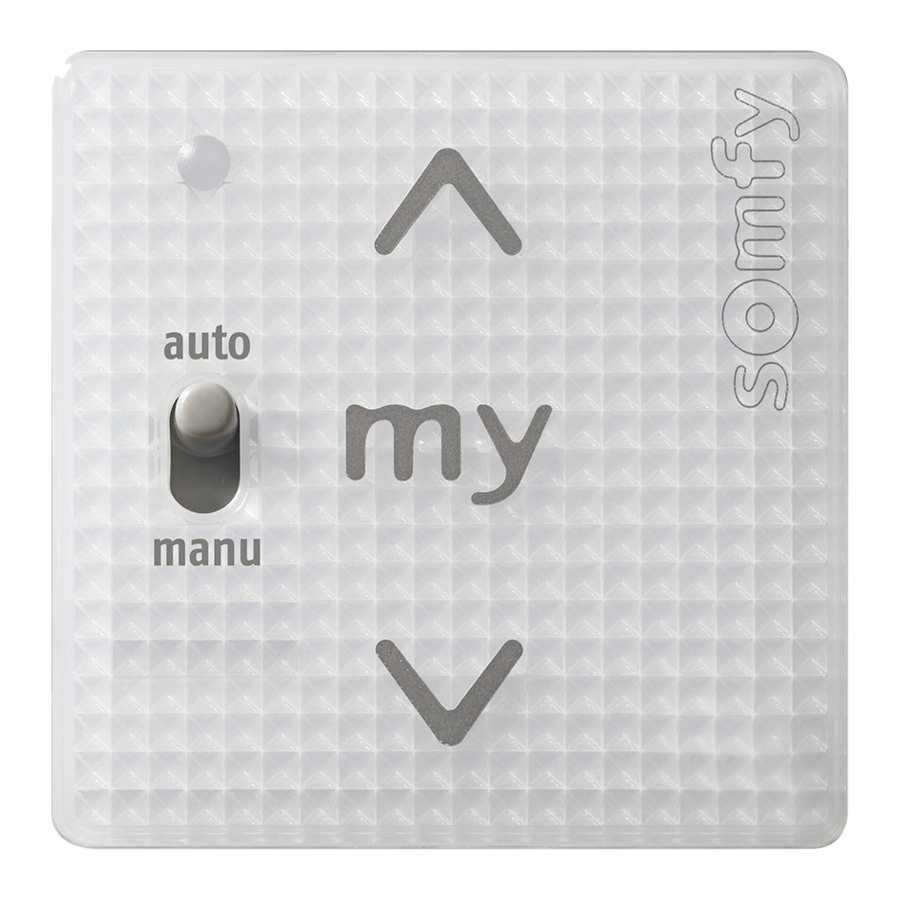
Description of the control buttons

Stop button/  :
:
Button to switch off the application or to move it to the favourite position  .
.
Auto/Manu Selector:
Selector enabling the PLCs to be disabled.
PROG button:
Touch button under the LED enabling a transmitter to be added or removed and the original configuration to be restored.
- Using the separately available QuickCopy setting tool, settings may be copied between appliances or configured using free PC software (See the QuickCopy tool instructions).
- In the case of electronic motors, the motor's specific start-up time is set in Smoove UNO io using the QuickCopy tool.
Setting the application

- Before connecting and carrying out other settings, the application must be set on the appliance. Use the DIP switches on the back of the electronic module for this.
Move the DIP switch with the thin end of a screwdriver.

- After changing an application setting, restore the Smoove UNO io to its original configuration in order for the setting to take effect.
Connection


- The installation, testing and commissioning of the appliance must be carried out by qualified personnel.
- Switch off all the connecting cables. Ensure that they cannot be accidentally switched on.

- Observe the wiring of Neutral and Live.
- Keep the "up" wiring and "down" wiring in the right directions.
- Refer to the sensor instructions for information about their connection.
| Connection | Line | Max. distance |
| Motor | 0.75 - 1.5 mm² | 150 m |
| 230 V AC | 1.5 mm² | - |
Installation
Dimensions and parts

Dimensions: see figure
- Electronic module
- Cover frame
- Power supply module
Installation

- Connect up the connection cables and secure the power supply module in the flush mounted box.
- Position the electronic module with its cover frame in the power supply module. Switch on the power supply.
Saving the linear travel

- Using the separately available QuickCopy setting tool, settings may be copied between appliances or configured using free PC software.
This setting must always be carried out AFTER the motor's end limits have been set.
The travel time is the time required for a roller shutter, venetian blind or awning to perform a full movement from the upper end limit to the lower end limit.
- Using the button
![]() , move the application to the upper end limit (open fully if the application is a window).
, move the application to the upper end limit (open fully if the application is a window). - Keep the
![]() and
and ![]() buttons simultaneously pressed down for at least 5 s.
buttons simultaneously pressed down for at least 5 s.
The application makes an up and down movement. - Press buttons
![]() and
and ![]() briefly and simultaneously.
briefly and simultaneously.
The application lowers (closes completely if the application is a window). - After the lower end limit is reached, press
![]() (stop).
(stop).
The application makes an up and down movement.
 (stop).
Saving the angular travel for an external venetian blind

For your external venetian blind to operate optimally with the Smoove UNO io, the maximum angular travel must be set.
This is the total angle required for the external venetian blind to switch from the slats closed to the exterior position to the slats completely open position. The maximum opening of the slats is reached when the external venetian blind opens and the slats no longer rotate (the slats are in a horizontal position or closed towards the interior).
This procedure must be carried out AFTER the travel time has been set.
- Press the
![]() button until the lower end limit is reached with the slats closed to the exterior.
button until the lower end limit is reached with the slats closed to the exterior. - Keep the
![]() and
and ![]() buttons simultaneously pressed down for at least 5 s.
buttons simultaneously pressed down for at least 5 s.
The external venetian blind performs a short movement. - Press the button
![]() .
.
The external venetian blind performs a short movement. - Turn the slats from the closed position to fully open by pressing button
![]() briefly but repeatedly.
briefly but repeatedly. - Using button
![]() , the tilting time can be controlled at any point.
, the tilting time can be controlled at any point.
- Using button
- Once the maximum tilt range has been reached, press buttons
![]() and
and ![]() simultaneously until the external venetian blind makes a short movement.
simultaneously until the external venetian blind makes a short movement.
 .
. simultaneously until the external venetian blind makes a short movement.
- If the external venetian blind moves just a little, if pressure is applied briefly, the motor's starting time needs to be entered in Smoove UNO io using the QuickCopy setting tool and the PC software.
Saving and deleting a transmitter

- The saving procedure can only be carried out within 30 s of the appliance being switched on or after having inserted the electronic module into the power supply module.
Io transmitter without feedback
Examples: Smoove (A/M) io, Situo io, Situo Variation io, Chronis io, etc.
- Press the PROG button of the Smoove UNO io until the LED lights up green.
- Press the transmitter's PROG button briefly.
The application makes an up and down movement.
- If the radio transmitter has already been saved, this procedure de-programs it.
Io radio transmitter without feedback
Examples: Nina io, Nina Timer io, TaHoma connect, TaHoma Pad io, Connexoon, etc.
- Press the PROG button of the Smoove UNO io until the LED lights up green.
- For appliances with feedback, follow the instructions on the screen.
Restoring the original configuration

- The re-initialisation procedure can only be carried out within 30 s of the appliance being switched on or after having inserted the electronic module into the power supply module.
Press and hold down the PROG button for more than 7 s: after 2 s, the LED lights up permanently. After a further 5 s, the LED flashes.
The appliance is restored to its original configuration. All configurations and all the saved io saved equipment is removed from the io Smoove UNO memory.
Saving and removing the favourite position MY
Prerequisite: the travel time should be accurately set (see the commissioning section).
Saving the favourite position MY
Position the product in the required position and stop it by briefly pressing the button  .
.
Press button again for at least 5 sec.
The position is saved.
Deleting the favourite position MY
Position the product in position  .
.
Press button  for at least 5 sec.
The position has been deleted.
Technical data
| Operating voltage: | 230 V AC ~ 50/60 Hz |
| Output voltage: | 230 V AC ~ 50/60 Hz |
| Maximum output current: | 3 A/cos phi > 0.9 |
| Motor travel time: | Max. 6 min. |
| Protection rating: | IP 20 |
| Protection class: | II |
| Operating temperature: | 0°C to + 40°C |
Radio frequency:
868-870 MHz io homecontrol® bi-directional Tri-band.
Frequency band and maximum power used:
868.000 MHz - 868.600 MHz par <25 mW
868.700 MHz - 869.200 MHz par <25 mW
869.700 MHz - 870.000 MHz par <25 mW
Number of programmable io transmitters without feedback and sensors: up to 9.
Number of programmable io sensors: up to 3.

Do not dispose of this product with the household waste. Please take it to a collection point or an approved centre to ensure it is recycled correctly.

The product is io-compatible. It can be controlled by the io-homecontrol control points with limited feedback
Somfy SAS
50 avenue du Nouveau Monde
F - 74300 Cluses
www.somfy.com

Somfy hereby declares that the radio equipment covered by these instructions is in compliance with the requirements of Radio Directive 2014/53/EU and the other essential requirements of the applicable European Directives.
The full text of the EU declaration of conformity is available at www.somfy.com/ce.

Documents / Resources
References
Download manual
Here you can download full pdf version of manual, it may contain additional safety instructions, warranty information, FCC rules, etc.
Download SOMFY SMOOVE UNO io - Controller Installation Guide
Advertisement


Need help?
Do you have a question about the SMOOVE UNO io and is the answer not in the manual?
Questions and answers