Table of Contents
Advertisement
Quick Links
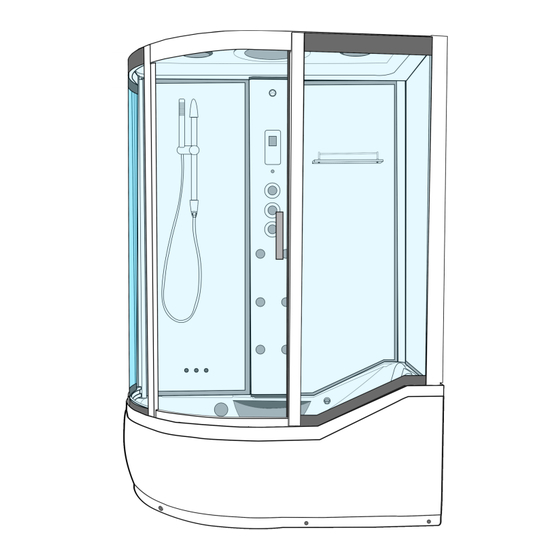
I n s t a l l a t i o n Gu i d e
1 5 0 0 / 1 7 0 0 S e r i e s
R i g h t H a n d e d
S h o u l d y o u r e q u i r e a d d i t i o n a l a s s i s t a n c e wi t h t h e
i n s t a l l a t i o n o f y o u r p r o d u c t ,
p l e a s e c a l l 0 1 9 0 8 3 1 7 5 1 2
o r e ma i l
c u s t o me r s e r v i c e s @i n s i g n i a s h o we r s . c o m.
Advertisement
Table of Contents


Need help?
Do you have a question about the 1500 Series and is the answer not in the manual?
Questions and answers