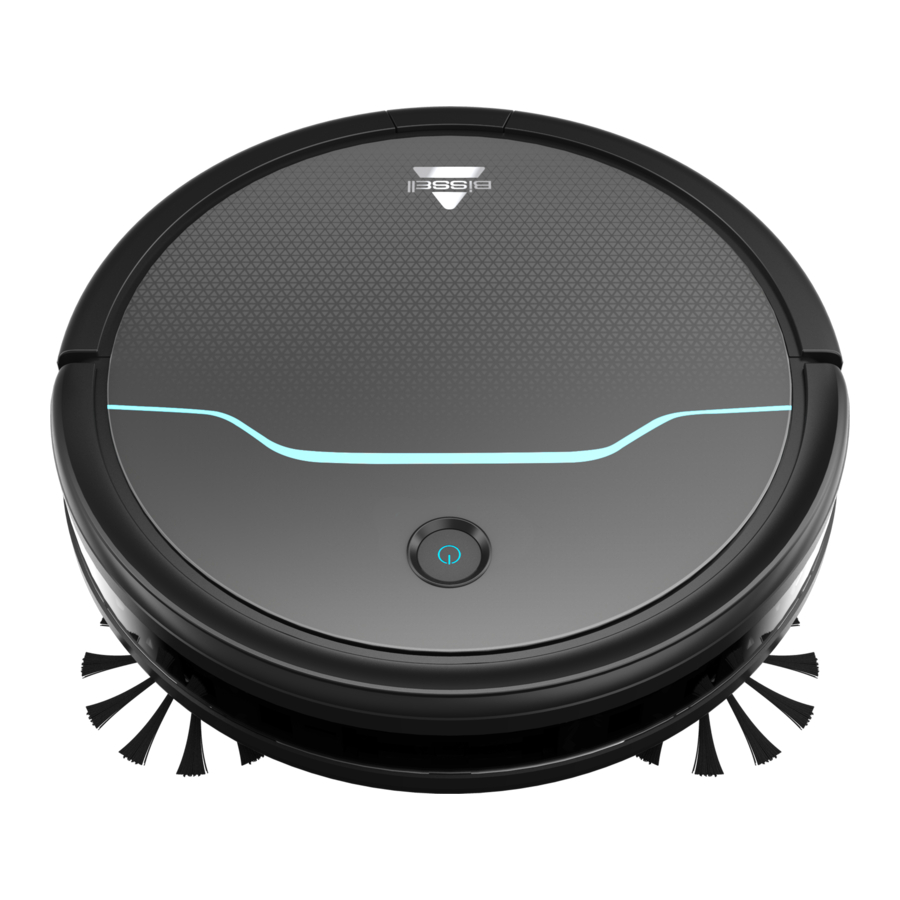
Bissell EV675 - Robotic Vacuum Assembly Instructions
- User manual (16 pages) ,
- User manual (48 pages)
Advertisement
Setting Up Your Robot
- Place the back of Docking Station firmly against a wall. Ensure there are at least 40 inches to one side, 40 inches to the opposing side and no obstructions in front of the Docking Station.

- Insert the Docking Station power adapter plug into the port on the side of the Docking Station and then plug the other end into the wall outlet. Turn ON the unit's Power Switch and put on the Docking Station. The first charge will take 4-5 hours.


Pair the Remote to the Robot
NOTE: Be sure to install batteries in the remote.
- While the Power Switch on the side of the robot is OFF (0), press and hold the play button on the remote for 5 seconds until the clock icon on the display flashes.

- Continue to hold the play button and turn the robot ON (I).


NOTE: The robot will beep three times to indicate that it has successfully paired.
Set the Clock
- Set the time by pressing and holding the clock button on the Remote Control until the clock icon on the Remote Control display begins to flash.
![]()
- Use the directional arrows to set the hour and minute.
![]()
- Press the clock button again to save the time setting.
![]()


NOTE: The robot will beep once to confirm the time has been saved.
Package Contents

NOTE: Standard accessories may vary by model.


Schedule Cleaning Sessions
NOTE: Be sure the clock is set to the correct time before scheduling cleaning sessions.
- Press the schedule button on the Remote Control. The icon will begin to flash on the Remote Control display.
![]()
-
Use the directional arrows to set the hour and minute for your robot to start cleaning.
![]()
-
Press the schedule button again to save the schedule setting.
![]()


NOTE: To cancel a scheduled cleaning session, press and hold the schedule button on the remote.
Getting Ready to Clean
With Remote Control
NOTE: Be sure the Power Switch on the Robot is set to the ON position.
You can change the cleaning pattern of the robot by pressing one of the following buttons:
 | Auto Mode Robot will drive in a straight path until it encounters an obstacle and change direction. |
 | Spiral Mode Best for concentrated cleaning. |
 | Wall Mode Best for cleaning along walls and edges. |
 | Single Room Mode Best for cleaning a single room. It's recommended that you close any doors to contain the robot. |
 | Manual Mode Best for directing the robot to a particular area. |
 | Return to Dock Press to return the robot to the Docking Station. |
Without Remote Control
- Press the Power Switch to the ON (I) position.
![]()
- Press the Start/ Stop Button on the top of the robot to start cleaning.
![]()
-
When finished, press the Start/ Stop Button again to stop the robot.
![]()
-
When the vacuum is in standby mode, press the Start/ Stop button twice continuously. The vacuum goes into recharging mode with the
![]() button flashing blue.
button flashing blue.
![]()


Status Light Notifications
| Status Light Colour | Status |
| Breathing Blue | Charging |
| Power Light Off | Robot Fully Charged |
| Solid Blue | Cleaning |
| Flashing Blue | Returning to Docking Station |
| Flashing Red | Error: Check Cliff Sensors, Battery Power Low, Robot is Trapped |
| Solid Red | Error: Check Wheels, Edge Cleaning Brushes, Brush Roll, and Bumper |
FOR ADDITIONAL INFORMATION ON ERROR NOTIFICATIONS AND OTHER TROUBLESHOOTING TIPS, PLEASE REFER TO PAGES 12 AND 13 IN THE USER GUIDE.

Documents / ResourcesDownload manual
Here you can download full pdf version of manual, it may contain additional safety instructions, warranty information, FCC rules, etc.
Download Bissell EV675 - Robotic Vacuum Assembly Instructions
Advertisement


Need help?
Do you have a question about the EV675 and is the answer not in the manual?
Questions and answers