Advertisement
Y
Parts Included:
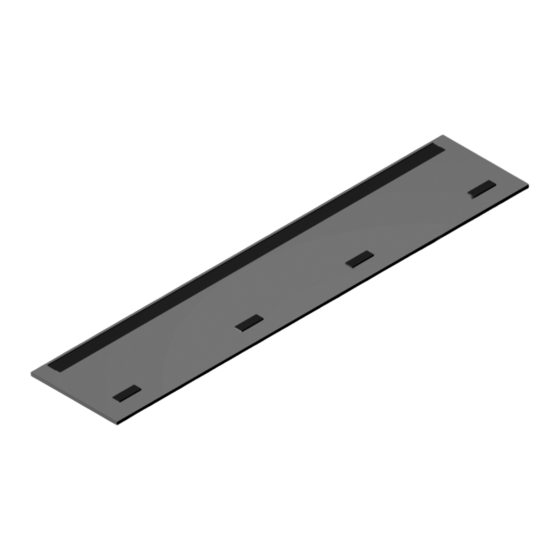
J-Strip
Spacer
Note: Cable Management Spacer (FV985) not included. Order separately.
Tools Required:
Phillips Screw
1/8" Drill Bit
Driver
Z
© 2014 Herman Miller, Inc. Zeeland, Michigan. Printed in the U.S.A.
® Y, Z and Intent are among the registered trademarks of Herman Miller, Inc.
Illustrations and specifications are based on the latest product information available at the time of publication.
The right is reserved to make changes in design and specifications at any time, without notice, and also to discontinue products.
Intent
Furniture Tackboard Installation and Disassembly
®
Velcro adhesive strip
Tackboard
Power Driver
for Recycling Instructions
Safety Glass
Clip
Part no. 1b57cw rev H.
1
Advertisement
Table of Contents

Related Manuals for HermanMiller Intent Furniture Tackboard


Summary of Contents for HermanMiller Intent Furniture Tackboard
- Page 1 Intent Furniture Tackboard Installation and Disassembly ® for Recycling Instructions Parts Included: J-Strip Clip Velcro adhesive strip Tackboard Spacer Note: Cable Management Spacer (FV985) not included. Order separately. Tools Required: Safety Glass Phillips Screw 1/8” Drill Bit Power Driver Driver Part no.
- Page 2 Cable Management Spacer Installation: Wall Mount: Note: Cable Management Spacer (FV985) not included with tackboard. Order separately. 4” 1. Measure 4” down from desired top of tackboard and strike a horizontal chalk line on the wall. 4” 4” 2. Clip screws should be on this line approximately 4” in from ends and evenly spaced. 3.
- Page 3 J-Strip Clip Tackboard Wall Spacer Velcro Adhesive 4. Remove velcro adhesive backer. 5. Engage J-strip to wall clips and adjust horizontally. Press tackboard at the bottom to engage velcro adhesive. Part no. 1b57cw rev H. © 2014 Herman Miller, Inc. Zeeland, Michigan. Printed in the U.S.A. ®...
- Page 4 Hutch Mount: 5” 6. Measure 5” down for screw location and strike a chalk line. 7. Using 1/8” drill bit, drill pilot holes on the back panel, approximately 1/4” deep, 4” from each end and evenly spaced between. Take care not to drill through back of hutch.
- Page 5 Clip 4” 4” Spacer 8. Attach spacers and clips using customer supplied screws. Note: Ensure screw length does not protrude through back. Part no. 1b57cw rev H. © 2014 Herman Miller, Inc. Zeeland, Michigan. Printed in the U.S.A. ® Y, Z and Intent are among the registered trademarks of Herman Miller, Inc. Illustrations and specifications are based on the latest product information available at the time of publication.
- Page 6 J-Strip 1” Clip Spacer Tackboard Back Panel Velcro Adhesive Strip 9. Remove velcro adhesive backer. 10. Engage J-strip to wall clips and adjust horizontally. Press tackboard at the bottom to engage velcro adhesive. Note: The hutch mount tackboard will have a 1” gap at the top to allow clip engagement. 11.
- Page 7 Disassembly and Recycling: Materials Identification and Segregation: Where possible, plastic components are marked with ASTM recycling codes. Use these codes to identify material type for recycling. Non marked components should be treated as mixed plastic. Ferrous metals can be identified using a small magnet for recycling.
Need help?
Do you have a question about the Intent Furniture Tackboard and is the answer not in the manual?
Questions and answers