HermanMiller Aeron Manual
Hide thumbs
Also See for Aeron:
- User information (18 pages) ,
- Manual (15 pages) ,
- Disassembly for recycling (11 pages)
Advertisement
Quick Links
HermanMiller
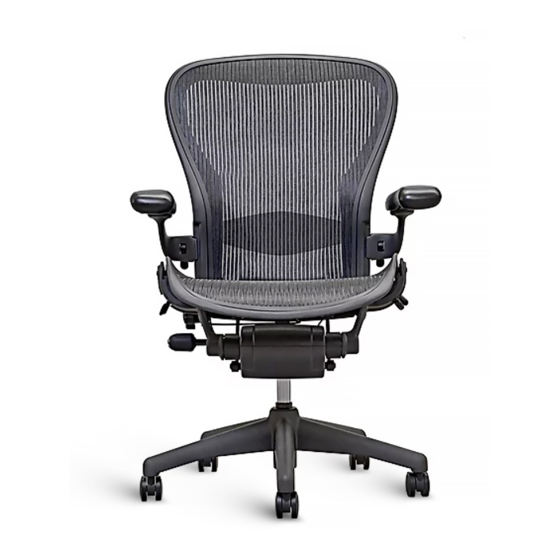
Aeron
For more information about our products and services or to see a list of dealers, please visit us at
www.hermanmiller.com or call 888 - 443 - 4357.
© 2016 Herman Miller, Inc., Zeeland, Michigan Printed in U.S.A. Part No. 1BHGYK - A.
Tools Required
Safety Glasses
Nylon cap
Wrench 10 mm
Step 1
1.1 Remove the four back bolts using 5mm Hex bit.
HermanMiller Aeron
Chair
®
Electric Drill
Hammer
Flat screw driver
New Aeron Disassembly for Recycling
Materials Identification and Segregation:
Where possible, plastic components are marked with ASTM recycling codes.
Use these codes to identify material type for recycling. Non marked compo-
nents should be treated as mixed plastic. Ferrous metals can be identified
using a small magnet for recycling. Non-ferrous metals should be separated
and recycled separately.
Punch
T27 Torx driver
Special punch with recess
T40, T25 Torx bit
1.2
1
5mm, 6mm Hex bit
Disassembly Instructions
Advertisement

Related Manuals for HermanMiller Aeron


Summary of Contents for HermanMiller Aeron
- Page 1 For more information about our products and services or to see a list of dealers, please visit us at and recycled separately. www.hermanmiller.com or call 888 - 443 - 4357. © 2016 Herman Miller, Inc., Zeeland, Michigan Printed in U.S.A. Part No. 1BHGYK - A.
- Page 2 2.1 Remove the bolt from the right swing arm. 2.2 Right hand arm has right hand drive threads. 2.3 Follow the previous steps to remove the left arm. Left hand arm has reverse left hand drive threads. HermanMiller Aeron Chair Disassembly Instructions ®...
- Page 3 Step 3 3.1 Remove nut and shoulder bolt 3.2 Use T27 Torx driver and 10 mm wrench 3.4 Follow previous steps to remove the right side nut and shoulder bolt HermanMiller Aeron Chair Disassembly Instructions ®...
- Page 4 3.5 Use 6 mm drill bit to remove the bolt from the swing arm 3.7 Follow the previous step to remove the bolt on the other side. HermanMiller Aeron Chair Disassembly Instructions ®...
- Page 5 3.9 Detach the seat from the swing arm 4.1 Remove the lower cover by releasing the 4 snaps 4.2 Squeeze the snaps as indicated below to remove the cover 4.3 Detach the lower cover from the tilt assembly. HermanMiller Aeron Chair Disassembly Instructions ®...
- Page 6 4.4 Detach the back cover. 4.6 Remove the front cover. HermanMiller Aeron Chair Disassembly Instructions ®...
- Page 7 Step 5 5.1 Detaching director from the tilt housing. 5.2 Release the two snaps shown below. 5.4 Lift the director from the tilt housing. HermanMiller Aeron Chair Disassembly Instructions ®...
- Page 8 5.5 Release the snap shown below to lift the cable. 5.6 Lift the cable to remove from the actuator. 5.7 Slide out the cable to detach from the actuator. 5.8 Removing the handle from the swing arm. HermanMiller Aeron Chair Disassembly Instructions ®...
- Page 9 5.9 Lift the lever up. 5.10 Release the bottom snap shown in the 4.11. 5.11 5.12 Release the bracket out of the socket. HermanMiller Aeron Chair Disassembly Instructions ®...
- Page 10 5.13 Rotate the assembly and remove from the swing arm. 5.14 Step 6 6.1 Detach the swing arms. 6.2 Pull out the swing arms from the assembly. HermanMiller Aeron Chair Disassembly Instructions ®...
- Page 11 6.3 Rotate the knob counter clock wise to release tension 6.4 Insert the screw driver to release the knob. 6.5 Detach the knob from the assembly. 6.6 Insert the screw driver to release the knob HermanMiller Aeron Chair Disassembly Instructions ®...
- Page 12 6.7 Detach the knob from the assembly. 6.8 Use the swing arm and pull back and hold to release the forward limit. 6.9 While holding back swing arm, lift the tab to disengage the forward limit. 6.10 HermanMiller Aeron Chair Disassembly Instructions ®...
- Page 13 6.11 Rotate the casing to remove the leaf spring from the assembly. 6.12 6.13 Detach the Leaf spring from the assembly. 6.14 HermanMiller Aeron Chair Disassembly Instructions ®...
- Page 14 6.15 Use T40 torx bit to remove the pivot pin 6.16 6.17 Remove the other pivot pin joint using the previous step. 6.18 HermanMiller Aeron Chair Disassembly Instructions ®...
- Page 15 6.19 Remove the bushing. 6.20 Detach the tilt casting from assembly. 6.21 Use hammer and punch to tap out the bushing to remove the B-Link 6.22 HermanMiller Aeron Chair Disassembly Instructions ®...
- Page 16 6.23 Follow the previous step to remove the right hand side bushing. 6.24 6.25 Detach the B-Link from the assembly. 6.26 Use T25 Torx bit to remove the cassette bolts HermanMiller Aeron Chair Disassembly Instructions ®...
- Page 17 6.27 6.28 6.29 6.30 HermanMiller Aeron Chair Disassembly Instructions ®...
- Page 18 6.33 After removing all the cassette bolts detach the tilt cassette. 6.34 Use a punch with recess and hammer to remove the tilt housing. Attention: Hold the tilt casting and lift the whole unit in the air before hammering. HermanMiller Aeron Chair Disassembly Instructions ®...
- Page 19 Step 7 7.1 Use nylon cap and Hammer to remove the cylinder form the base . 6.35 7.3 Pull off the castors to disassemble from the base HermanMiller Aeron Chair Disassembly Instructions ®...
- Page 20 HermanMiller Aeron Chair Disassembly Instructions ®...
Need help?
Do you have a question about the Aeron and is the answer not in the manual?
Questions and answers