Table of Contents
Advertisement
Quick Links
DISPLAYS2GO DIGITAL
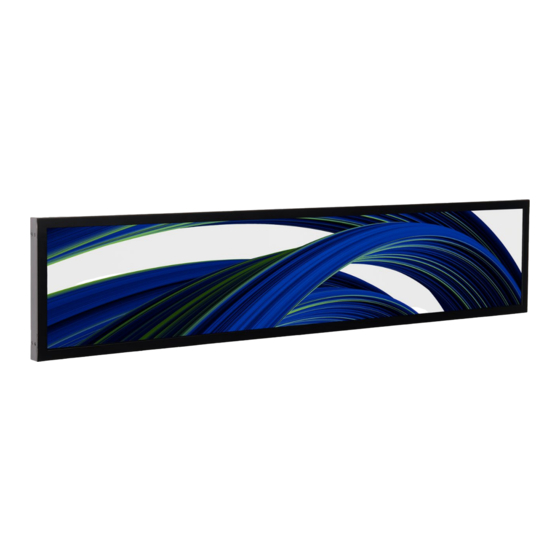
NON-TOUCH STRETCH DIGITAL DISPLAY
USER MANUAL
SKUs: DGLCDSTCH28, DGLCDSTCH37
Description: Non-touch digital display with stretched LCD screen
NOTE: Before using the product, please read the instructions carefully.
Do not attempt to disassemble this product. If the product does not work properly, please call our Customer
Service Department at 1-844-221-3393.
Advertisement
Table of Contents

Related Manuals for Displays2go DGLCDSTCH28


Summary of Contents for Displays2go DGLCDSTCH28
- Page 1 DISPLAYS2GO DIGITAL NON-TOUCH STRETCH DIGITAL DISPLAY USER MANUAL SKUs: DGLCDSTCH28, DGLCDSTCH37 Description: Non-touch digital display with stretched LCD screen NOTE: Before using the product, please read the instructions carefully. Do not attempt to disassemble this product. If the product does not work properly, please call our Customer...
-
Page 2: Table Of Contents
TABLE OF CONTENTS Safety Warnings and Precautions ........................3 Packing List ..................................6 Mounting Instructions ..............................7 Operation ................................. 9 Description of Digital Panel Interface ........................... 9 Power On/Off ................................9 Remote Control of LCD Screen ............................. 9 Description of Remote Control Buttons ........................10 Uploading and Playing Media ............................ -
Page 3: Safety Warnings And Precautions
SAFETY WARNINGS AND PRECAUTIONS Thank you for purchasing this product from Displays2go. We have considered the factors to ensure personal safety in product design and have tested rigorously at the factory. However, improper installation and use may result in electric shock and fire. - Page 4 WARNING Do not use power supply other than AC 110V, 60Hz. Cut off the power supply before connecting or disconnecting any cables. Do not place the Digital Signage on any instable positions, or else it may be damaged or cause fire. ...
- Page 5 This Manual is for reference only and is subject to change without prior notice. If you have any questions regarding our products, please visit us at www.displays2go.com or contact Displays2go customer service at 844-221-3388. PAGE 5 Scan QR code to visit product page.
-
Page 6: Packing List
PACKING LIST Figure 1.1 PART QUANTITY A: Digital Stretch Screen ........................ 1 B: Power Cord and Adapter......................1 C: Mounting Plate .......................... 1 D: Remote Control ......................... 1 E: Antenna………………………………………………………………………………………………………...…………1 Also Included: User Manual Tools Required: Drill, Level (not included) Anchors and bolts recommended for mounting to sheet rock, brick, and wood (not included). -
Page 7: Mounting Instructions
MOUNTING INSTRUCTIONS Fig 1.1 Note: The load-bearing capacity of the installation surface should be firm and strong with sufficient bearing capacity and should not be less 4 times the actual load-bearing weight. Use anchors and bolts as necessary to securely mount the unit. 1. - Page 8 Fig 1.2 4. Once plate is securely attached to the wall, lift unit and align the back screws with the 4 center holes on the mounting plate. Slide the unit onto the mounting plate and gently drop the frame into place.
-
Page 9: Operation
OPERATION Description of Digital Panel Interface Fig 2.1 1. USB ports (2) 2. MicroSD Card port 3. Audio Input 4. Ethernet Port (RJ45) 5. HDMI 6. Power Input Power On/Off • Power on by inserting power cord into unit and connecting to outlet. •... -
Page 10: Description Of Remote Control Buttons
please replace with new batteries; if the remote control won’t be used for a long time or the batteries are run out, please take out the batteries to avoid corrosion due to battery leakage, which will damage the remote control. •... -
Page 11: Uploading And Playing Media
Uploading and Playing Media Check that your desired imagery fits the optimal file dimensions before uploading to the unit. See table below. Supported File Formats JPG, BMP, PNG, GIF. Supported Image Files The file size should not exceed 2M. MP4, MKV(264), AVI . Supported Video Files The file size should not exceed 2M. -
Page 12: Connecting To Wi-Fi And Adjust Local Settings
Fig. 2.3 Connecting to Wi-Fi and Adjusting Local Settings NOTE: We recommend plugging a keyboard into the USB port to log into Wi-Fi and other applications. Click “Live” to enter Apps List. 2. Click “ ” Settings icon. 3. Click Wi-Fi from the list of Settings. 4. -
Page 13: Technical Specifications
TECHNICAL SPECIFICATIONS DISPLAY 28” 37” Screen Size 28 inches 37.7” Panel Type TFT-LCD TFT-LCD Machine Dimension 28.7” x 6.4” x 0.5” 38.4" x 8.3" x 0.6" Active Area 27.5" x 5.2" 37" x 10.5" Resolution 1920 x 360p 1920 x 375p View Angle 178/178 178/178... -
Page 14: Troubleshooting Guide
TROUBLESHOOTING GUIDE ISSUE PROBABLE CAUSE SOLUTIONS -Check that unit is plugged into wall. -Confirm that the power cord is -Unit is not plugged into the connected to the terminal on the wall. back of the unit. -Turn the on/off toggle switch to the -Power cord not properly “on”... - Page 15 -Check that Wi-Fi is turned on in settings: Click the settings icon from the Android home screen. Click “Wi-Fi.” Click the on/off icon in the upper -Wi-Fi is not turned on in right hand corner to turn on Wi-Fi. product settings. “On”...
- Page 16 > play > check desired Loop option. If all the potential solutions have been tested for a particular issue and problems have not been resolved, contact a customer service representative for guidance. Contact Information: Website: www.displays2go.com Phone: 844-221-3388 PAGE 16...
-
Page 17: Cleaning And Maintenance
Cleaning and Maintenance 1. Avoid strong vibration or impact on the product. 2. Keep the product dry to avoid possible damage by moisture. 3. Don't place the product under direct sunlight which may shorten the service life of the screen. 4. -
Page 18: Fcc Statement
This Manual is for reference only and is subject to change without prior notice. Visit www.displays2go.com for the latest product information and manual updates. FCC Statement Changes or modifications not expressly approved by the party responsible for compliance could void the user's authority to operate the equipment.
Need help?
Do you have a question about the DGLCDSTCH28 and is the answer not in the manual?
Questions and answers