Table of Contents
Advertisement
Quick Links
Installation, Operation and Maintenance Manual
Installation, Operation & Maintenance Manual
Linear Steam Head
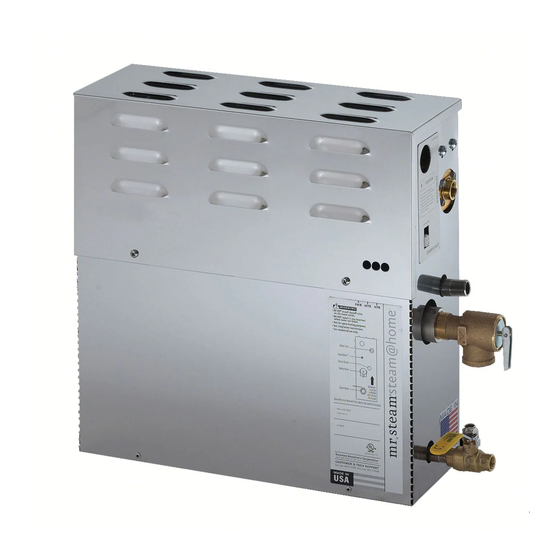
RESIDENTIAL STEAM GENERATOR SYSTEMS
Models: SAH3000, SAH4500, SAH6000
____________________
MP
O
RT
AN
T:
_
_
_
_
_
.
mr
steam
.
mr
steam
Steam@Home
Residential Model: 104480
Le
ave
th
is
ma
teri
al
_
_
_
_
_
_
_
®
®
®
wit
h t
he
ho
me
ow
ner
_
_
_
_
_
_
_
Feel Good Inc.
Feel Good Inc.
.
®
Advertisement
Table of Contents


Need help?
Do you have a question about the Feel Good Steam Home SAH3000 and is the answer not in the manual?
Questions and answers