Advertisement
Available languages
Available languages
Your safety, and the safety of others, is very important. To help you make informed decisions about
safety, we have provided installation and operating instructions and other information on labels and in
this guide. This information alerts you to potential hazards that could hurt you or others. It is not
possible to warn you about all potential hazards associated with this product, you must use your own
good judgment.
CARELESS INSTALLATION AND OPERATION CAN RESULT IN SERIOUS INJURY OR
EQUIPMENT DAMAGE. READ AND UNDERSTAND ALL SAFETY PRECAUTIONS AND
OPERATING INSTRUCTIONS BEFORE INSTALLING AND OPERATING THIS PRODUCT.
This guide identifies potential hazards and has important safety messages that help you and others avoid
personal injury or death. WARNING and CAUTION are signal words that identify the level of hazard.
These signal words mean:
WARNING signals a hazard that could cause serious injury or death, if you do not follow
recommendations.
you do not follow recommendations.
This guide uses NOTICE to call attention to important mechanical information, and Note: to empha-
size genera l information worthy of special attention.
Before You Begin
This kit also requires a plow tube base kit, a WARN specific vehicle plow mount, and lift mechanism such as a
winch, electric actuator, or universal manual lift. See your local dealer for part numbers and available kits.
Please note that the larger blades are very heavy and for some people may be too tiresome to lift with a manual
lift. Older plow tube base kits come with a set of skids and plow springs that will not be used in the installation
of this kit. Instead, use the skids and springs provided with the blade kit. Additionally, older plow base kits may
come with english units fasteners rather than the metric fasterners as described in these instructions. The kits
are compatible. Simply use the following guidelines; 8mm = 5/16", 10mm = 3/8", and 12mm = 1/2". A list of
replacement parts, such as skids and wear bars, can be found on the last page of this document.
Table of Contents
I.
Tools Required .............................................. 2
II.
Torque Specifications ................................... 2
III.
Parts List ....................................................... 2
IV.
Installation ................................................. 3-4
V.
Maintenance/Care ......................................... 5
WARN® INDUSTRIES
INSTALLATION INSTRUCTIONS
Part Number: 68710 (54") or 68200 (60")
Application: All Terrain Vehicles
CAUTION signals a hazard that may cause minor to moderate injury, if
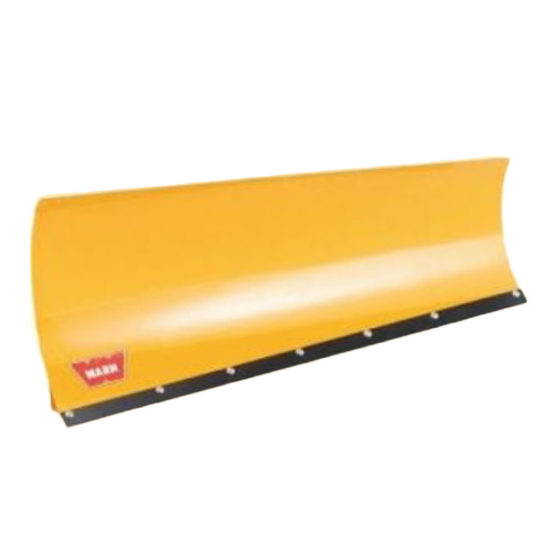
ATV Cyclone Blade
PAGE 1
68196 Rev A4
Advertisement
Table of Contents

Subscribe to Our Youtube Channel
Related Manuals for Warn 68710


Summary of Contents for Warn 68710
- Page 1 Before You Begin This kit also requires a plow tube base kit, a WARN specific vehicle plow mount, and lift mechanism such as a winch, electric actuator, or universal manual lift. See your local dealer for part numbers and available kits.
- Page 2 * The 54” blades will only use 7 of these fasteners. 8mm diameter bolt and nuts: 12 ft-lbs (17 N-m) 10mm diameter bolt and nuts: 20 ft-lbs (28 N-m) 16mm diameter nut: 100 ft-lbs (136 N-m) WARN® INDUSTRIES PAGE 2 68196 Rev A4...
- Page 3 Terminate with a 16mm dia lock nut. Back off the torque if the plow blade doesn’t rotate freely around the plow base. Figure 3 Attach Blade to Tube Base WARN® INDUSTRIES PAGE 3 68196 Rev A4...
- Page 4 Failure to use the skids can result in scratches to the roadway surface Figure 5 Assemble Heavy Duty Skids and reduced wear bar life. Installation is now complete, please proceed to the next section. WARN® INDUSTRIES PAGE 4 68196 Rev A4...
- Page 5 Heavy Duty Skid and Pin 2x 68820, 2x 25397 Contact your nearest WARN dealer for ordering. To find a dealer nearest you, contact the WARN dealer locator line at 1-800-910-1122. If you are having problems with your plow, please follow the steps below: Reference the installation instructions for tips or notes.
-
Page 6: Table Of Contents
AVANT DE COMMENCER Ce kit nécessite également un kit de base de tube de lame, un kit de montage de lame WARN spécifique au véhicule et un mécanisme de levage tel un treuil, un relevage électrique ou un levier manuel universel. -
Page 7: Outils Requis
Boulon et écrous de 8 mm de diamètre : 17 N-m (12 25397 Clip de cheville d’attelage pi-lb) * Les lames de 54 po utilisent seulement 7 de ces Boulon et écrous de 10 mm de diamètre : 28 N-m (20 fixations. pi-lb) WARN® INDUSTRIES PAGE 7 68196 Rev A4... -
Page 8: Installation
Terminez avec un écrou de blocage de 16 mm de diamètre. Desserrez un peu si la lame ne tourne pas librement autour de la base de lame. Figure 3 Fixation de la lame à la base du tube WARN® INDUSTRIES PAGE 8 68196 Rev A4... - Page 9 Le fait de ne pas utiliser les patins peut rayer le revêtement et réduire la vie utile de la barre d’usure. L’installation est à présent terminée. Passez à la section suivante. WARN® INDUSTRIES PAGE 9 68196 Rev A4...
-
Page 10: Maintence/Entretien
Communiquez avec le concessionnaire chez qui vous avez fait l’acquisition du kit. Appelez un des centres de service autorisés Warn indiqués sur la garantie qui accompagne le kit. Veuillez avoir les informations suivantes à portée de main avant d’appeler : numéro de pièce (listé sur le devant des instructions), date d’achat, marque, modèle et année du VTT.
Need help?
Do you have a question about the 68710 and is the answer not in the manual?
Questions and answers