Advertisement
Advertisement
Table of Contents

Related Manuals for AstroJet AJ-140


Summary of Contents for AstroJet AJ-140
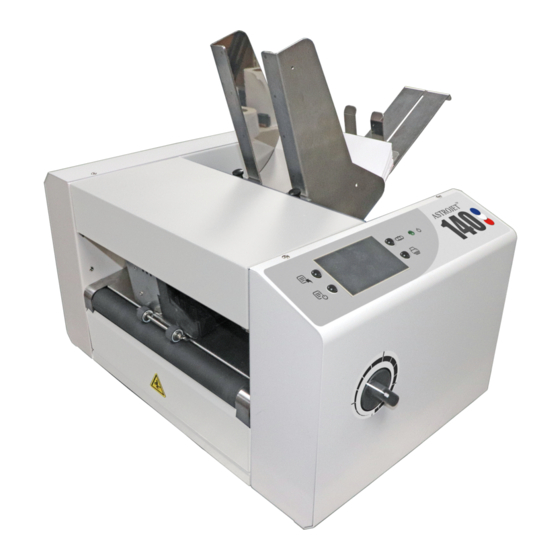
- Page 1 AstroJet AJ-140 Quick Start Guide Step 1 Unpack Printer and Accessories Place Printer on a stable surface at least 12" from any walls. Save packaging material. Step 2 Assembly [1] Side Media Guides, [2] Rear Media Support, [3] Rear Media Guide and [4] Wi-Fi Antenna.
- Page 2 Step 3 Step 4 Connect Power to Printer Install Inkjet Cartridges 1. Main Power Switch [1] is The AJ-140 holds 4 Inkjet Cartridges. turned OFF. 1. Remove inkjet 2. Check that the Printer is cartridge from set for the power to be packaging.
- Page 3 6. Positioning Cartridge Printheads: Adjust Step 5 positioning of Printhead Cartridge Assembly by loosening locking screw [D]. Slide Assembly as needed to print on media being used. Setting Up Feed Printer has four Sheet Separators, two Side Guides, and a Rear Media Support and Guide. Adjust Sheet Separators individually: 1.
- Page 4 WiFi to your computer. Click “Yes” Step 7 To install Accessories and for Printer set-up or operation, please refer to “AstroJet AJ-140 Printer Operator Manual” supplied with Printer. 4. The "Want to Install Printer…" window opens. If that is correct. Click “Yes”.
Need help?
Do you have a question about the AJ-140 and is the answer not in the manual?
Questions and answers