Advertisement
Quick Links
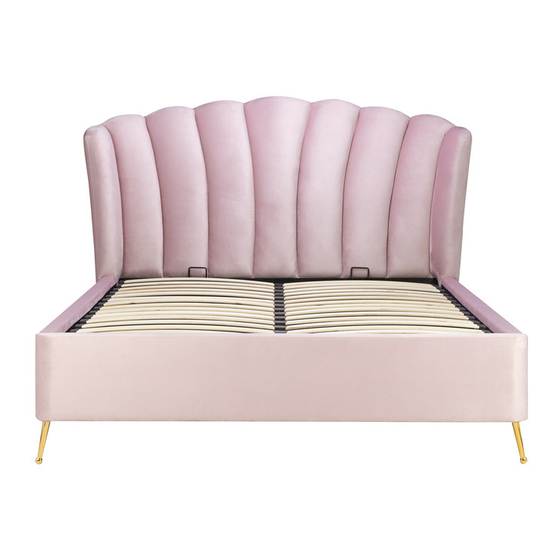
Assembly Instructions
Thank you for
purchasing a
Birlea
Are you happy with your purchase?
Yes:
That's great, we would love to hear more from you. Please leave us a review on our
social media channels or Trustpilot. Your feedback will be greatly appreciated
No:
If for any reason there is something missing, indifferent or incorrect with your order,
please contact the retailer you purchased the item from. We will work with the retailer
to resolve your issue as quickly as possible.
product.
For a chance to win a Love 2 Shop
voucher simply post a picture of your
new product on your preferred social
channels tagging Birlea Furniture and
using the hashtag
#ShareYourStyle
and #Birlea . One winner will be
selected at random each month.
To view our full terms and conditions please visit www.birlea.com
Page 1 of 8
Advertisement

Related Manuals for Birlea LOTTIE


Summary of Contents for Birlea LOTTIE
- Page 1 Birlea selected at random each month. To view our full terms and conditions please visit www.birlea.com Are you happy with your purchase? Yes: That’s great, we would love to hear more from you. Please leave us a review on our social media channels or Trustpilot.
- Page 2 LOTTIE Ottoman Bed - Queen Assembly Instructions Before you begin... 1. Please check you have received the correct product. 2. Unpack all boxes and lay out each component on the floor. 3. Check your product for any damage that may be immediately obvious. If damage is identified, please contact your retailer.
- Page 3 Box 1 Footboard (x1) T. Bed Cross Bar(x4) A.Headboard (x1) W.Front and Back Frame Rail(x2) X.Cross Support Bar(x2) I. Legs (x4) H.Slats(x28) Q Slat Caps (x28) R. Centre Slat Caps (x14) G. Support Leg (x1) (X2) U. Pull Strap (x1) O.
- Page 4 Box 2 B. Side Rails (x2) D. Left & Centre Support Rail (x1) Right Frame Rail (x2) BOX 3 Support Board(X2) Support Board(X2) Step 1 Unpack all components from the boxes and check you are not missing anything. Please check these against the list on page 3 &...
- Page 5 Step 2 Connect 2 legs (I) to 1 headboard (A) with 2 M8 both(J) and 8 screw(Z1), then connect 2 legs (I) to 1 footboard (F) with 2 M8 screws and 8 screw. Please do not use any power tools for this assembly as it will void your guarantee. Step 3 Attach 2x Side Rails to 1x Headboard...
- Page 6 Step 4: To attach the corner bracket (V)to the footboard(F) and side rails(B)you will need to use hardware parts 4X M6x16mm Bolts Y) and the M4 allen key(C1). To fix the 4 X bed cross bar( T ) to the side rails ,you will need to use hardware 8X M6x16mm Bolts Y) and the M4 allen key(C1).
- Page 7 Step 6 To attach the front frame rail(W)and back frame rail(W)to the left frame rail (D)and right frame rail(D), you will need hardware parts 4 X M8x16mm Bolts (Z) with the M5 allen key(O). To attach the centre support bar(C) to the front frame rail(W)and back frame rail(W),you will need hardware parts 4X (L) and 4X (K) with the M5 allen key(O) and the spanner(P).
- Page 8 Step 7 To attach the metal frame(W/C/D) and cross support bar(X)to the gas lift pre-fixed to the side rails, M8x70mm Bolts(A1) , 2 X you will need to use hardware parts 4X M8x45mm Bolts and 6x Nuts with the M5 allen key(O) and the spanner(P). To attach the Baton (B1)TO the footboard(F) you will need to use hardware parts M8x45mm Bolts wıth...
Need help?
Do you have a question about the LOTTIE and is the answer not in the manual?
Questions and answers