Inspired Flight IF1200 Setup Manual
Hide thumbs
Also See for IF1200:
- User manual (73 pages) ,
- User manual (35 pages) ,
- User manual (62 pages)
Advertisement
Quick Links
Advertisement

Related Manuals for Inspired Flight IF1200


Summary of Contents for Inspired Flight IF1200
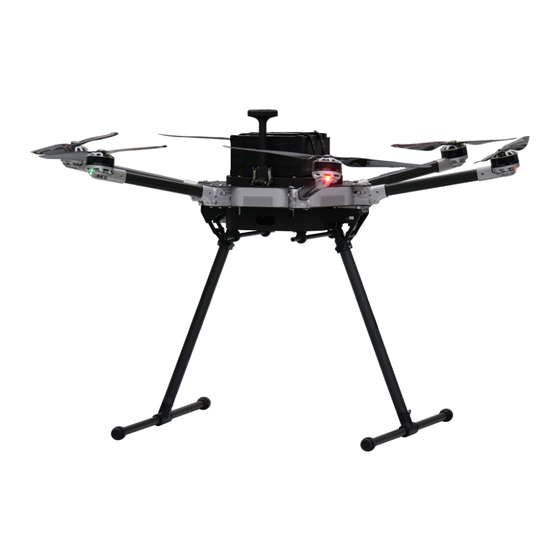
- Page 1 Physical Set-Up Guide IF1200 Hexacopter...
-
Page 2: Table Of Contents
TABLE OF CONTENTS 1. Unboxing ..................2. Attach Legs ................3. Unfold Arms ................4. Install GPS ................. 5. Install Battery ................6. Attach Gimbal ................7. Power On Vehicle ..............8. Attach Propellers .............. -
Page 3: Unboxing
STEP 2: Lift the top of the case open until it rests upright. STEP 3: Remove the IF1200 from the case using the two straps located on top of the drone. STEP 4: Rest IF1200 on a flat surface (min. 2ft x 2ft) -
Page 4: Attach Legs
ATTACH LEGS STEP 1: Remove the landing gear located in the wide slots within the drone case. STEP 2: Locate the two sections of landing gear. The shorter piece (with rubber caps) are the “feet” of the drone, while the longer tubes are the “legs.”... - Page 5 ATTACH LEGS STEP 4 STEP 5 STEP 6 STEP 7 STEP 8...
-
Page 6: Unfold Arms
UNFOLD ARMS STEP 1: Unfold the six aircraft arms into upright position by lifting them until it clicks. STEP 2: The shoulders should lock the arms securely into place (metal clips flip up). STEP 1 STEP 2... -
Page 7: Install Gps
INSTALL GPS STEP 1: Lift the GPS up, and locate the two clips on each side of the GPS base. STEP 2: Secure the clips onto the main frame & pull upward, locking the GPS in place. STEP 3: Make sure clips are securely in place, and not loose. STEP 2 STEP 3 STEP 1... -
Page 8: Install Battery
INSTALL BATTERY STEP 1: Ensure the velcro straps on top of the vehicle are unfastened & moved out of the way so that the battery can be placed on top of the vehicle. STEP 2: Grab your fully charged smart battery and place it securely in the alignment trays. -
Page 9: Attach Gimbal
ATTACH GIMBAL STEP 1: Ensure marks on the top & bottom parts of the gimbal are aligned. STEP 2: The mark on the ring should be aligned with the unlocked icon shown in the first image (below). STEP 3: Attach the bottom part to the top part (keep arrows aligned). STEP 4: Rotate the ring clockwise until the mark on the ring aligns with the lock icon. -
Page 10: Power On Vehicle
POWER ON UAV STEP 1: Press the power button on near the rear of the vehicle. STEP 2: The LED indicator light will turn on when the aircraft is on, and beeping will occur during the initialization sequence. STEP 3: The LED on the GPS mast will turn blue as it searches for a signal. -
Page 11: Attach Propellers
ATTACH PROPS STEP 1: Locate the correct propeller for each motor. STEP 2: Three of the IF1200’s motors spin clockwise, and have black connecting points. The other threee motors spin counterclockwise and have silver connecting points. STEP 3: Attach the prop to the corresponding color of the connector on the motor (Silver to silver, black to black).
Need help?
Do you have a question about the IF1200 and is the answer not in the manual?
Questions and answers