Tormach PathPilot Installation Manual
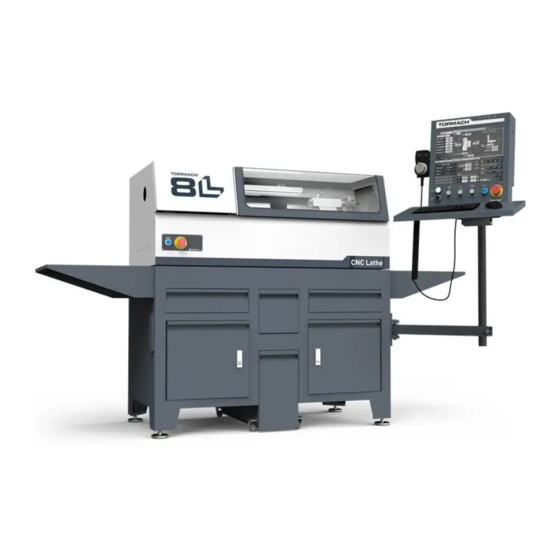
Lathe 8l operator console
Hide thumbs
Also See for PathPilot:
- Installation manual (24 pages) ,
- Technical document (7 pages) ,
- Installation manual (15 pages)

Related Manuals for Tormach PathPilot


Summary of Contents for Tormach PathPilot
- Page 1 TECHNICAL DOCUMENT Version 0123A INSTALLATION GUIDE 8L LATHE PATHPILOT OPERATOR CONSOLE Page 1 Specifications subject to change without notice. ©Tormach® 2023...
-
Page 2: Product Information
Power Cable (PN 38906) Ethernet Cable (PN 38391) 8L Emergency Stop Extension Cable (PN 51011) Note: If any items are missing, we can help. Create a support ticket with Tormach Technical Support at tormach.atlassian.net/servicedesk for guidance on how to proceed. INSTALL THE CONTROLLER ARM... - Page 3 6. Tighten the cross bolt on the square tube arm with a 17 mm socket wrench and a 17 mm hex wrench. Page 3 ©Tormach® 2023 tormach.com Specifications subject to change without notice. TD10788: Installation Guide: PathPilot Operator Console Assembly for 8L (0123A)
- Page 4 Note: The largest mounting plate is for the monitor, and the smallest mounting plate is for the keyboard tray. Page 4 ©Tormach® 2023 tormach.com Specifications subject to change without notice. TD10788: Installation Guide: PathPilot Operator Console Assembly for 8L (0123A)
- Page 5 10. Attach four wire tie mounts to the monitor post with four 4 mm flat head machine screws and a Phillips screwdriver. Page 5 ©Tormach® 2023 tormach.com Specifications subject to change without notice. TD10788: Installation Guide: PathPilot Operator Console Assembly for 8L (0123A)
- Page 6 M4 × 12 mm socket head cap screws (provided with the operator console). Figure 5: Operator console attached to the monitor mounting plate. Page 6 ©Tormach® 2023 tormach.com Specifications subject to change without notice. TD10788: Installation Guide: PathPilot Operator Console Assembly for 8L (0123A)
- Page 7 4. Attach the keyboard tray to the operator console with two M3 Phillips screws (provided in the controller box) and a Phillips screwdriver. Figure 7: Attaching the keyboard tray to the operator console (from below). Page 7 ©Tormach® 2023 tormach.com Specifications subject to change without notice. TD10788: Installation Guide: PathPilot Operator Console Assembly for 8L (0123A)
- Page 8 9. Connect the WiFi dongle to any USB port on the operator console. 10. Connect the Ethernet cable to the Ethernet port on the operator console. Page 8 ©Tormach® 2023 tormach.com Specifications subject to change without notice. TD10788: Installation Guide: PathPilot Operator Console Assembly for 8L (0123A)
- Page 9 Figure 10: Cable tie holes. Tip! If you're using a mouse, we recommend leaving some slack for it to move freely. Page 9 ©Tormach® 2023 tormach.com Specifications subject to change without notice. TD10788: Installation Guide: PathPilot Operator Console Assembly for 8L (0123A)
- Page 10 WARNING! Electrical Shock Hazard: You must power off the machine before making any electrical connections. If you don't, there's a risk of electrocution or shock. 17. Open the electrical cabinet door. Page 10 ©Tormach® 2023 tormach.com Specifications subject to change without notice. TD10788: Installation Guide: PathPilot Operator Console Assembly for 8L (0123A)
- Page 11 19. Verify that the terminals are securely screwed down after removing the jumper wire. 20. Close the electrical cabinet door. Page 11 ©Tormach® 2023 tormach.com Specifications subject to change without notice. TD10788: Installation Guide: PathPilot Operator Console Assembly for 8L (0123A)
-
Page 12: Troubleshooting
1 and 2047, but 1000 is generally low humidity. sufficient for most shop spaces. Page 12 ©Tormach® 2023 tormach.com Specifications subject to change without notice. TD10788: Installation Guide: PathPilot Operator Console Assembly for 8L (0123A) - Page 13 Examine the green ring around power the power button. It should light button up when you press the power functionality. button. Page 13 ©Tormach® 2023 tormach.com Specifications subject to change without notice. TD10788: Installation Guide: PathPilot Operator Console Assembly for 8L (0123A)
- Page 14 Panel Color Depth: 24 5. Select the Esc key, go to Save and Exit, and select Save Changes and Reset. Page 14 ©Tormach® 2023 tormach.com Specifications subject to change without notice. TD10788: Installation Guide: PathPilot Operator Console Assembly for 8L (0123A)
- Page 15 (PN 39146). going from the header control on the computer board. motherboard to connector J12 on the control board. Page 15 ©Tormach® 2023 tormach.com Specifications subject to change without notice. TD10788: Installation Guide: PathPilot Operator Console Assembly for 8L (0123A)
- Page 16 (PN 39146). motherboard to connector J12 on board. the control board. Page 16 ©Tormach® 2023 tormach.com Specifications subject to change without notice. TD10788: Installation Guide: PathPilot Operator Console Assembly for 8L (0123A)
- Page 17 Jog Pendant...
Need help?
Do you have a question about the PathPilot and is the answer not in the manual?
Questions and answers