Celexon battery screen V2.0 Professional Plus Operating Instructions Manual
Hide thumbs
Also See for battery screen V2.0 Professional Plus:
- Operating instructions manual (89 pages)
Advertisement
Quick Links
Operating instructions
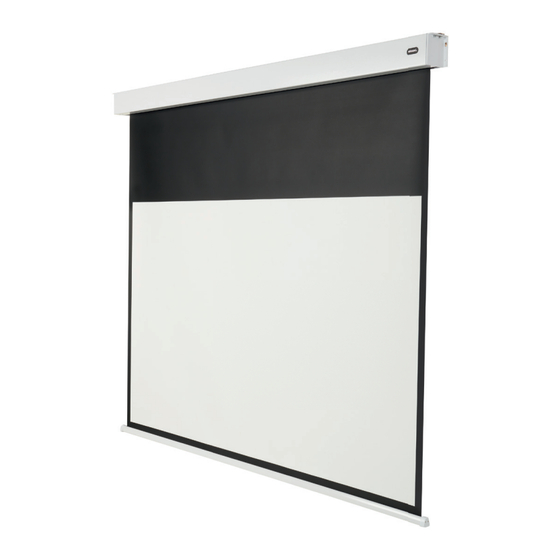
celexon battery screen
V2.0 Professional Plus
Thank you for purchasing this product.
For optimum performance and safety, please read these instructions carefully
before connecting or operating this product. Please retain these instructions for future
reference.
Version: 32422_061
Advertisement

Related Manuals for Celexon battery screen V2.0 Professional Plus


Summary of Contents for Celexon battery screen V2.0 Professional Plus
- Page 1 Operating instructions celexon battery screen V2.0 Professional Plus Thank you for purchasing this product. For optimum performance and safety, please read these instructions carefully before connecting or operating this product. Please retain these instructions for future reference. Version: 32422_061...
- Page 2 If you notice any external damage to the unit or any unexpected or unusual functioning, the product must not be used any further. Immediately contact the dealer from whom you purchased the product or celexon directly (Web: www.celexon.co.uk, Mail: info@celexon.co.uk) for further information.
- Page 3 • If you are unsure about the use of the product, please contact specialist personnel, your dealer or celexon directly (Web: www.celexon.co.uk, Mail: info@celexon.co.uk). • Technical changes and errors expected. The manufacturer accepts no responsibility for damage to property or personal injury, if the screen is used outside the recommended specifications, or in the event of improper installation.
-
Page 4: Care Instructions
DISCLAIMER The information in this document is subject to change without notice by the manufacturer. Changes will be added to subsequent versions of this manual. Errors expected. CARE INSTRUCTIONS NEVER clean the screen with alcohol or other cleaning agents containing solvents. -
Page 5: Installation Note
IN THE BOX 1x Screen 4x Plastic dowels 4x Screws 1x Radio remote control Required (Not included in delivery): Battery button cell CR2450 for Radio remote control 1x Battery charger INSTALLATION NOTE Install the screen in a position that is fully visible to all viewers! The optimum installation height corresponds to the position of the viewers in the centre of the screen with the screen fabric extended: eye level = lower third of the screen surface. - Page 6 MOUNTING ON THE CEILING (VIA EYELETS) Measure the distance between the eyelets. Mark points ceiling and make sure that the eyelets are aligned with each other and parallel to the wall. Drill the holes at the markings at a diameter to match the diameter of the ring eyelet used, screw them fi rmly into the ceiling (according to the manufacturer‘s instructions and the...
-
Page 7: Mounting On The Wall
Make sure that the holes are parallel to the wall! Use suitable dowels and screws for your substrate. Caution: overtighten screws! If you notice cracks in the caps they must be replaced! The screen must not be used with cracked caps. Please ensure that the metal plates are also used for wall and ceiling mounting, otherwise a safe installation cannot be... - Page 8 Make sure that the screen is installed straight and level. Tighten the screws and install the bottom screws in the side cap on both sides. Caution: overtighten screws! If you notice cracks in the caps they must be replaced! The screen must not be used with cracked caps.
- Page 9 CONTROL VIA THE RADIO REMOTE CONTROL STOP DOWN PAIRING THE RADIO REMOTE CONTROL The radio remote control is already coupled to the integrated receiver at the factory. If the pairing has been lost, please proceed as follows: STEP 1 As shown in the illustration, press the button on the motor head for 3 seconds.
- Page 10 To stop the projection screen manually, press the stop button on the remote control or on the housing. It is possible to set the stop points. Please request the instructions for this procedure from your specialist dealer or directly via www.celexon.com...
- Page 11 Gutenbergstraße 2, 48282 Emsdetten, DE Product name: celexon battery screen V2.0 Professional Plus Hereby celexon Europe GmbH declares that the celexon battery screen V2.0 Professional Plus complies with the directive 2014/53/EU. The EU declaration of conformity can be downloaded from the following address: www.celexon.de/...
- Page 12 Product name: celexon battery screen V2.0 Professional Plus Hereby celexon Europe GmbH declares that the radio equipment type celexon battery screen V2.0 Professional Plus complies with the Radio Equipment Regulations 2017. The UK declaration of conformity can be downloaded from the following address: www.celexon.de/zertifikate...
Need help?
Do you have a question about the battery screen V2.0 Professional Plus and is the answer not in the manual?
Questions and answers