Advertisement
Quick Links
Advertisement

Related Manuals for Celexon Electric HomeCinema Tension


Summary of Contents for Celexon Electric HomeCinema Tension
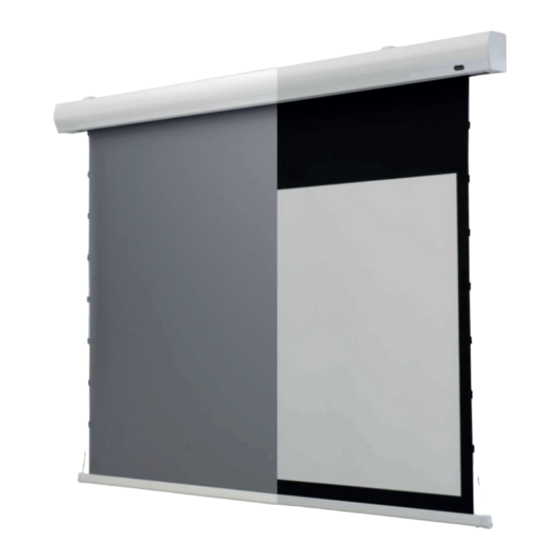
- Page 1 Operating instructions celexon Electric HomeCinema Tension Thank you for purchasing this product. For optimum performance and safety, please read these instructions carefully before connecting or operating this product. Please retain these instructions for future reference Version: 32422_061...
- Page 2 If you notice any external damage to the unit or any unexpected or unusual functioning, the product must not be used any further. Immediately contact the dealer from whom you purchased the product or celexon directly (Web: www.celexon.co.uk, Mail: info@celexon.co.uk) for further information.
- Page 3 • If you are unsure about the use of the product, please contact specialist personnel, your dealer or celexon directly (Web: www.celexon.co.uk, Mail: info@celexon.co.uk). • Technical changes and errors expected. The manufacturer accepts no responsibility for damage to property or personal injury, if the screen is used outside the recommended specifications, or in the event of improper installation.
-
Page 4: Care Instructions
DISCLAIMER The information in this document is subject to change without notice by the manufacturer. Changes will be added to subsequent versions of this manual. Errors expected. CARE INSTRUCTIONS NEVER clean the screen with alcohol or other cleaning agents containing solvents.Use only a soft and clean cloth. -
Page 5: Installation Note
IN THE BOX a) 1x Screen b) 2x Wall and ceiling c) 8x Screw for wall and d) 1x Hexagon socket key mounting bracket ceiling mounting brackets e) 2x Remote control (1x f) 2x battery g) 1x Trigger cable h) 1x IR receiver infrared, 1x radio) i) 8x Plastic dowels j) Operating instructions... -
Page 6: Mounting On The Wall
Before starting an installation variant, the assembly bracket (b) must be set to its basic position. To do this, turn the lower safety screw on the mounting bracket (b) counterclockwise so that the bracket opens. Do not turn the screw completely, but only until the bracket loosens and it fits into the grooves on the back of the housing. - Page 7 MOUNTING ON THE CEILING (SCREWED) ATTENTION! Make sure that you have a load-bearing surface For mounting on a solid stone/concrete ceiling, please use the plastic do- wels (i). Draw a line to install the two mounting brackets in alignment. Use the mounting brackets as a template and mark the holes with a pencil.
-
Page 8: Operation
MOUNTING ON THE CEILING (HANGING) ATTENTION! Make sure that you have a load-bearing substrate For mounting on a solid stone/concrete ceiling, please use the plastic dowels (i). Determine the position of the mounting brackets (b) by the height of the projection screen surface. Draw a straight line to ensure the two mounting brackets are aligned with each other. - Page 9 Operating the remote controls Press the „up“ button on the remote control. The screen will automatically move to the upper end position and stop automatically. Press the „Stop“ button on the remote. The movement of the screen stops immediately. Press the „Down“ button on the remote control. The screen will automatically move to the lower end position and stop automatically.
- Page 10 Radio Trigger Programming button Transmitter Adapter USB to 3,5 mm jack* Technical data Voltage: AC/DC 12 V Frequency 433.92 MHz + 100 KHz Voltage transmission: 10 Milliwatt Distance: max. 20 m *The USB to 3.5 mm socket adapter is necessary if the projector does not have a 3.5 mm trigger socket.
- Page 11 ASSIGNMENT RS485 OUTPUT: Connection type (Marked as 485-A white cable | 485-B black cable) Communication partner Baud rate: 9600 Data bit: Stop bit: Check bit: None Communication protocol 485-A white cable Start 485-A Address Com- Com- Check code code mand mand (CRC16) code...
- Page 12 A tone will then sound 5 times. This completes the operation It is possible to set the stop points. Please request the instructions for this procedure from your specialist dealer or directly via www.celexon.com.
- Page 13 Gutenbergstraße 2, 48282 Emsdetten, DE Product name: celexon Electric HomeCinema Tension Hereby celexon Europe GmbH declares that the celexon Electric HomeCinema Tension complies with the directive 2014/53/EU. The EU declaration of confor- mity can be downloaded from the following address: www.celexon.de/zertifikate The symbol indicates the separate collection of electrical and electronic devices in EU countries.
- Page 14 Gutenbergstraße 2, 48282 Emsdetten, DE Product name: celexon Electric HomeCinema Tension Hereby celexon Europe GmbH declares that the radio equipment type celexon Electric HomeCinema Tension complies with the Radio Equipment Regulations 2017. The UK declaration of conformity can be downloaded from the following address: www.celexon.de/zertifikate...
Need help?
Do you have a question about the Electric HomeCinema Tension and is the answer not in the manual?
Questions and answers