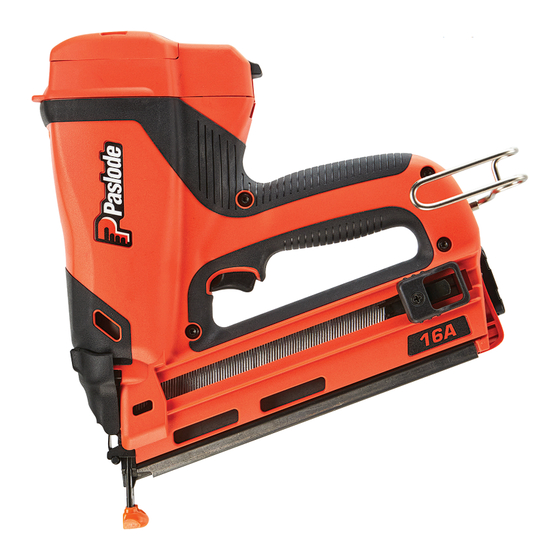
Summary of Contents for Paslode IM250A-Li2
- Page 1 Part No. 916200 Model IM250A-Li2 Cordless 16 Ga Angled Finish Nailer CLEANING PROCEDURE www.paslode.com Literature Part Number: 916310...
- Page 2 This procedure provides a simple but To begin, you will need the effective way to clean your Paslode following items: Cordless tool and maintain reliable 1. Flat Head Screwdriver operation. Regular cleaning and 2. Hex Key Wrench (provided with tool) lubrication will also extend part life and 3.
- Page 3 Step 3 Use the 9/64” Hex Key Wrench (#900736) to unscrew the 4 Socket Head Cap Screws that attach the cap. Set the grill, filter, and cap aside.
- Page 4 DANGER Never operate the Paslode Cordless tool unless all four Socket Head Cap Screws are firmly tightened on the cylinder head. Failure to do this could result in tool damage, fire and personal injury.
- Page 5 Step 7 Spray the Cylinder Head with Cordless Tool Cleaner. Allow the dirt and debris to drip off. Step 8 Using a clean, lint free rag, wipe off any remaining cleaner or dirt. Make sure the Seal Rings and Spark Plug are completely clean and clear of debris.
- Page 6 Seal Rings. Set the Cylinder Head Assembly aside. Note: Paslode Lubricating Oil is specially formulated for use in the Paslode Cordless Tool. The use of other types of lubricants may cause rapid build-up of combustion residue or result in premature part failure. Step 10 Push the Piston Assembly to the "down...
- Page 7 Step 11 Spray a liberal amount of tool cleaner into the inside of the Sleeve and Combustion Chamber. Invert the Motor Assembly, and let excess cleaner and dirt drain out. Step 12 Using a clean area of a lint-free rag, wipe off any remaining cleaner or dirt.
- Page 8 Step 13 With Motor Assembly tilted up, squeeze 4-5 drops of Paslode Lubricating Oil into Sleeve (Area "A") and 3-4 drops onto lower lip of Combustion Chamber (Area "B") and apply 4-5 drops around the top of the Combustion Chamber (area C).
- Page 9 Step 15 Manually push the Driver Blade up and down to distribute the oil in the Sleeve evenly. Reassemble the Paslode Cordless tool following disassembly Steps 1-4, pages 2-3 in Reverse order. Reassembly Note: Before tightening Cap Screws, depress the nose of the tool down on its work contacting element to close Combustion Chamber.
- Page 10 After the tool is completely reassembled the cap assembly is securely attached to and all screws are tightened, test the tool the housing. Operating the Paslode for proper operation. Some smoke may be Cordless tool with a loose or missing cap...
- Page 11 If it is appar- When the Paslode Cordless Nailer is ent that the Paslode Cordless Tool is not used in a dirty environment or at high in need of cleaning at the scheduled...
-
Page 12: Cleaning Procedure
Paslode Cordless 16 Ga Angled Finish Nail CLEANING PROCEDURE Part No. 916200 Model IM250A-Li2 For Technical Support call: 1-800-222-6990 Go to: paslode.com to find Parts and Service Centers An Illinois Tool Works Company 155 Harlem Avenue Glenview, IL 60025 www.paslode.com...


Need help?
Do you have a question about the IM250A-Li2 and is the answer not in the manual?
Questions and answers