Table of Contents
Advertisement
Advertisement
Table of Contents

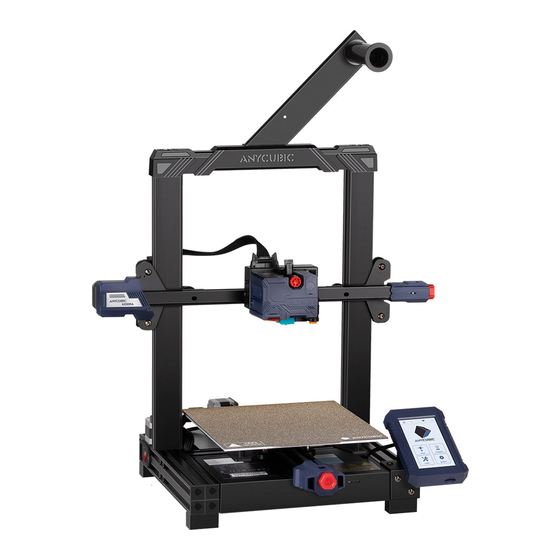
Summary of Contents for AnyCubic Kobra
- Page 1 Januar 2023...
-
Page 2: Table Of Contents
Content INTRODUCTION ..........................1 SCOPE ............................2 SAFETY AND WARNINGS ......................2 !!!! IMPORTANT!!!! ........................2 Note (circuit board / cable set) ................... 2 Warnings: ..........................3 Intended use ..........................3 Safety instructions ........................3 Breach of warranty ........................4 SCOPE OF DELIVERY ........................ -
Page 3: Scope
SCOPE This cable and board set are designed and manufactured for the 3D printer Anycubic® Kobra. Since the housing must be opened, the manufacturer's warranty is void! SAFETY AND WARNINGS !!!! IMPORTANT!!!! Damage caused by non-observance of the installation instructions invalidates the warranty. -
Page 4: Warnings
Intended use The intended use of the device is exclusively the Anycubic® Kobra 3D printers. Any other use than specified is not permitted! Safety instructions... -
Page 5: Breach Of Warranty
Before commissioning a device, it must generally be checked whether this device or the • assembly is fundamentally suitable for the application for which it is to be used! In case of doubt, it is absolutely necessary to consult specialists, experts or the manufacturers of the assemblies used! Please note that operating and connection errors are beyond our control. -
Page 6: Scope Of Delivery
SCOPE OF DELIVERY 1x Cable holder 2x washer (PLA) 1x Board 5x Cable tie Board Extruder washer Cable tie Page 5 of 9... -
Page 7: Conversion
CONVERSION Remove the cable and the 4 screws and remove the print head. Remove the screws from the extruder cover. Carefully remove all plugs. Remove these two Then put on the washers and fix the board screws. with the original screws. Page 6 of 9... - Page 8 Screw the printhead back on with 3 screws. (The screw at the top left will be inserted later!) Reconnect the cables. Screw the cover back on. On the underside, unscrew the cover above the mainboard. (2 screws. Unscrew the cable holders and remove the old cable. Then install the two new cables in the same way as the old one.
- Page 9 8 Mainboard Plug the cables onto the connectors. Fasten the cable holder to the printhead with the 4th screw. Fix the cable to the holder with a cable finder. Page 8 of 9...
- Page 10 If you like the product or have any suggestions for improvement, just contact me. iteservices(AT)leinhos-online.de Of course I am also open for positive feedback ;-) QR Code to reprint all printable parts again. All rights reserved by IT&E Services Inh. André Leinhos Blankenburger Str.


Need help?
Do you have a question about the Kobra and is the answer not in the manual?
Questions and answers
hi, I **** trying to set up a Kobra go which was sold to me second hand. I already have a Balco 3d touch so i **** not new to 3d printing. This beautiful machine is more technical than the Balco. What i need to know is how to set the proximity switch on the print head ,as at the moment its about 5mm!