Advertisement
Table of Contents
Contents
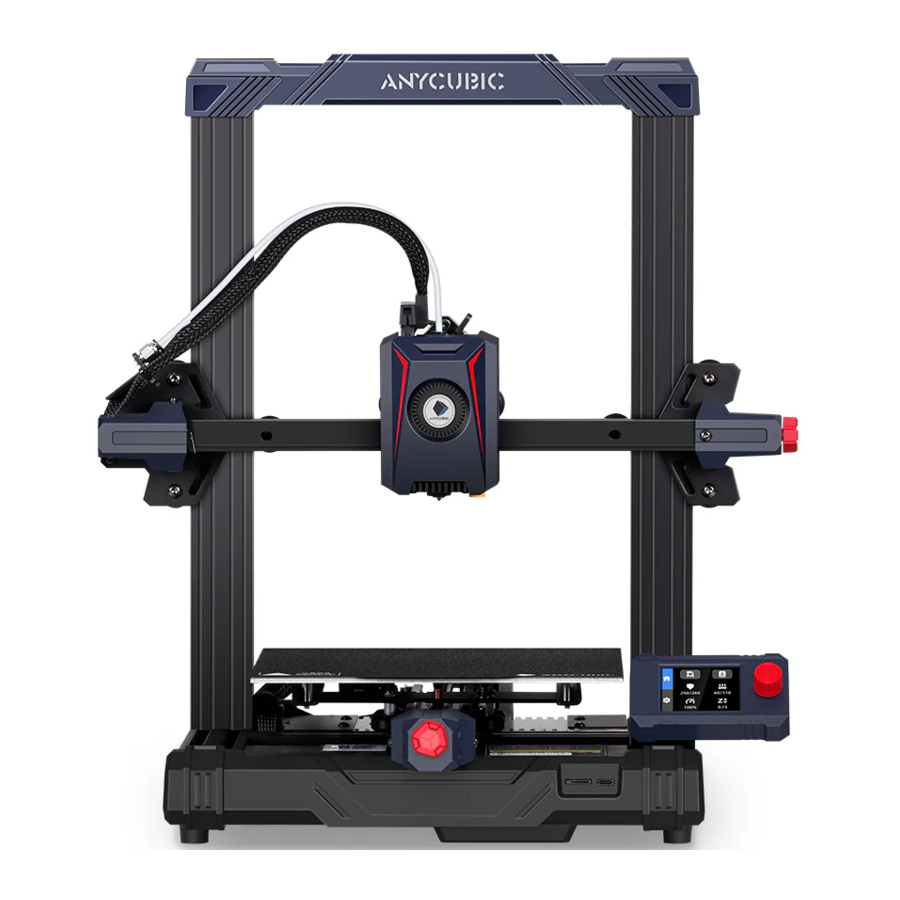
ANYCUBIC Kobra 2 Neo Manual
Machine Installation
The TF card of the machine comes with an instruction video.

- lnstall frame
- lnstalI print head
- lnstaII screen
- lnstaII Filament holder
Check Before Use
- Pulley elastic adjustment
Check if the print head is shaking. If it is, adjust the hexagonal isolation column located underneath the print head until it slides smoothly and without shaking.

Check if the print bed is shaking. If it is, adjust the hexagonal isolation column located underneath the print bed until it slides smoothly and without shaking.

Similarly, the pulleys on both sides of the gantry frame can also be adjusted. - Belts
Please manually move the print head and print platform. If there is any difficulty or abnormal noise during the movement, adjust the tensioner to ensure smooth sliding of the print head or platform.

- Power On
Connect the printer to a power outlet with the power cable, then power on the printer.
![caution]() Note: When inserting the power cord, please avoid the print head cable to prevent any interference issues.
Note: When inserting the power cord, please avoid the print head cable to prevent any interference issues.


Leveling
In the settings page, select [Auto level] and wait for the machine to complete the leveling process.

Loading Fliament

- Put the filament onto the spool holder.
- Insert the filament into the extruder until you feel some resistance. While doing so, press and hold the button on top of the extruder.
- In the settings page, select [Filament] - [Extrude], and wait for the nozzle to heat up to the preset temperature. The filament will be automatically extruded.
 Note: Before inserting the filament into the extruder, make sure to straighten the end of the filament.
Start printing

- Insert the TF card into the printer's card slot.
- Select the corresponding model and start printing.
Note: After starting the printing process, please observe the situation of the first layer. You can adjust the Z-Offset value during the printing process to adjust the distance between the print head and the print platform.
Documents / ResourcesDownload manual
Here you can download full pdf version of manual, it may contain additional safety instructions, warranty information, FCC rules, etc.
Advertisement


Need help?
Do you have a question about the Kobra 2 Neo and is the answer not in the manual?
Questions and answers