Advertisement
Quick Links
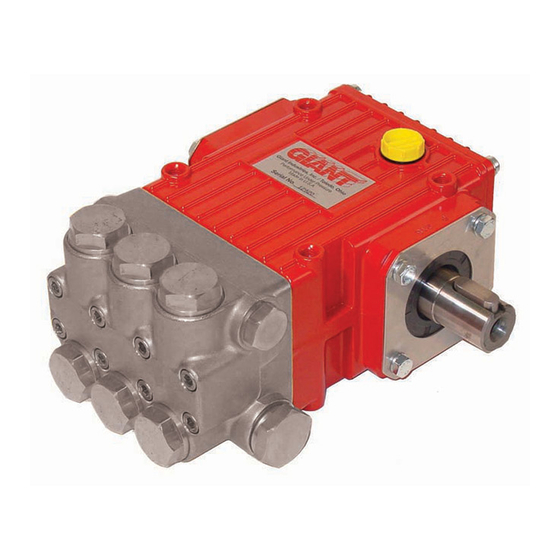
REPAIR INSTRUCTIONS - P200A-3100 SERIES
1.
With a 22mm socket
wrench, remove the (3)
discharge valve plugs and
(3) inlet valve plugs (32)
Inspect the o-ring (33) for
wear and replace if dam-
aged.
4.
Apply one drop of Loctite
243 to the valve plugs (32)
and tighten to 55 ft.-lbs.
(75 Nm).
7.
Remove the weep return
ring (25), pressure ring
(24), and v-sleeve (23)
from the valve casing (26).
Remove the rear v-sleeve
(23A) from the seal case
(20). Inspect all parts, in-
cluding o-ring (21) for wear
and replace as necessary.
2.
Using a needle nose pliers,
remove the inlet and dis-
charge valve assemblies
(27-30), and o-ring (31).
Inspect all parts for wear and
replace as necessary.
5.
Next, use a 5mm allen
wrench to remove the 8
socket head cap screws
(34).
8.Check surfaces of plunger pipe
(16B). A damaged surface will cause
accelerated wear on the seals. De-
posits of any kind must be carefully
removed from the plunger surface. A
damaged plunger must be replaced!
When replacing the crush washer
(item 16D), make sure the rolled side
of the crush washer is placed on the
ceramic. Prior to installation, care-
fully crush the seal ring on a hand
press.
6
3.
By inserting a small screw
driver between the valve
seat (27) and the valve
spring retainer (30), the
valve assembly can be sepa-
rated.
6.
Carefully slide the valve
casing (26) out over the
plungers.
9.
If the crankcase oil seals
(19) are to be replaced,
they can be removed by
prying loose with a fl at
screwdriver. Take care not
to make contact with the
plunger.
Advertisement

Related Manuals for Giant P200A-3100 Series


Summary of Contents for Giant P200A-3100 Series
- Page 1 REPAIR INSTRUCTIONS - P200A-3100 SERIES With a 22mm socket By inserting a small screw Using a needle nose pliers, wrench, remove the (3) driver between the valve remove the inlet and dis- discharge valve plugs and charge valve assemblies seat (27) and the valve...
- Page 2 REPAIR INSTRUCTIONS - P200A-3100 SERIES Disassembly sequence of the back end of the P200A-3100 series pump. Before you begin, drain the oil from the crankcase. Remove the crankcase cover (3) and o-ring (4) from the crankcase (1). To remove the crankshaft (13), remove the bearing cover (7) and sight glass (8).
Need help?
Do you have a question about the P200A-3100 Series and is the answer not in the manual?
Questions and answers