Sign In
Upload
Download
Table of Contents
Contents
Add to my manuals
Delete from my manuals
Share
URL of this page:
HTML Link:
Bookmark this page
Add
Manual will be automatically added to "My Manuals"
Print this page
×
Bookmark added
×
Added to my manuals
Manuals
Brands
Caple Manuals
Hob
C7591G
Instruction manual
Caple C7591G Instruction Manual
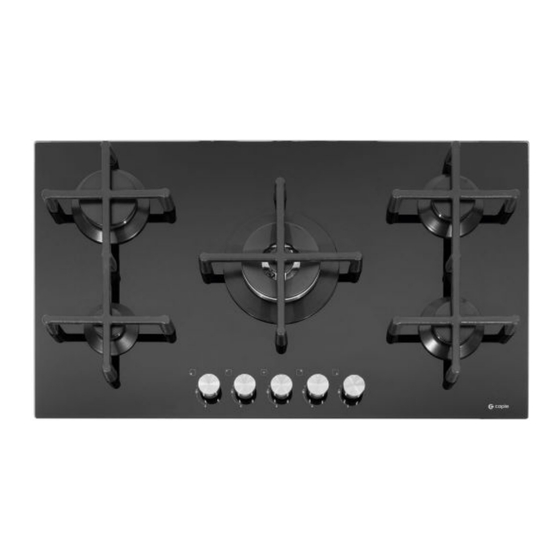
Gas on glass hob
Hide thumbs
1
Table Of Contents
2
3
4
5
6
7
8
9
10
11
12
13
14
15
16
17
18
19
20
21
22
23
24
25
page
of
25
Go
/
25
Contents
Table of Contents
Troubleshooting
Bookmarks
Table of Contents
Table of Contents
Introduction
Warnings
Environmental Protection
Warranty
Parts of the Appliance
How to Use Your Appliance
Care and Maintenance
Practical Advice
Troubleshooting
Installation Instructions
Gas Connection
Connection to Flexible Steel Tube
Replacement of Burner Injector
Valve Adjustment
Flame Selection
Advertisement
Quick Links
Download this manual
G a s o n G l a s s H o b
I n s t r u c t i o n M a n u a l
C75 9 1 G/C7 57 1 G
C 7 561 G
Contact Caple on 0117 938 7420 for spare parts or www.caple.co.uk
Table of
Contents
Previous
Page
Next
Page
1
2
3
4
5
Advertisement
Table of Contents
Need help?
Do you have a question about the C7591G and is the answer not in the manual?
Ask a question
Questions and answers
Related Manuals for Caple C7591G
Hob Caple C7561G Technical Manual
Caple 59cm gas on glass hob (3 pages)
Hob Caple C775G Instruction Manual
Gas on glass hob (32 pages)
Hob Caple C739G Instruction Manual
Gas on glass hobs (9 pages)
Hob Caple C7571G Instruction Manual
Gas on glass hob (25 pages)
Hob Caple C703G Installation & Maintenance Manual
Electrogas (48 pages)
Hob Caple C748G Instruction Manual
Gas hobs (8 pages)
Hob Caple C742G Instruction Manual
Gas hob (9 pages)
Hob Caple C767G Instruction Manual
(24 pages)
Hob Caple C786G Instruction Manual
Gas on glass hob (24 pages)
Hob Caple C786G Instruction Manual
Gas on glass hob (24 pages)
Hob Caple C706G Instruction Manual
(20 pages)
Hob Caple C706G Instruction Manual
(24 pages)
Hob Caple C749G Instruction Manual
(13 pages)
Hob Caple C7011G Instruction Manual
(25 pages)
Hob Caple C743G Instruction Manual
(12 pages)
Hob Caple C714G Instruction Manual
(10 pages)
This manual is also suitable for:
C7571g
C7561g
Table of Contents
Print
Rename the bookmark
Delete bookmark?
Delete from my manuals?
Login
Sign In
OR
Sign in with Facebook
Sign in with Google
Upload manual
Upload from disk
Upload from URL


Need help?
Do you have a question about the C7591G and is the answer not in the manual?
Questions and answers