
Related Manuals for LELY Juno 100


Summary of Contents for LELY Juno 100
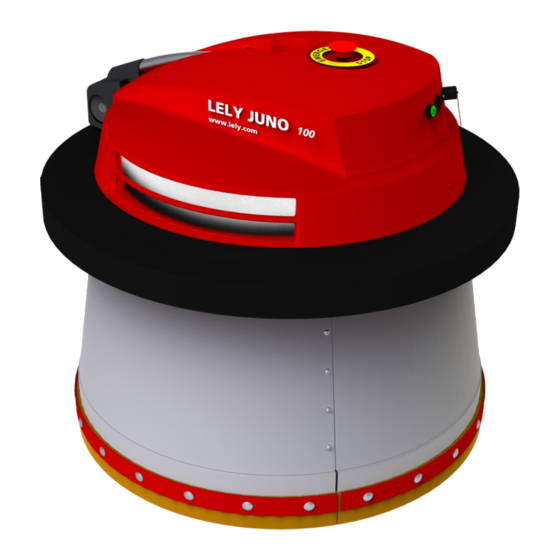
- Page 1 Lely Juno 100 Feed Pusher Safety and Warranty Information D-H044.1108EN English Original www.lely.com innovators in agriculture Lely Industries N.V.
-
Page 2: Table Of Contents
Open or Close the Cover Connect or disconnect the E-Link Manual Controller Manually Drive the Juno 100 Start or Stop Timed Actions Drive the Juno 100 to the Charging Station Reset the Emergency Stop Button Start, Stop or Pause a Manual Route... -
Page 3: Warranty And Copyright Information
Luna, Nautilus, Orbiter, Qwes, SAE, Shuttle, Splendimo, Storm, T4C, Tigo, Viseo, Voyager, Walkway and Welger are registered trademarks of the Lely Group. The right of exclusive use belongs to the companies of the Lely Group. All rights reserved. The information given in this publication is provided for information purposes only and does not constitute an offer for sale. -
Page 4: Safety Instructions
YOU are responsible for the SAFE operation and maintenance of your Juno 100 Feed Pusher. YOU must make sure that you and anyone else who is going to operate, maintain or work in the vicinity of the Juno 100 knows all the related SAFETY information in this manual. -
Page 5: Electrical Safety
• Hoist the Juno 100 Feed Pusher with a rope attached to the hoisting eye. • The Juno 100 is not stable until it is correctly installed. Make sure it is correctly supported at all times during movement and installation •... - Page 6 • Disconnect and isolate the electrical power supply before you do work on the Juno 100 • Do NOT spout water on the body of the Juno 100. Use a wet brush to clean the Juno 100 • Make sure all covers are installed when maintenance work is complete.
-
Page 7: Location Of The Safety Decals
innovators in agriculture LOCATION OF THE SAFETY DECALS Figure 1. Position of the safety decals KEY: 1. Decal 'Emergency stop button' - 2. and 3. Decal 'Do not sit on the vehicle' and 'Dangerous for children' Location of the Safety Decals... -
Page 8: Safety Decals
Danger of being entangled by rotating parts. WARNING Keep hands, loose clothing and long hair away from moving parts during operation of the Juno 100. No Admittance for Unauthorized Persons Figure 3. No Admittance for Unauthorized Persons Symbol Only persons who have read and understood all applicable safety WARNING instructions are permitted to enter the area. -
Page 9: Danger - Do Not Sit On Vehicle / Keep Safe Distance
innovators in agriculture Danger - Do not Sit on Vehicle / Keep Safe Distance Figure 4. 'Do not sit on the vehicle' and 'Keep safe distance' decal (Canada and USA) Figure 5. 'Do not sit on the vehicle' and 'Keep safe distance' decal (except Canada and USA) Do not sit on the vehicle. -
Page 10: Installation Of Safety Decals
An acoustic warning device alerts persons and cows when the vehicle starts to move or moves. • Before the Juno 100 leaves the charging station a long beep is sound • During the route short term beeps are sound. The acoustic warning device is on the rear side (3, fig. 0, page 9) in the cover. -
Page 11: Protection Ring
The reaction of the Juno 100 depends on the object type. • If the vehicle hits a solid object (for instance a tractor), the Juno 100 drives back until there is no contact with the obstacle. After 2 seconds the vehicle tries to continue its route. -
Page 12: Hardware Safety Protection
Overload Protection The drive motors are protected against overload. If the current is high for a long time the overload protection operates and stops the Juno 100 to prevent overheating. An alarm message is also generated. 0-10... -
Page 13: Basic Operating Instructions
The full set of operating instructions can be found in the installation & operation manual. Switch ON or OFF the Juno 100 The Juno 100 does not need to be switched OFF during normal operation. Note: To switch ON Open the cover. - Page 14 innovators in agriculture Figure 7. Open the cover Figure 8. Close the cover 0-12 Basic Operating Instructions...
-
Page 15: Connect Or Disconnect The E-Link Manual Controller
Danger of being entangled by rotating parts. WARNING Keep hands, loose clothing, and long hair away from moving parts during operation of the Juno 100. Get the E-Link Manual Controller. Push the [Pause] button (3, fig. 9, page 13). The vehicle stops. -
Page 16: Manually Drive The Juno 100
Manually Drive the Juno 100 Stop all timed actions. Push [ ] twice to select the menu (fig. 10, page 14) 'Manual driving'. In the menu 'Manual driving', push: • [L] to turn right, or • [R] to turn left, or •... -
Page 17: Drive The Juno 100 To The Charging Station
Drive the Juno 100 to the Charging Station Stop all timed actions. Manually drive the Juno 100 to 1.5 - 3 m (5 -10 ft.) from the charging station. Make sure the front of the vehicle points in the direction of the charging station. -
Page 18: Start, Stop Or Pause A Manual Route
innovators in agriculture Start, Stop or Pause a Manual Route To start a manual route: Stop all timed actions. In the main menu of the E-Link, select 'Work' and push [ Push [ ] to select the menu 'Manual route'. Push [ ] to select the series of routes (A, B, C or D). - Page 19 innovators in agriculture INTENTIONALLY BLANK...
- Page 20 LELY INDUSTRIES NV Weverskade 110 NL-3147 PA Maassluis Tel +31 (0)10 - 59 96 333 Fax +31 (0)10 - 59 96 444 www.lely.com Live Life Lely...
Need help?
Do you have a question about the Juno 100 and is the answer not in the manual?
Questions and answers