Advertisement
Quick Links
Advertisement

Subscribe to Our Youtube Channel
Summary of Contents for STARLINK Wedge
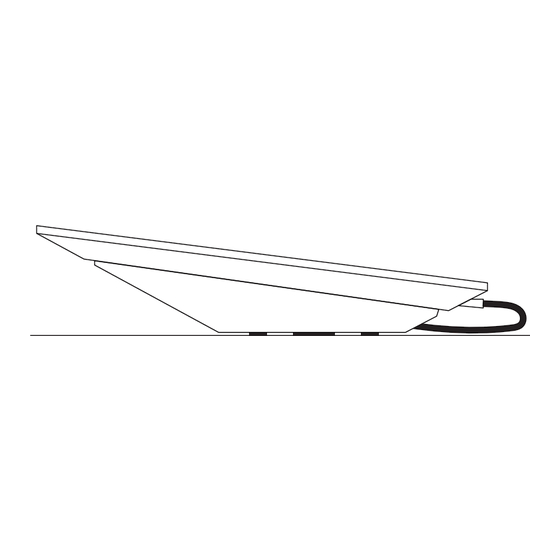
- Page 1 Starlink Wedge Mount Kit...
- Page 2 Equipment falling on the road or off a vessel due to poor installation practices can cause serious accidents resulting in bodily injury, do not mount the Starlink on any vehicle or vessel if it is not stable, or if it cannot be properly secured as described in this guide. Ensure the installation on vehicle or vessel is compliant with local Department of Transportation or maritime regulations.
- Page 3 SETUP 1. Download the Starlink app on your phone. 2. Before installation, use the “Check for Obstructions” tool in the app to identify the best location for uninterrupted service. 3. Setup your Starlink. 4. After connecting, confirm your setup location is obstruction free by reviewing the data coming from your Starlink.
- Page 4 Plan Your Install 1. Your mount should be installed on a structurally sound, horizontal surface away from other equipment to give your Starlink a clear view of the sky. NOTE: Don’t allow salt water to collect around your Starlink. Periodically check the sealant on your fasteners and rinse with fresh water.
-
Page 5: Box Contents
SETUP Box Contents Wedge Mount Shoulder Bolts (x2) Machine Screws (x2) Sealing Washers (x4) 1/2” (13 mm) Length Silicone Sealant Cable Pass Through Kit Thread Locker Lag Bolts (x4) Machine Screws (x4) Blind Hole Nuts (x4) Washers (x10) Lock Nuts (x4) -
Page 6: Additional Items Needed
SETUP Additional Items Needed Review the installation option in the “Plan Your Install” section to determine what additional items or hardware you may need; not all items are required for each install option. Drill Pencil Socket Wrench 3/4” (19 mm) Spade Bit 3/32”... - Page 7 INSTALLATION Option 1 – Machine Screws and Nuts 1. Using the Wedge Mount as a guide, mark the four corner hole locations with the pencil and remove mount. 2. Drill four 1/4” (6.5 mm) holes through the surface at the marked locations. Remove burrs around holes and make sure the surface is free of debris.
- Page 8 INSTALLATION Option 2 – Lag Bolts 1. Using the Wedge Mount as a guide, mark the four corner hole locations with the pencil and remove mount. 2. Drill four 3/32” (2 mm) holes through the surface at the marked locations. Remove burrs around holes and make sure the surface is free of debris.
- Page 9 INSTALLATION Option 3 – Blind Hole Nuts and Machine Screws 1. Using the Wedge Mount as a guide, mark the four corner hole locations with the pencil and remove the mount. NOTE: Blind hole nuts work with surfaces 0.18 - 0.31”...
- Page 10 If you want to route your cable through an exterior surface using the provided cable pass through kit, follow the below steps. Otherwise route your cable to the interior and skip to the following section, Install Starlink. NOTE: The included Starlink cable is 8 m. Different cable lengths can be found on the Starlink Shop at shop.starlink.com.
- Page 11 INSTALLATION Route your Cable 6. Screw down the base with the 4 wood screws. 7. Wrap the rubber plug around the cable and press it into the base. Leave 1.5’ (0.5 m) of cable outside. 8. Combine the two halves of the outer shell and seat onto the base ensuring the holes in the inner shell and outer shell are aligned.
- Page 12 1/4 turn; do not overtighten. NOTE: Ensure you are using the 1/2” length screws. Longer bolts can damage Starlink. 4. Plug the Starlink cable into the port on the bottom of the Starlink. NOTE: Do not make sharp turns with your cable, use a...
- Page 13 Starlink Wedge Mount Kit starlink.com ©2022. Space Exploration Technologies Corp. 01676775-019...

Need help?
Do you have a question about the Wedge and is the answer not in the manual?
Questions and answers