WE-EF ETC100-GB LED Series Installation And Maintenance Instructions
Inground uplights with installation blockout
Hide thumbs
Also See for ETC100-GB LED Series:
- Installation and maintenance instructions manual (10 pages) ,
- Installation and maintenance instruction (10 pages) ,
- Installation and maintenance instructions (5 pages)
Advertisement
Quick Links
Safety Notice
The manufacturer is discharged from liability when damage
is caused by improper use or installation.
If any luminaire and/or accessory is subsequently modi-
fied, the persons responsible for the modification shall be
considered as manufacturer.
WE-EF LIGHTING USA
Tel +1 724 742 0030
info.usa@we-ef.com
we-ef.com
ETC130/140-GB / ETC330-GB_060521 / 006-1562
Technical specifications are subject to change.
© WE-EF 2022
WE-EF LIGHTING
Installation and
Maintenance Instructions for
Inground Uplights with
Installation Blockout
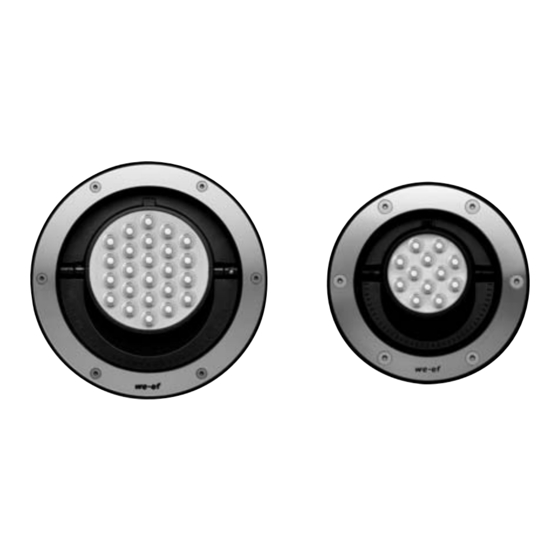
ETC100-GB LED Series
ETC330-GB LED Series
Advertisement

Related Manuals for WE-EF ETC100-GB LED Series


Summary of Contents for WE-EF ETC100-GB LED Series
- Page 1 WE-EF LIGHTING Installation and Maintenance Instructions for Inground Uplights with Installation Blockout ETC100-GB LED Series ETC330-GB LED Series WE-EF LIGHTING USA Tel +1 724 742 0030 ETC130/140-GB / ETC330-GB_060521 / 006-1562 info.usa@we-ef.com Technical specifications are subject to change.
-
Page 2: Installation
ETC330-GB-LED ....12 LEDs 12 W* 1 x ø 0.315 – 0.335 in / 3 x 16 AWG * Nominal power, for latest data refer to www.we-ef.com 1 x ø 0.354 – 0.374 in / 4 x 22 AWG... - Page 3 Installation Methods with BET Installation with Blockout BET Ensure that proper drainage is provided for the shown Phase One installation methods. (During earth or masonry works) 1) In landscaped areas (soil with gravel base), pic. 1 1) Place the mounting ring E on to the installation a) Set in position together with supply cable(s) P.
- Page 4 Phase Two (Electrical connection, aiming) 6) To adjust the light distribution, loosen screws K and L. Now the angle of rotation N and the inclina- 3) Switch off mains electrical supply. tion M to the object which should get illuminated 4) Check that rating shown on luminaire label conforms can get adjusted.
- Page 5 7) Linking wireless luminaires with the CRMX techno- 7.3 Ensure that the wireless link indicators on all receivers 8) Bring the lens/cover/gasket H/I, cover ring G and Switch on luminaire, let it operate for 30 minutes logy. Units can link with any other CRMX units as are off to indicate that the receiver(s) are ready to the 6 hexagon socket screws into the position to avoid water condensation and carefully close...
Need help?
Do you have a question about the ETC100-GB LED Series and is the answer not in the manual?
Questions and answers