Table of Contents
Advertisement
Quick Links
Yamaha Wolverine X4 Steel
Product Instructions | Part No: 29510
Application:
Yamaha Wolverine X4, verify accessory fitment at
Kolpin.com.
Before You Begin:
Read these instructions and check to be
sure all parts and tools are accounted for. Please retain these
Installation Instructions for future reference and parts ordering
information.
Note: If any hardware is missing, do not return to the
store. Call us to help, Toll Free 1-877-956-5746.
Note: Two people are required to install this Roof Kit.
Items marked (*) are included in Hardware Kit PN 29511.
3
5
7
8
1
10
Tools Required:
Socket Set, Metric
•
Wrench Set, Metric
•
Roof
4
6
Torx Bit Set
•
Torque Wrench
•
Kolpin Outdoors, Inc. | 9955 59th Ave N | Plymouth, MN 55442
(877) 956-5746 or (763) 478-5800 |
© 2020 Kolpin Outdoors Inc.
This Kit includes:
Item
Qty
1
2
3*
17
4*
17
5*
17
6*
7*
8*
9*
10*
11*
12*
13
9
4
11
Utility Knife/Cutting Tool
•
www.kolpin.com
|
customerservice@kolpin.com
1
REV 00
Part Description
1
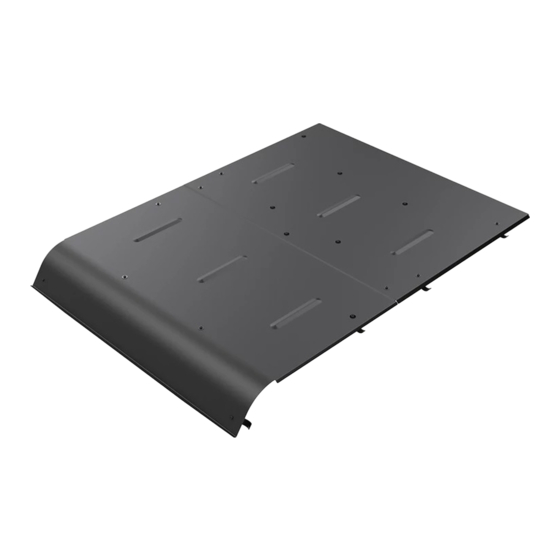
Wolverine X4 Front Roof Panel
1
Wolverine X4 Rear Roof Panel
Button Screw, Zinc Plated, M6-1.0 x 20mm LG
Flange Locknut, Zinc Plated, M6-1.0
Flat Washer, Zinc Plated, M6
1
Rubber Overlap Trim Seal
2
Thick Front/Middle Foam Strip - 52" (1321mm)
8
Clamp, Painted, 2.0" Diameter
2
Thin Front Side Foam Strip - 29" (737mm)
6
Clamp, Painted, 1.5" Diameter
2
Thin Rear Side Foam Strip - 41.5" (1053mm)
1
Thick Rear Foam Strip - 53" (1350mm)
1
Instruction Guide (not shown)
3
5
8
11
5
3
8
10
2
12
Advertisement
Table of Contents

Subscribe to Our Youtube Channel
Related Manuals for Kolpin 29510


Summary of Contents for Kolpin 29510
- Page 1 • • Socket Set, Metric • Torque Wrench • Wrench Set, Metric • Kolpin Outdoors, Inc. | 9955 59th Ave N | Plymouth, MN 55442 (877) 956-5746 or (763) 478-5800 | www.kolpin.com customerservice@kolpin.com © 2020 Kolpin Outdoors Inc. REV 00...
- Page 2 Important: Your Kolpin Steel Roof Kit is exclusively designed for your vehicle. Please read the installation instructions thoroughly before beginning. Installation is easier if the vehicle is clean and free of debris. For your safety, and to ensure a satisfactory installation, perform all installation steps correctly in the sequence shown.
- Page 3 Note: Do tube. (See illustrations 1-5 and 1-6). not tighten hardware at this step since adjustments may be required later. FRONT Middle cab frame tube Ill. 1-6 © 2020 Kolpin Outdoors Inc. REV 00...
- Page 4 M6 locknuts (item #4) as shown. (See illustrations 1-5, 1-6, 1-7, 1-8, 1-9 and 1-10). Note: Do not tighten hardware at this step since adjustments may be required later. Ill. 1-9 FRONT © 2020 Kolpin Outdoors Inc. REV 00...
- Page 5 One Year Limited Warranty For the period of one (1) year from the purchase date, Kolpin will replace for the original purchaser, free of charge, any part or parts found upon examination by Kolpin to be defective in material, workmanship, or both.
Need help?
Do you have a question about the 29510 and is the answer not in the manual?
Questions and answers