Advertisement
Quick Links
Advertisement

Related Manuals for fantastic furniture Cosmic


Summary of Contents for fantastic furniture Cosmic
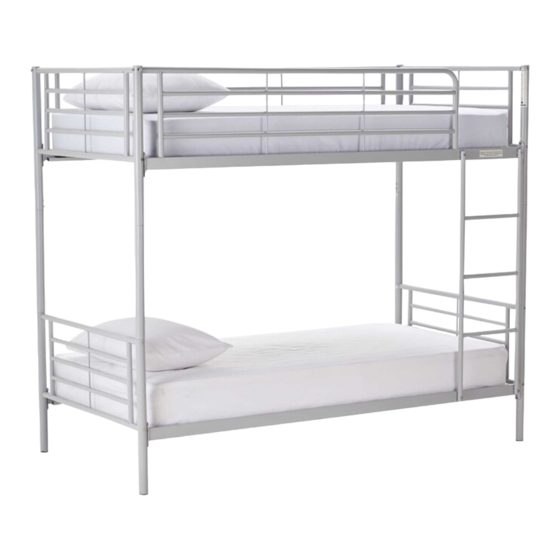
- Page 1 Cosmic Bunk Twin Metal...
- Page 2 We’re thrill e d you’ve chosen Fantastic Furniture to help create a home you’ll love! Love it? Share it! Fantastic buy! Share how it looks at home on Instagram for your chance to win a $250 Fantastic Furniture Gift Card! @fantasticfurniture fantasticfurniture.com.au Page 2...
- Page 4 Slats (P8) Top Post (P3) Top End Panel (P1) Back Guard Rail (P7) Top Post (P2) Front Guard Rail (P6) Top Post (P4) Lower Post (P11) 2 x Top End Panels (P1) 1 x Top Post (P2) 1 x Top Post (P3) Mid Post Top Post (P9)
- Page 5 Step 1 (P9) (P9) You will need 8 x Bolts 4 x Foot End (6x60) (H3) Caps (H5) (P9) (P9) 1 x Allen Key (H6) (P11) (P13) (H3) (P12) (P12) (H6) (P10) (P14) (H3) (H5) Insert 2 x Mid Posts (P9) into Lower Posts (P10 & P11), then attach these to Base End Panel (P12) using 4 x Bolts (H3) to connect, tightening with Allen Key (H6).
- Page 6 Step 3 You will need (H4) 84 x Connectors (H4) (P8) (H4) Attach the 84 x Connectors (H4) to the 42 x Slats (H8). Step 4 Attach the 21 x Slats (H8) to Side Rails (P15 & P16). You will need to press down firmly for the connectors to slot into the holes on the side rails.
- Page 7 Step 5 You will need 1 x Allen Key 8 x Bolts (6x60) (H6) (H3) (P3) (P4) (P1) (H3) (P1) (H6) (P2) (P5) Attach the Top Post (P2 & P3) to Top End Panel (P1) using 4 x Bolts (H3) to connect, tightening with the Allen Key (H6).
- Page 8 Step 7 (P7) (P6) (H8) Attach the 21 x Slats (H8) to Front Guard Rail (P6) and Back Guard Rail (P7). You will need to press down firmly for the connectors to slot into the holes on the side rails. Step 8 You will need 1 x Allen Key...
-
Page 9: Job Complete
Step 9 You will need 1 x Allen Key 4 x Bolts (6x40) (H2) (H6) (P17) (H2) (H2) (H6) Attach the Ladder (P17) to the bunk using 4 x Bolts (H2), tightening with Allen Key (H6). Step 10 Job Complete! In the interest of our environment please dispose of all packaging thoughtfully. - Page 10 Step 11: To Separate Into 2 Beds You will need 1 x Allen Key (H6) (H6) (H2) Remove the Ladder (P17) from the bunk by loosening and removing all Bolts (H2) with the Allen Key (H6). (P3) Step 12 You will need (P2) 1 x Allen Key (H6)
- Page 11 Step 13 (P3) You will need 4 x Foot End (P2) Caps (H5) (H5) (P4) (H5) (H5) (P5) (H5) Then insert 4 x Foot End Caps (H5) into the bottom of the Top Posts (P2, P3, P4 & P5). Step 14 (P9) (H3) (P9)
- Page 12 Step 15 You will need 1 x Allen Key 4 x Foot End Caps (H5) (H6) (H3) (P11) (H5) (H3) (H6) (H3) (P10) (P13) (H3) (P14) Re-insert and tighten the 4 x Bolts (H3) into the Lower Posts (P10, P11, P13 & P14) with the Allen Key (H6).
Need help?
Do you have a question about the Cosmic and is the answer not in the manual?
Questions and answers