Table of Contents
Advertisement
Quick Links
Advertisement
Table of Contents

Related Manuals for MiLAN MIL-9200X


Summary of Contents for MiLAN MIL-9200X
- Page 1 MIL-9200X MEDIA CONVERSION SYSTEM USER’S GUIDE...
- Page 2 LEGAL Trademark Rights © 2000 MiLAN, the MiLAN logo, and MiLAN Technology are either trademarks or registered trademarks of Digi International, Inc. in the United States and/or other countries. All other trademarks are the property of their respective holders. Information in this document is subject to change without notice and does not represent a commitment on the part of MiLAN Technology.
-
Page 3: Chapter 1: Introduction
MiLAN’s MIL-4750 Master and MIL-4755 Slave devices are used to man- age the MIL-9200X using SNMP. The Master or Slave module is installed in the rear of the MIL-9200X. The Media Conversion System can accommodate media converters that support Ethernet, Fast Ethernet, Gigabit Ethernet, ATM or a combina- tion of all these technologies. - Page 4 MIL-S3412: Switch; 10/100BASE-TX (UTP) to 100BASE-FL MMF (ST) MIL-S3413: Switch; 10/100BASE-TX (UTP) to 100BASE-FL MMF (SC) MIL-4750: Master SNMP agent; 10/100BASE-TX MIL-4755: Slave SNMP Agent; 10/100BASE-TX Contact MiLAN Technology sales at (800) 466-4526 for more information on all of these devices. MIL-9200X MEDIA CONVERSION SYSTEM...
-
Page 5: Chapter 2: Installation
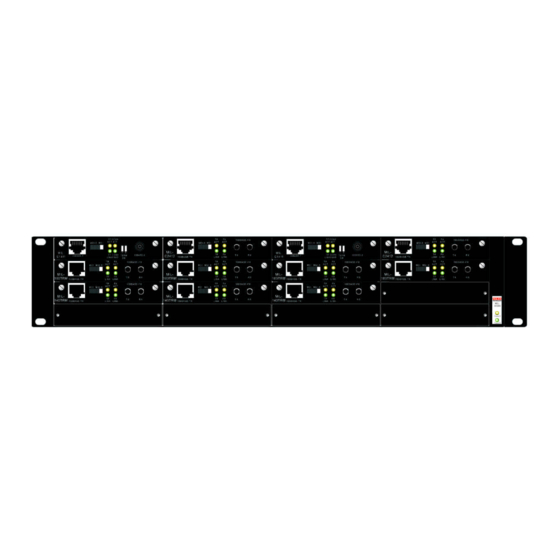
Four 10-32 x 1/2 Binding HD cap screws or equivalent Power cord Standard, Phillips screwdriver (not included) Figure 2-1. MIL-9200X, with no Media Converters installed Figure 2-2. Rear of MIL-9200X, with one power supply and blank panel MIL-9200X MEDIA CONVERSION SYSTEM... - Page 6 Line up the bracket holes to the holes on the chassis. Use the phillips head screws (supplied) to secure the brackets. 2. Install the MIL-9200X into a 2U size slot in a rack. Use the screws supplied with the rack to secure the device to the rack.
-
Page 7: Installing A Second Power Supply
3. Press the power supply into the mating connector. Make sure it is seated properly in the connector. 4. Secure the module with the two screws located on the face plate of the power supply module. MIL-9200X MEDIA CONVERSION SYSTEM... -
Page 8: Appendix A: Specifications
System power is applied to the unit from the second power supply Table A-1: Diagnostic LEDs A.2 Hardware Features Hardware features for the MIL-9200X Series: 4Enclosure: Two-part steel housing (black) 4Rack mount: 2U size 4Supports half- and full-duplex modes of operation (see the specific media... -
Page 9: Appendix B: Technical Support Services
Our address is: http://www.milan.com B.2 Internet FTP Server MiLAN has set up an anonymous FTP server for those with access to the Internet. The address is: ftp://ftp.milan.com B.3 Contacting Technical Support To contact MiLAN’s technical support:... -
Page 10: Rma Procedures
Appendix B B.5 RMA Procedures To return a unit to MiLAN Technology for repair: 1. Call Technical Support at 408.744.2751 2. Technical support engineers will work with users to find the problem. If Technical Support determines that the unit is defective, a Return Materials Authorization (RMA) will be issued by our RMA administrator. - Page 11 MiLAN Technology 1329 Moffett Park Dr Sunnyvale, CA 94089 Printed in the USA Part Number: 90000224 Rev B...
Need help?
Do you have a question about the MIL-9200X and is the answer not in the manual?
Questions and answers