Dorma Porteo Assembly Instruction Manual
Hide thumbs
Also See for Porteo:
- Quick start manual (2 pages) ,
- Technical documentation manual (9 pages) ,
- Manual (36 pages)

Subscribe to Our Youtube Channel
Related Manuals for Dorma Porteo


Summary of Contents for Dorma Porteo
- Page 1 PORTEO — Product information Assembly instruction Follow the instructions!
-
Page 2: Table Of Contents
General information Function Settings/Adjustments 6. Approach to installation and commissioning page 14 Determine way of mounting, then mount system and commission PORTEO door assistant Lintel mounting with slide channel – Lintel mounting on the hinge side (pull-side), left-handed version Installation drawings –... - Page 3 14. Direct power supply, straight out of the wall page 28 15. Accessories page 29 – 30 page 31 – 32 16. Hand-held transmitter DORMA atent 17. Commissioning, care, maintenance page 33 18. Troubleshooting instructions page 34 – 35 DORMA...
- Page 4 PORTEO — Subheadline 1 Subheadline 2 EC Declaration of conformity GB 4 DORMA...
- Page 5 PORTEO — Subheadline 1 Subheadline 2 EC Declaration of incorporation DORMA GB 5...
-
Page 6: For Your Safety
• Never stick metal objects into the openings of the PORTEO; doing so may result in electric shock. • If the PORTEO is mounted onto a metal door leaf, you have to earth (ground) the door leaf properly. • Glass door leaves have to be made of safety glass. - Page 7 Low-energy product The PORTEO meets the requirements of a low-energy application in accordance with the German DIN 18650 (industrial standard). • Reduced dynamic force at door leaf and reduced contact force via low driving speed.
- Page 8 (steel structure, wood, concre- te etc.). • Before installing the PORTEO the door leaf has to be checked with respect to proper mechanical condition and smooth running. • The mounting of the PORTEO described herein is only an example. Structural or local conditions, available tools or other conditions might suggest a different approach.
- Page 9 Ensure that no water or other liquids drop on or into the PORTEO Never stick metal objects into the openings of the PORTEO doing so may result in electric shock. Wear The slide piece has to be inspected at regular intervals (every year) and replaced if required.
-
Page 10: Standard Scope Of Delivery
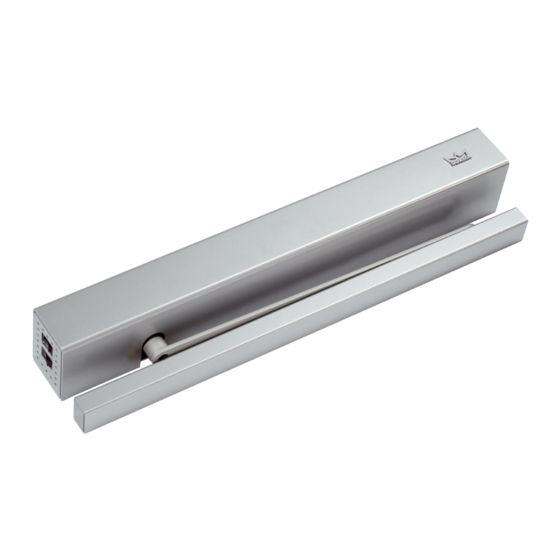
PORTEO — 2. Standard scope of delivery 79 0 79 0 Use the enclosed tools to adjust the potentiometers. 2x 2x Mounting plate Fixing screw Documentation (without illustration) Drive unit Fixing screw - Installation drawings Cover Slide channel - Extended documentation... -
Page 11: Status On Delivery And Assistance When It Comes To Selecting Appropriate Accessories
Please ask for our template required. WN-No.: 057193-45532 Required tools for the installation of the PORTEO door assistant – Allen key, 5 mm (Scope of delivery) – Potentiometer-tool (Scope of delivery) – Power drill – Drill bit, depending on surface Authorised DORMA specialist dealers offer competent advice and the required accessories for the PORTEO door assistant. -
Page 12: Door Basics" Technical Terms
• Lintel mounting on opposite hinge side (push side) • Left-handed design (right-handed version is laterally reversed) • PORTEO door assistant with rack & pinion arm (option) A rack & pinion arm (option) has to be applied on the hinge side when it comes to lintel depths of more than 30 mm. -
Page 13: Function And Adjustments
5. Function and adjustments General information The PORTEO door assistant has been pre-adjusted for various kinds of applications (basic settings). The settings: swing direction, door weight, door width, way of mounting, “closed” and “open” position are important for the smooth and proper operation of the door system. -
Page 14: Approach To Installation And Commissioning
E F G H Lintel depth mounting. with projecting arm (option). Please ask for the template WN-No.: 057193-45532 Following the installation, commission the PORTEO door assistant. Betriebsanleitung Either with standard commissioning, see operating instructions on page 16 and 17 with extended commissioning, see operating instructions on page 18 to 21. - Page 15 PORTEO — 7. Requirements for standard commissioning Basic settings The basic settings offer base values for these settings: - lintel mounting - with slide channel - on the hinge side (pull side) m a x . - door weight of up to 60 kg m a x .
- Page 16 8. Standard commissioning Standard commisioning Requirements • The PORTEO door assistant has been installed. • The door can easily be moved by hand. • Perform the following steps of the standard commissioning one after the other. • The (visual) acknowledgement is made via the light indicator (LED).
- Page 17 110° The LED (green) emits permanent light. Following the learning cycle, the PORTEO door assistant is ready for operation. Now you can perform further adjustments like speed, hold-open time or adjustments regarding the optional accessories like for example the electric strike, see adjustments page 24 and 25.
- Page 18 • The door can easily be moved by hand. The stored settings can be “overwritten” by a new commissioning procedure. The “approach” describes the commissioning of the PORTEO door assistant without any accessory. Accessories like for example electric strikes or sensors are adjusted following the successful commissioning of the system.
- Page 19 PORTEO — Subheadline 1 Subheadline 2 Connect power plug. (2 x 0,75) Set power switch to “ON” position. – Set program switch to “OFF” position (central position). The LED (green) blinks. Service-Taster Determination of swing direction: Service pushbutton Service pushbutton –...
- Page 20 PORTEO — 9. Extended commissioning Service pushbutton Service pushbutton Determination of swing direction: Service pushbutton – Press service key, until the door starts moving (approx. 3 sec.). The LED (green) emits a permanent light for 3 sec., then it blinks...
Need help?
Do you have a question about the Porteo and is the answer not in the manual?
Questions and answers